OPENWRT网络打印机TCP/IP共享设置教程以703N为例
前言
最近一台带USB2.0接口的惠普P1106激光打印机使我比较头疼,由于打印机放在家中楼上,没空调,夏天太热,每次抱着电脑上楼打印都大汗淋漓的下来,于是乎,下定决心一定要能让打印机接入家中无线网络,在空调间就可以凉快的打印,迫于生计,于是寻求度娘,发现openwrt路由器可以实现这一功能,手头上正好有一个改装过的OPENWRT路由器,我就开始了捣鼓。
注:网络打印机TCP/IP共享部分打印机不支持,目前我们已经知道的是佳能LBP2900/3000/3500系列,东芝E-studio212/163/166/169,夏普AR-2618/2718/2818/2820。本教程分主要分为路由器端和电脑端设置两部分,简单通俗,祝大家成功。
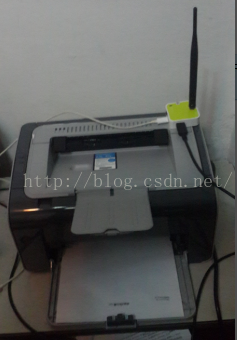
附上打印机的照片

操作环境
Win8.1 专业版 64位
OpenWrt Barrier Breaker 14.07原版
路由器端设置步骤
1. 把打印机接入路由器的USB端口上
2. 刷入OPENWRT OpenWrt Barrier Breaker 14.07固件
openwrt-ar71xx-generic-tl-wr703n-v1-squashfs-sysupgrade.bin
3. 安装打印机服务器IPK
kmod-usb-printer_3.10.49-1_ar71xx.ipk
p910nd_0.95-3_ar71xx.ipk
luci-app-usb-printer_svn-r9961-1_all.ipk
安装完毕后重启
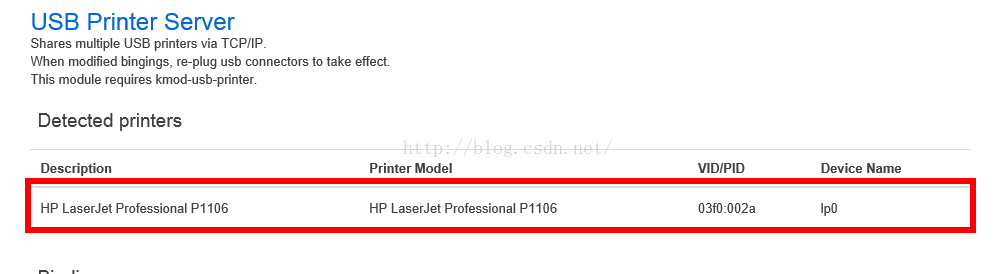
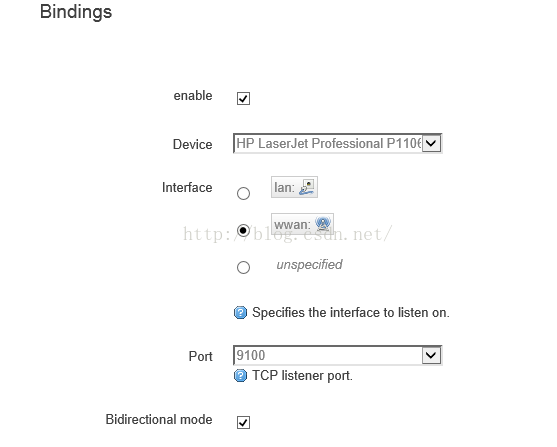
4.在Service中找到USB Printer Server(按照下图设置),你看这里就会显示出来打印机
5.如果是无线连接(路由器作为一个客户端),则需要把p910nd的启动项调至99,然后把etc/config/p910nd的文件改成如下:
config p910nd
option device'/dev/usb/lp0'
option port '9100'
option enabled '1'
option bind'192.168.1.107'
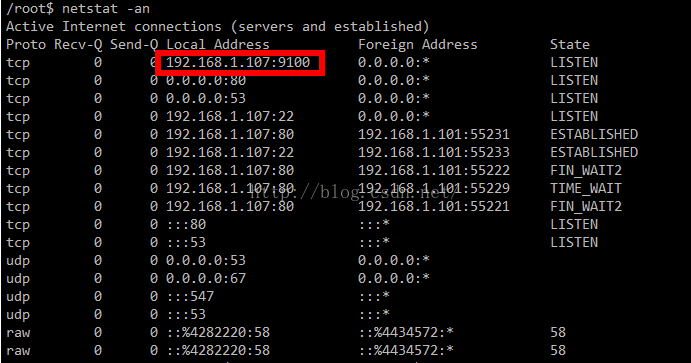
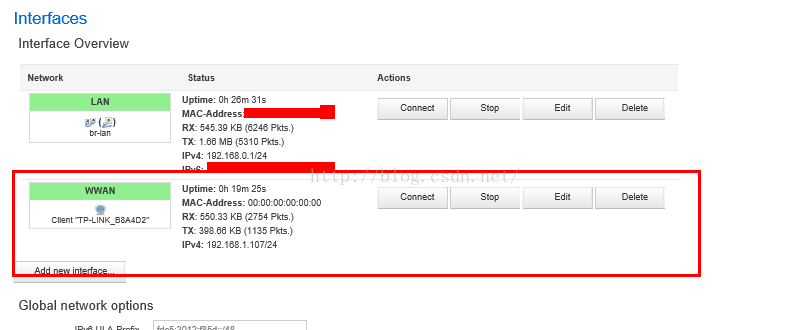
6.打开putty,登录路由器,输入命令netstat –an,查看当前路由器连接,查询9100的端口对应的IP地址是否正确。
7.这里我们选择的是客户端模式,所以路由器只是一个网卡,防火墙设置为LAN(注意为了防止IP变动,我们要将上层路由器对IP进行静态地址分配,如果仅仅是用来作为无线打印端的,可以把无线WIFI的防火墙设置为LAN区域,然后把实体端口的LAN 删除)

8.用电脑的端口扫描器扫描路由器的9100端口是否正常开启
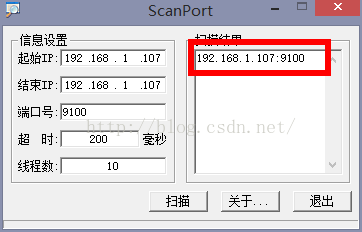
至此路由器端的操作全部完成
电脑端设置步骤
1.打开控制面板

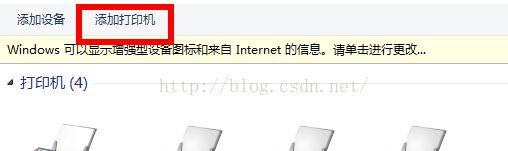
2.找到设备与打印机,点击添加打印机
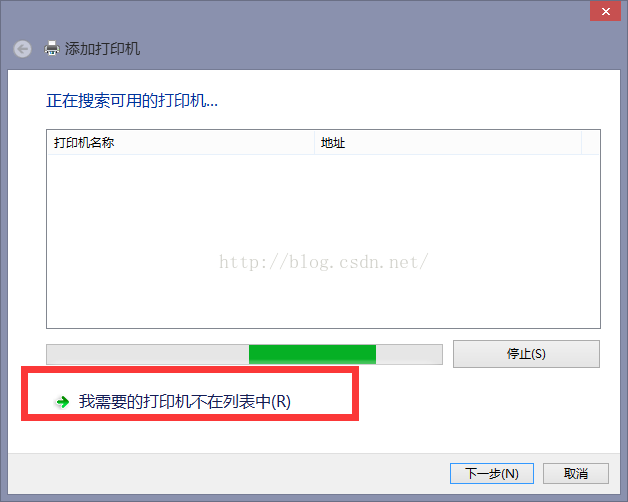
3.添加打印机选择“我需要的打印机不在列表中”
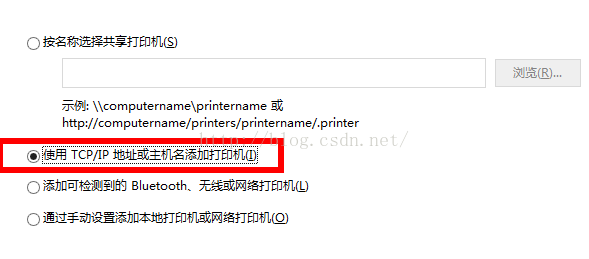
4.选择“使用TCP/IP地址或主机名添加打印机”
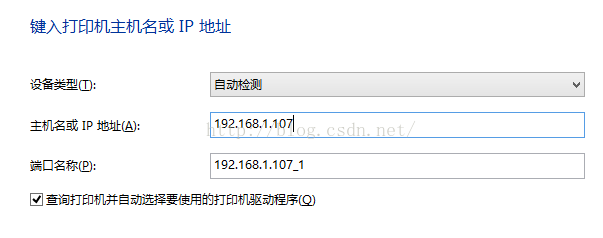
5.输入路由器的IP地址
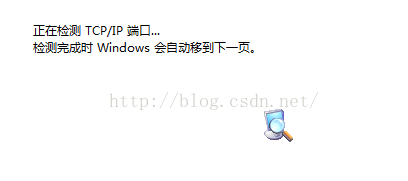
6.等待检测完成
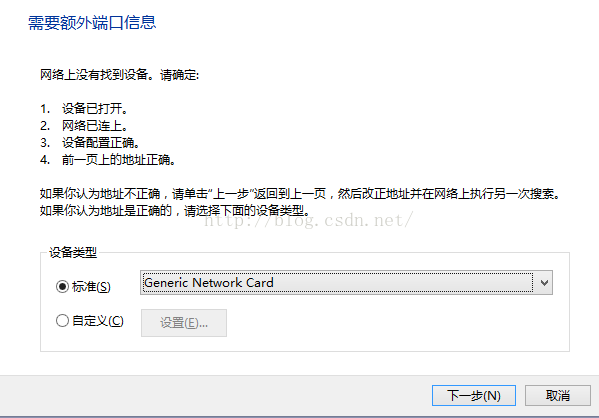
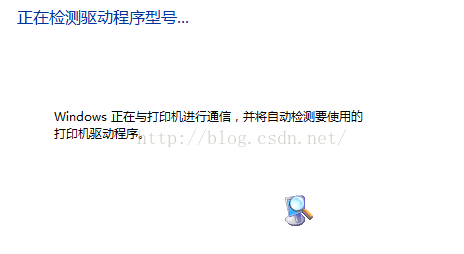
7.出现额外信息,不要管他,直接下一步,程序开始检测打印机型号,需要几分钟时间
8.点击从磁盘安装,然后选择你的驱动程序光盘的文件,接着一路下一步到底就大功告成了。

9.打印一张试试(有时显示打印不成功,其实事实上已经在打印了,不必理会)
推荐本站淘宝优惠价购买喜欢的宝贝:

本文链接:https://hqyman.cn/post/1568.html 非本站原创文章欢迎转载,原创文章需保留本站地址!
打赏

微信支付宝扫一扫,打赏作者吧~
休息一下~~
 HQY 一个和谐有爱的空间
评论列表:
“如果是无线连接(路由器作为一个客户端),则需要把p910nd的启动项调至99”
能不能告诉我怎么把这个启动项调到99?