
https://www.freeipa.org/
https://github.com/freeipa/freeipa
介绍
FreeIPA是一款集成的安全信息管理解决方案。FreeIPA包含Linux (Fedora),389 Directory Server MIT Kerberos, NTP, DNS, Dogtag (Certificate System)等等身份,认证和策略功能。
准备
DNS地址先设置成公网地址,因为需要从网络安装软件包。安装完软件包之后需要将服务器的dns地址改成服务器的本机地址。
关闭防火墙
# 关闭firewalld 和 selinux设置成Permissive模式
[root@localhost ~]# systemctl stop firewalld && systemctl disable firewalld && setenforce 0
# 关闭selinux
[root@localhost ~]# sed -i '/^SELINUX/s/enforcing/disabled/' /etc/selinux/config
修改主机名和修改/etc/hosts文件
[root@localhost ~]# hostnamectl set-hostname server.linuxprobe.com
[root@localhost ~]# echo 'xxx.xxx.xxx.xxx server.linuxprobe.com server’ >> /etc/hosts
[root@localhost ~]# echo ‘xxx.xxx.xxx.xxx client.linuxprobe.com client' >> /etc/hosts

注意这里一定要使用二级域名
开机ntp时间同步
# 注释掉自带的服务器地址
[root@localhost ~]# sed -i 's/^server/#&/' /etc/chrony.conf
# 添加ntp.aliyun.com
[root@localhost ~]# echo 'server ntp.aliyun.com iburst' >> /etc/chrony.conf
# 重启chronyd服务
[root@localhost ~]# systemctl restart chronyd
# 查看ntp状态
[root@localhost ~]# chronyc sources -v
210 Number of sources = 1

  .-- Source mode  '^' = server, '=' = peer, '#' = local clock.
 / .- Source state '*' = current synced, '+' = combined , '-' = not combined,
| /   '?' = unreachable, 'x' = time may be in error, '~' = time too variable.
||                                                 .- xxxx [ yyyy ] +/- zzzz
||      Reachability register (octal) -.           |  xxxx = adjusted offset,
||      Log2(Polling interval) --.      |          |  yyyy = measured offset,
||                                \     |          |  zzzz = estimated error.
||                                 |    |           \
MS Name/IP address         Stratum Poll Reach LastRx Last sample
===============================================================================
^* 203.107.6.88                  2   6    17    40  -5540us[-5762us] +/-   16ms
重启电脑
配置FreeIPA
安装ipa-server
[root@server ~]# yum install -y ipa-server bind bind-dyndb-ldap ipa-server-dns配置ipa-server
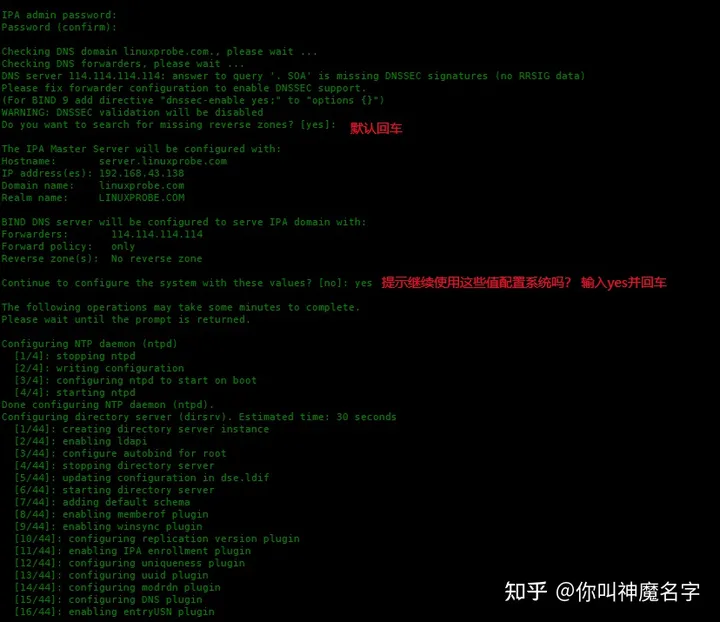
修改dns,先设置网卡dns地址为本地地址,后重启网卡。
[root@server ~]# ipa-server-install --setup-dns --forwarder=114.114.114.114
# 为首次登陆的用户创建主目录 ,并且更新配置
[root@server ~]# authconfig --enablemkhomedir --update
登录FreeIPA
从物理机用浏览器访问ipa服务器,需要修改一下hosts文件。路径:C:\Windows\System32\drivers\etc\hosts
浏览器输入https://server.linuxprobe.com显示ipa登录界面
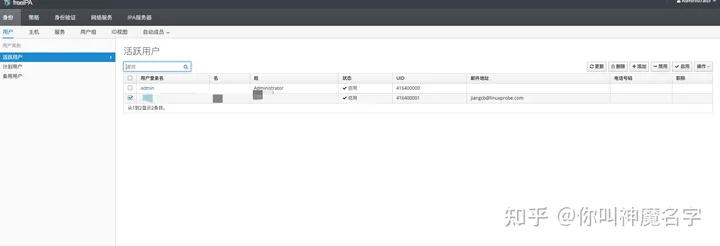
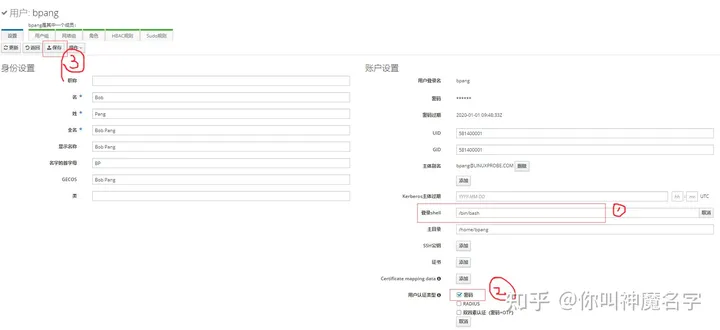
添加用户
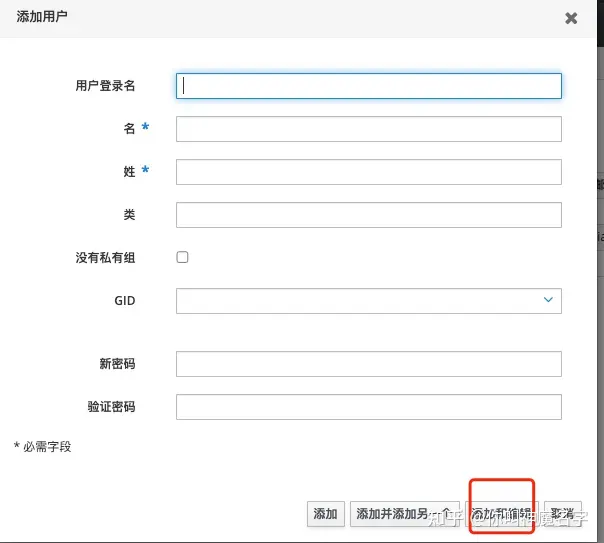
修改登录shell 为 /bin/bash,用户认证类型 勾选“密码” ,然后保存修改。
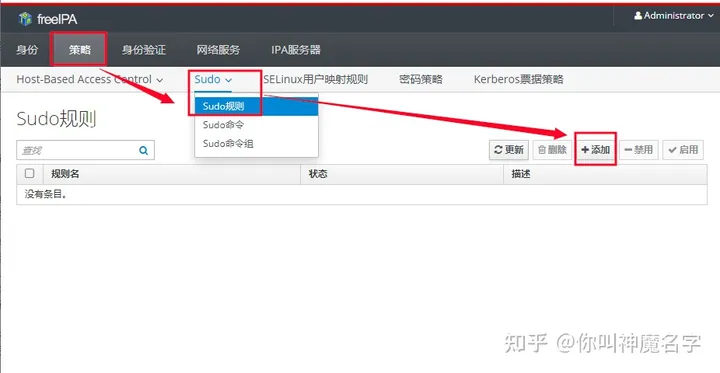
配置sudo规则
点击 策略-Sudo,下拉选择Sudo规则-添加
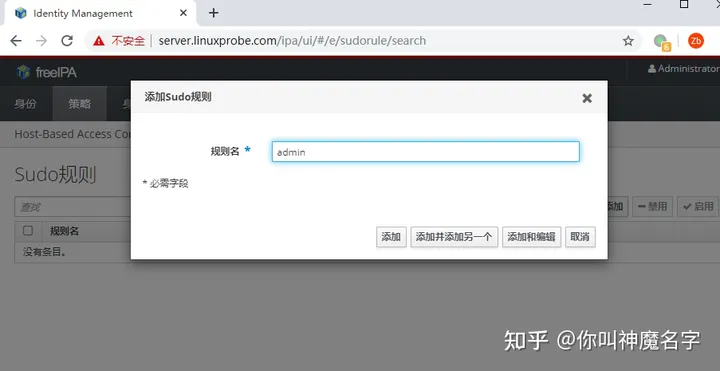
规则名称设置为admin,我们需要给admin组设置sudo规则,稍后我们把新建用户添加到admin组。 点击“添加和编辑”
规则应用的用户类别 设置为 “任何人” , 规则应用的主机类别 设置为 “任何主机”
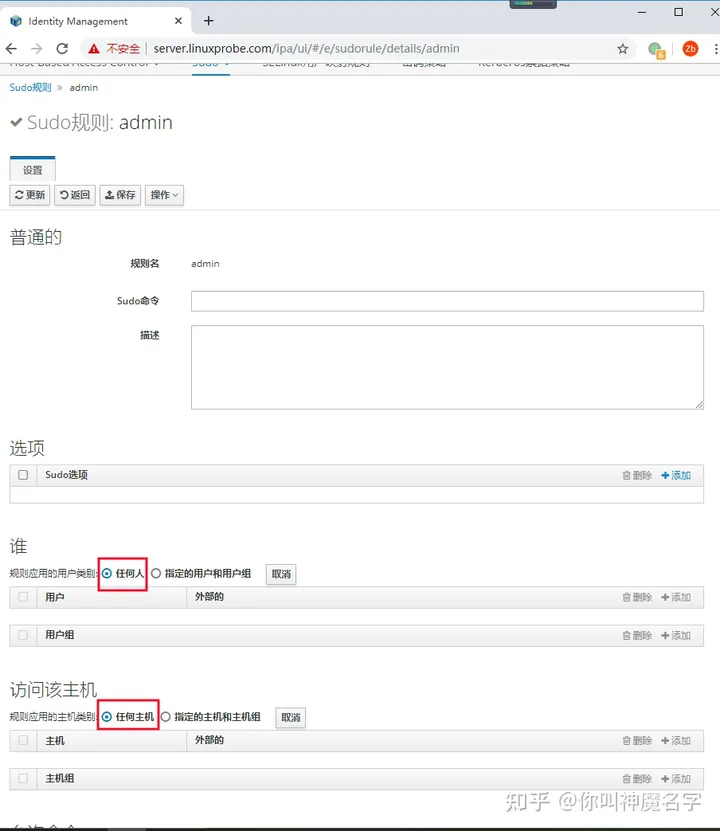
然后保存。
提示:配置完sudo不会马上生效,因为sssd有缓存,sssd缓存目录在/var/lib/sss/db/,sssd定时把sudo policy缓存在自己的本地,然后定时更新。我们需要在/etc/ sssd /sssd.conf里面添加几行代码 ,然后重启sssd服务。
debug_level = 0x3ff0  #debug level
ldap_sudo_full_refresh_interval = 3600
ldap_sudo_smart_refresh_interval = 30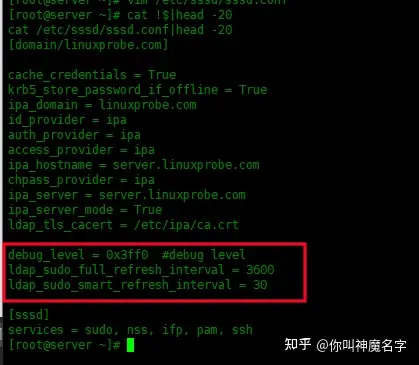
验证
新建服务器为客户端,准备和主机大致一致。
修改客户端网卡dns地址为server端地址),然后重启网卡
安装ipa-client
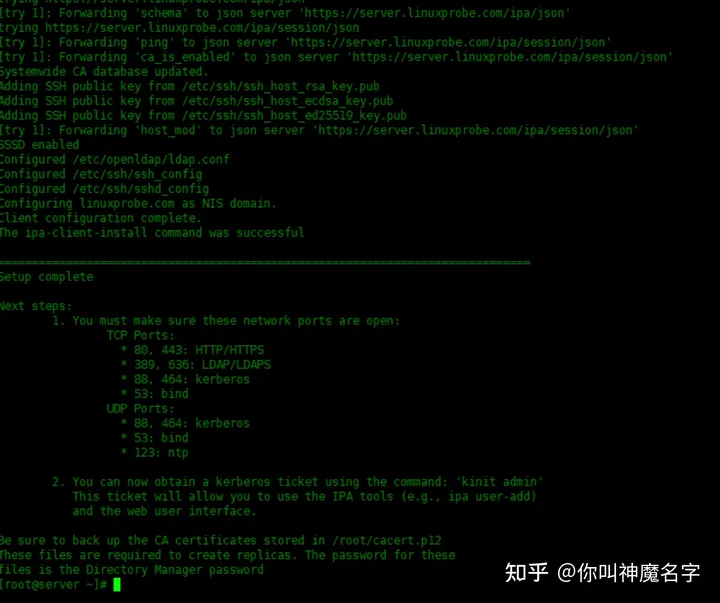
[root@client ~]# yum -y install ipa-client把client端加入域
# 服务端会默认将客户端主机名解析成当前的IP地址
[root@client ~]# ipa-client-install --mkhomedir --enable-dns-updates --no-ntp -p admin
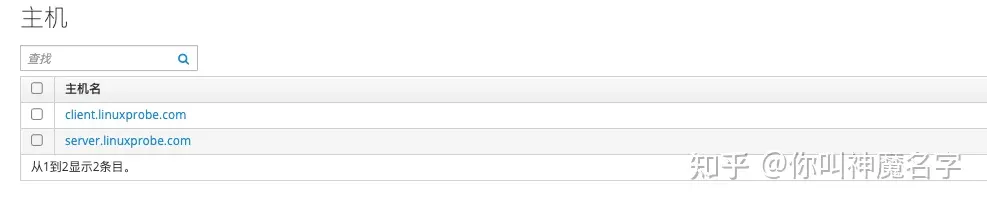
可以看到 client主机已经加入域了。
登录
在客户端直接ssh jiangcb@客户端地址
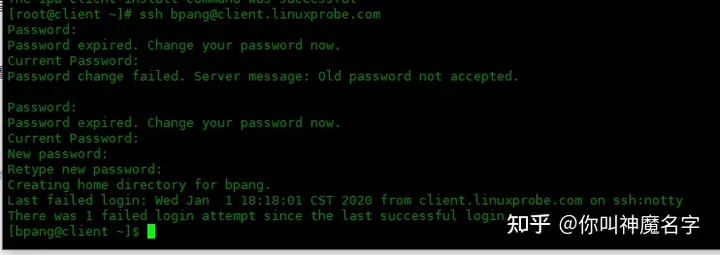
然后输入sudo -i可以切换成root用户,说明配置的sudo规则正常使用。
推荐本站淘宝优惠价购买喜欢的宝贝:

本文链接:https://hqyman.cn/post/4960.html 非本站原创文章欢迎转载,原创文章需保留本站地址!

 微信支付宝扫一扫,打赏作者吧~
休息一下~~