我们经常使用的是x86架构的cpu,而对于不同cpu架构的arm架构的操作系统,我们可以通过QEMU模拟器来进行模拟一个arm环境
1、部署前的准备
arm的镜像:
以此镜像为例:Kylin-Server-10-SP2-aarch64-Release-Build09-20210524.iso
QEMU 软件:
下载地址:qemu.weilnetz.de/w64/2021/qemu-w64-setup-20210505.exe" rel="nofollow" title="https://qemu.weilnetz.de/w64/2021/qemu-w64-setup-20210505.exe" style="box-sizing: border-box; outline: none; margin: 0px; padding: 0px; text-decoration-line: none; cursor: pointer; color: rgb(78, 161, 219); overflow-wrap: break-word;">https://qemu.weilnetz.de/w64/2021/qemu-w64-setup-20210505.exe
UEFI(BIOS的替代方案):
http://releases.linaro.org/components/kernel/uefi-linaro/16.02/release/qemu64/QEMU_EFI.fd下载地址:http://releases.linaro.org/components/kernel/uefi-linaro/16.02/release/qemu64/QEMU_EFI.fd
2、安装qemu软件
双击qemu-w64-setup-20210505.exe进行安装 ,下一步下一步,选择指定路径即可,例如:安装在D:\VM\arm64\qemu目录下
安装好qemu软件后,通过quemu生成虚机硬盘,如下所示
进入到qemu的安装目录,如下图,打开cmd命令行

qemu-img create -f qcow2 D:\VM\arm64\kylindisk.qcow2 40G
如下图所示,会生成kylindisk.qcow2硬盘文件

3、QEMU_EFI.fd文件
将QEMU_EFI.fd文件放到硬盘文件同目录下,例如D:\VM\arm64(镜像文件也可以放在此目录下)
4、安装arm系统
进入到qemu目录里面

进入到cmd命令行,执行以下命令
qemu-system-aarch64.exe -m 8192 -cpu cortex-a72 -smp 8,sockets=4,cores=2 -M virt -bios D:\VM\arm64\QEMU_EFI.fd -device VGA -device nec-usb-xhci -device usb-mouse -device usb-kbd -drive if=none,file=D:\vm\arm64\kylindisk.qcow2,id=hd0 -device virtio-blk-device,drive=hd0 -drive if=none,file=D:\VM\arm64\Kylin-Server-10-SP2-aarch64-Release-Build09-20210524.iso,id=cdrom,media=cdrom -device virtio-scsi-device -device scsi-cd,drive=cdrom -net nic -net user,hostfwd=tcp::2222-:22
-m 8192指的是运行内存
此时应该能看到系统安装界面,必须在五秒钟之内通过键盘方向键选择“Install Kylin-Desktop V10-SP1”,按下回车,否则会进入预览模式,如果你不小心错过了,请关闭QEMU窗口并重新执行上面的步骤。注意,安装期间请勿关闭控制台窗口,否则虚拟机进程也会关闭,安装界面如下
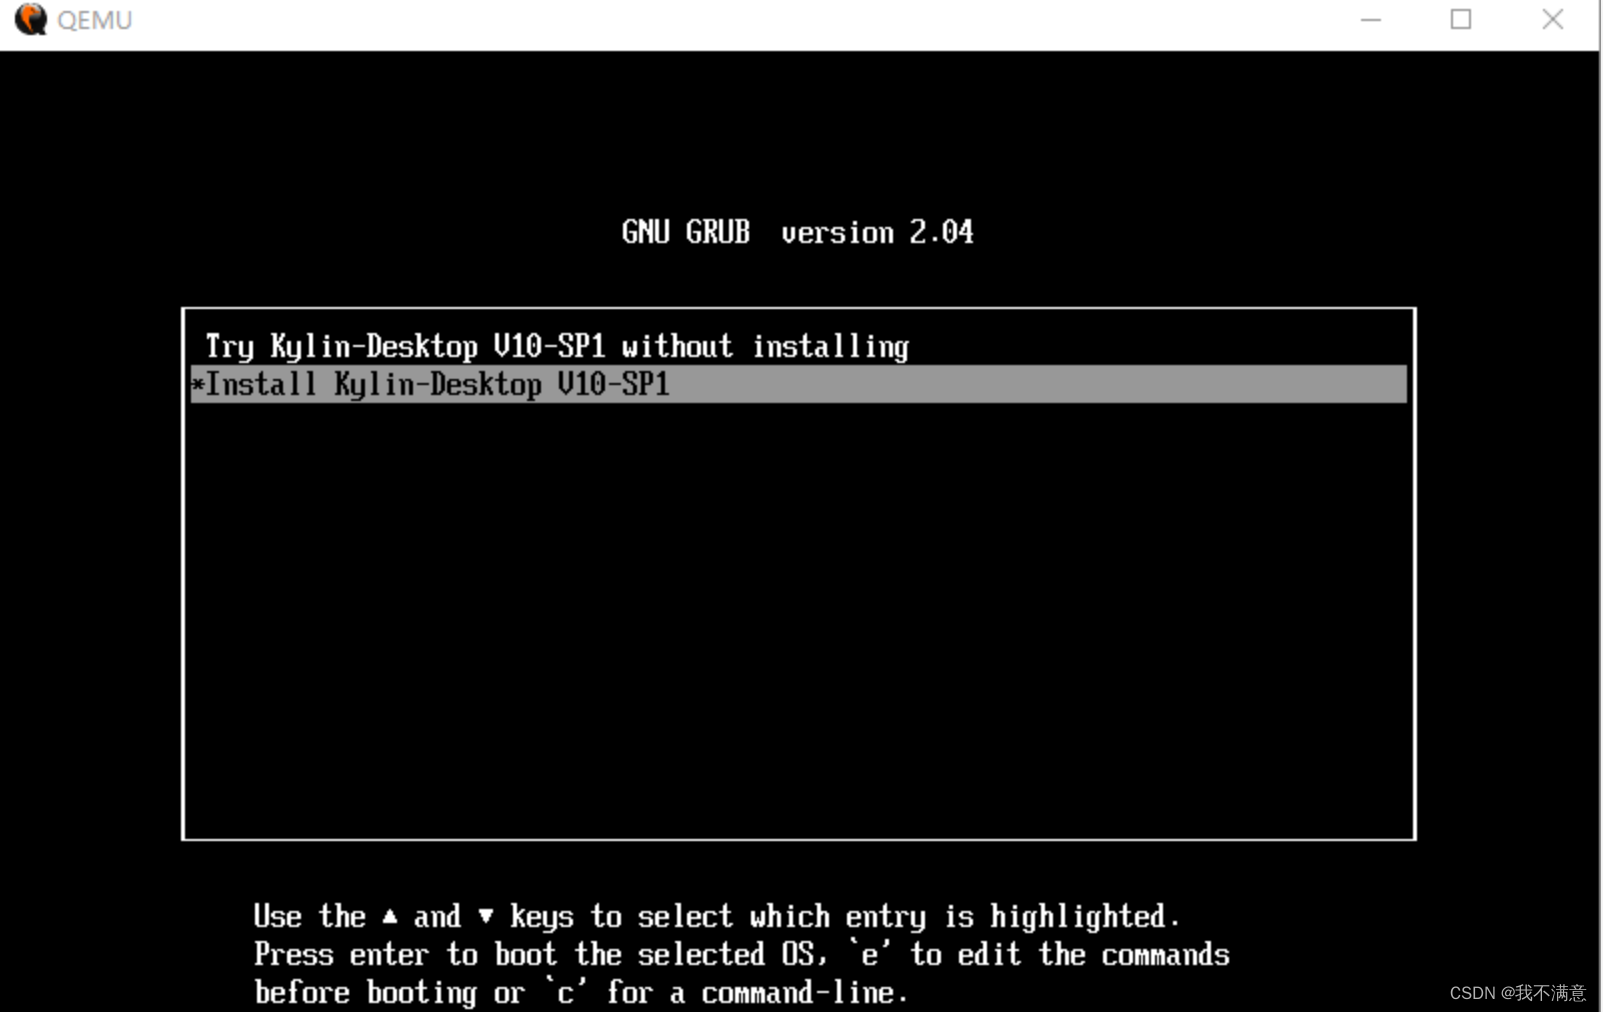
之后便是漫长的等待……期间可能会长时间黑屏,不要怀疑自己,请让它继续运行

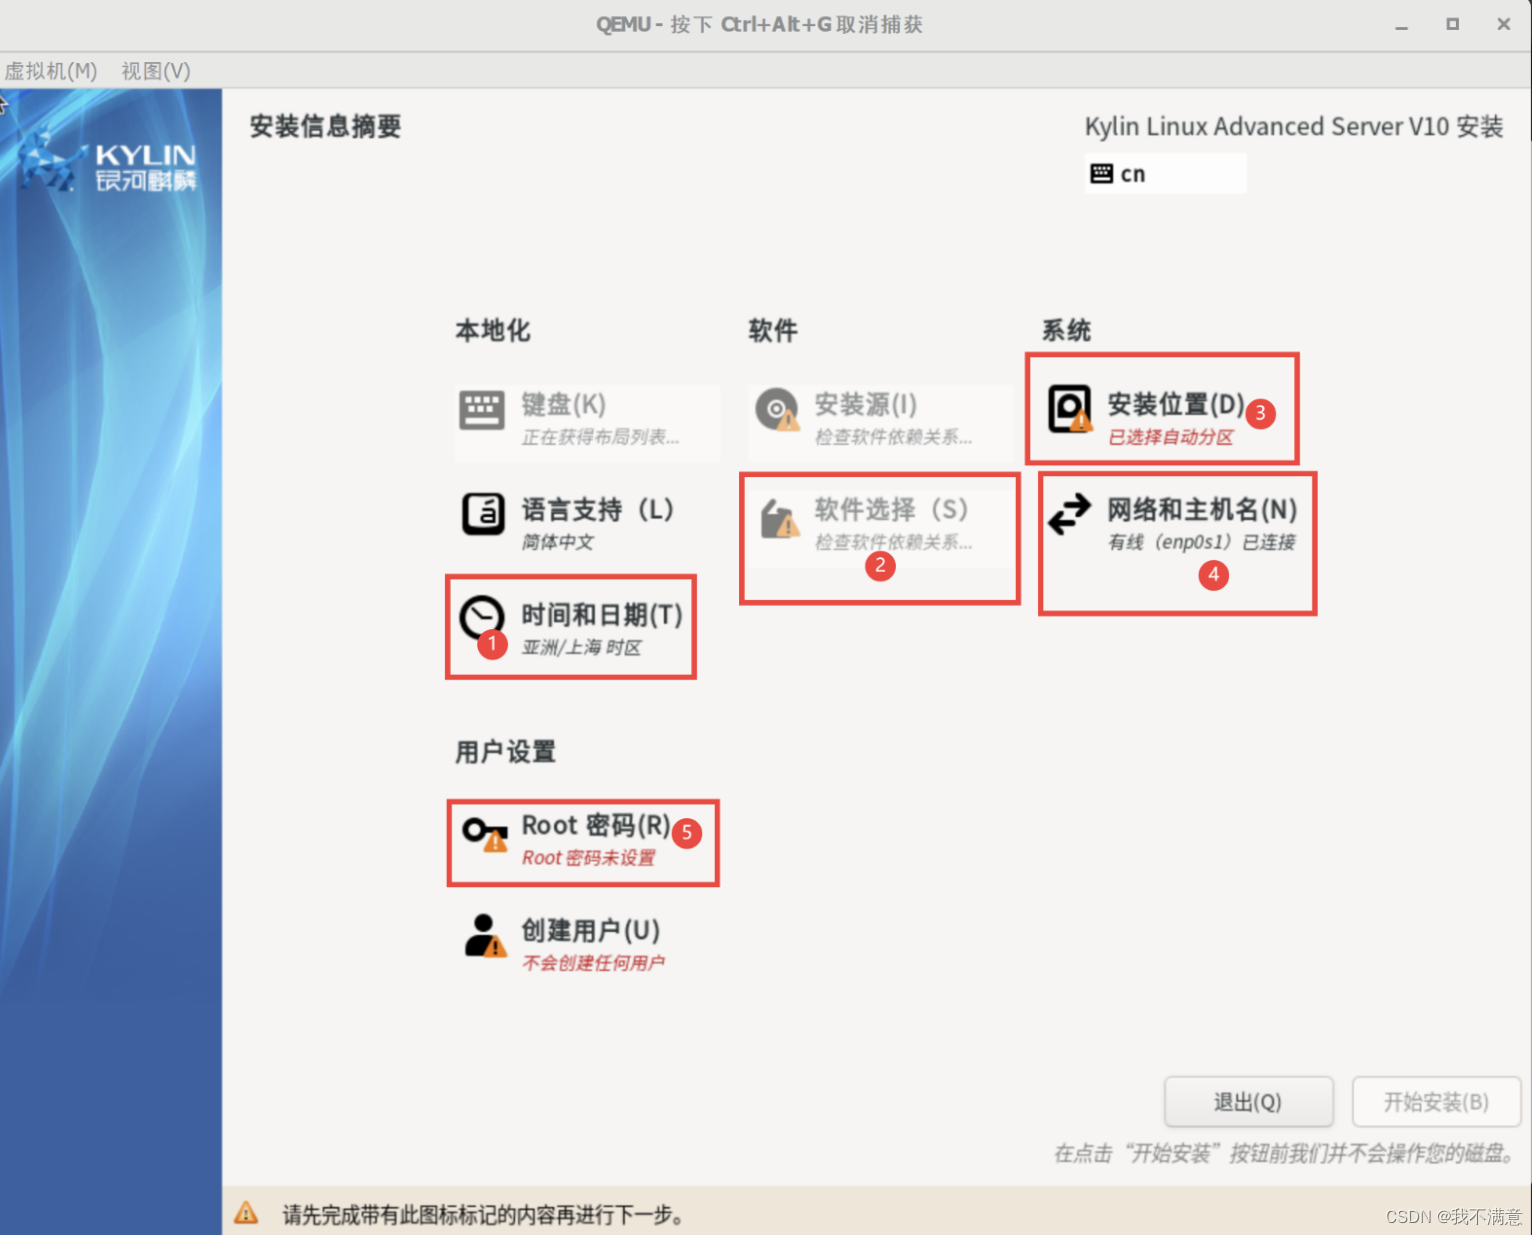
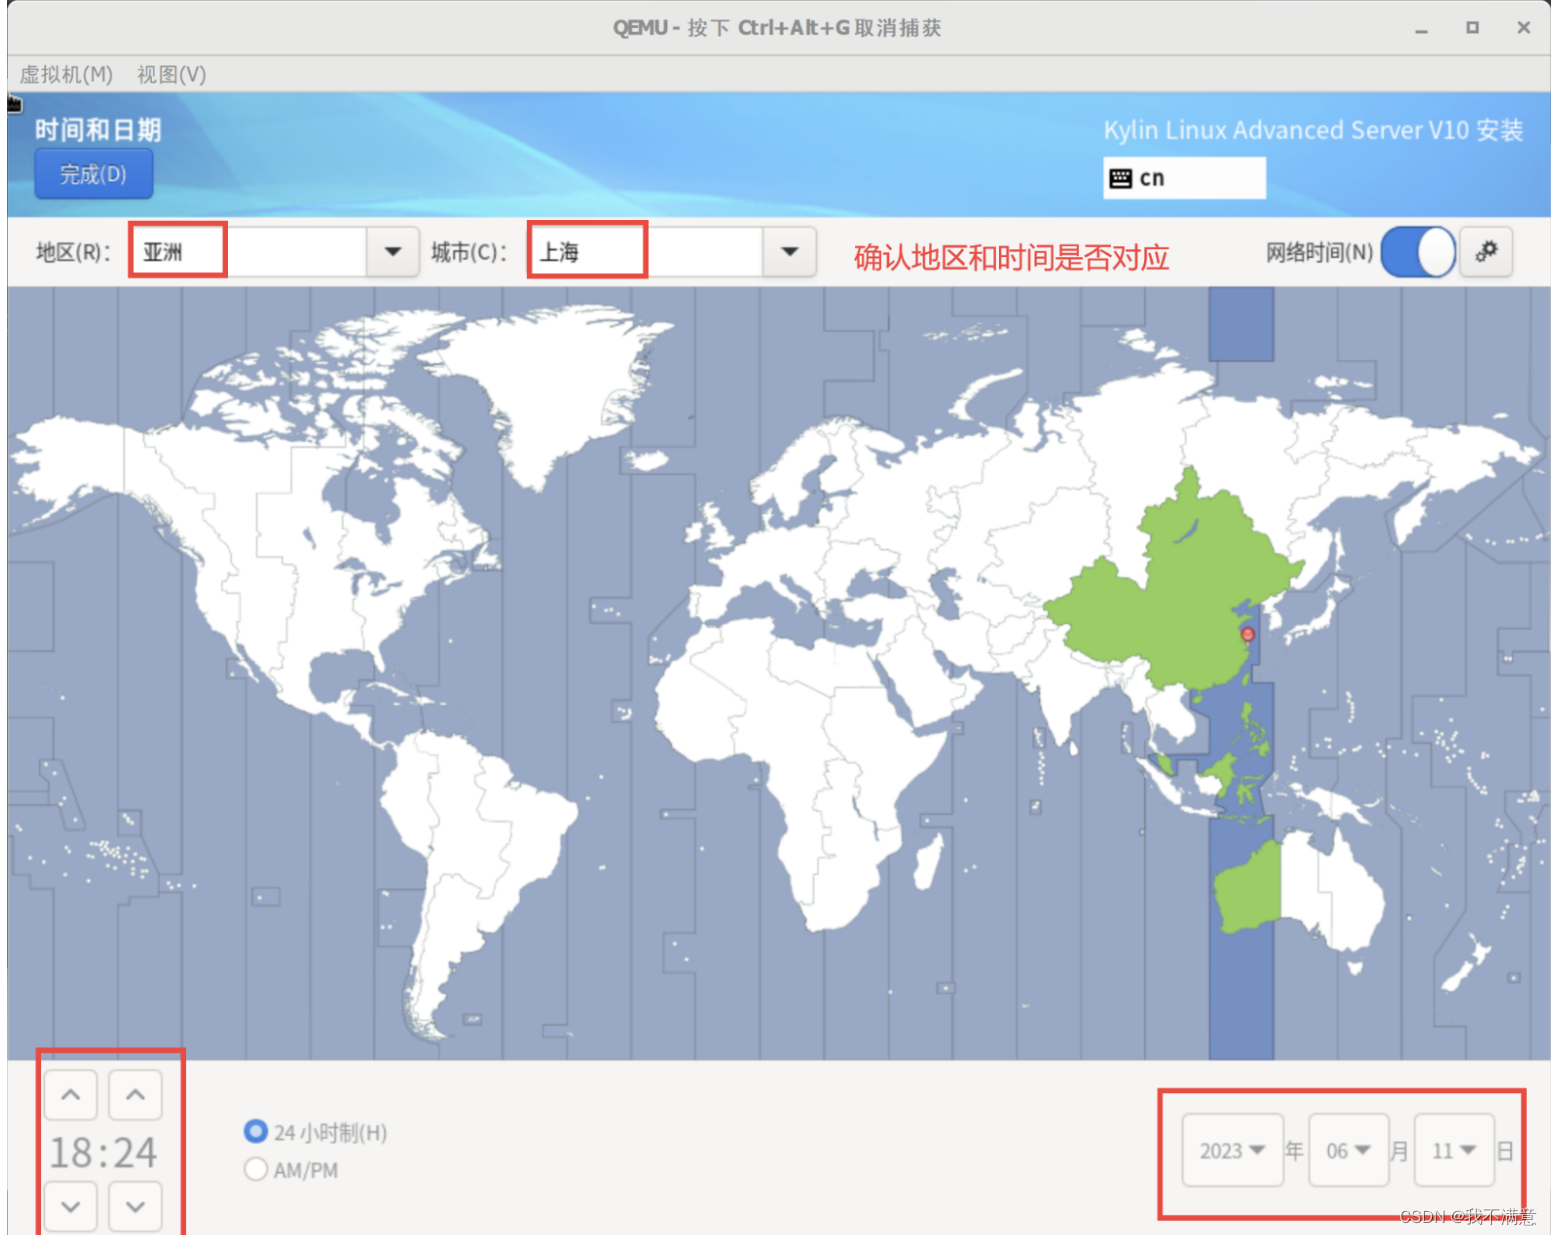
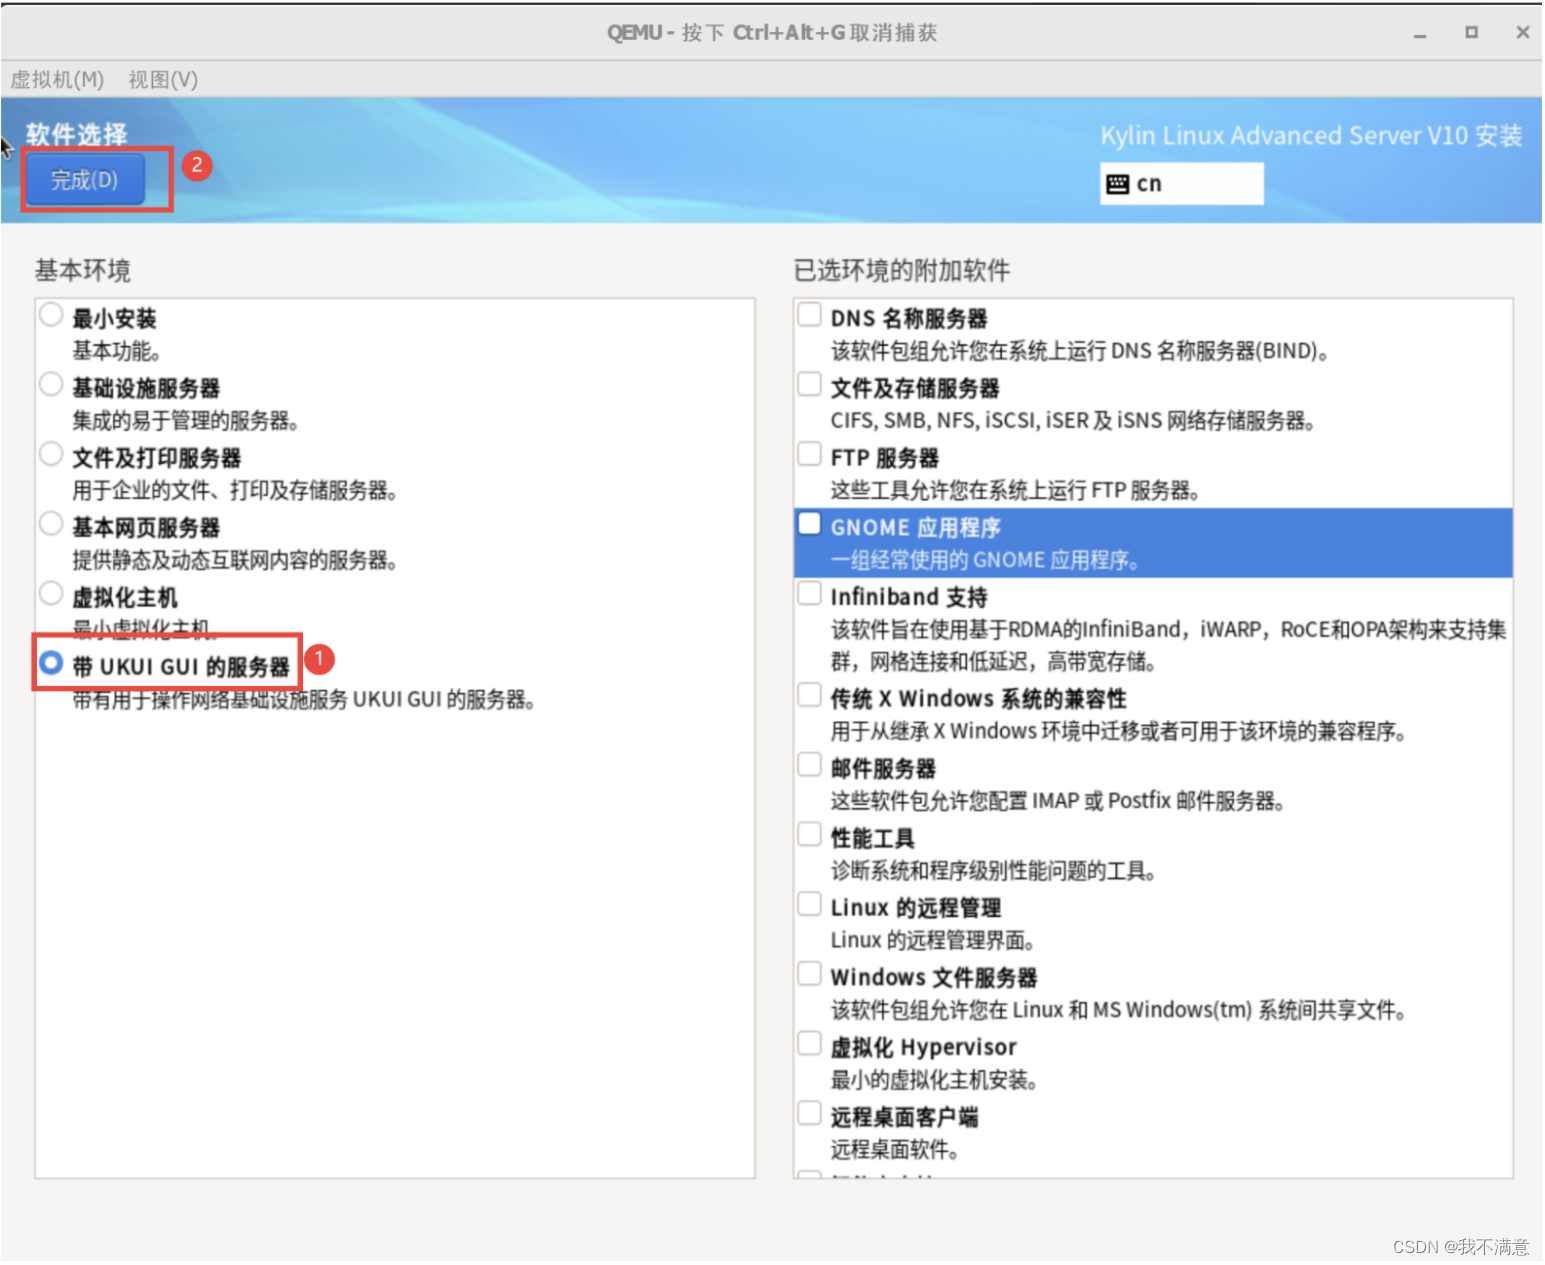

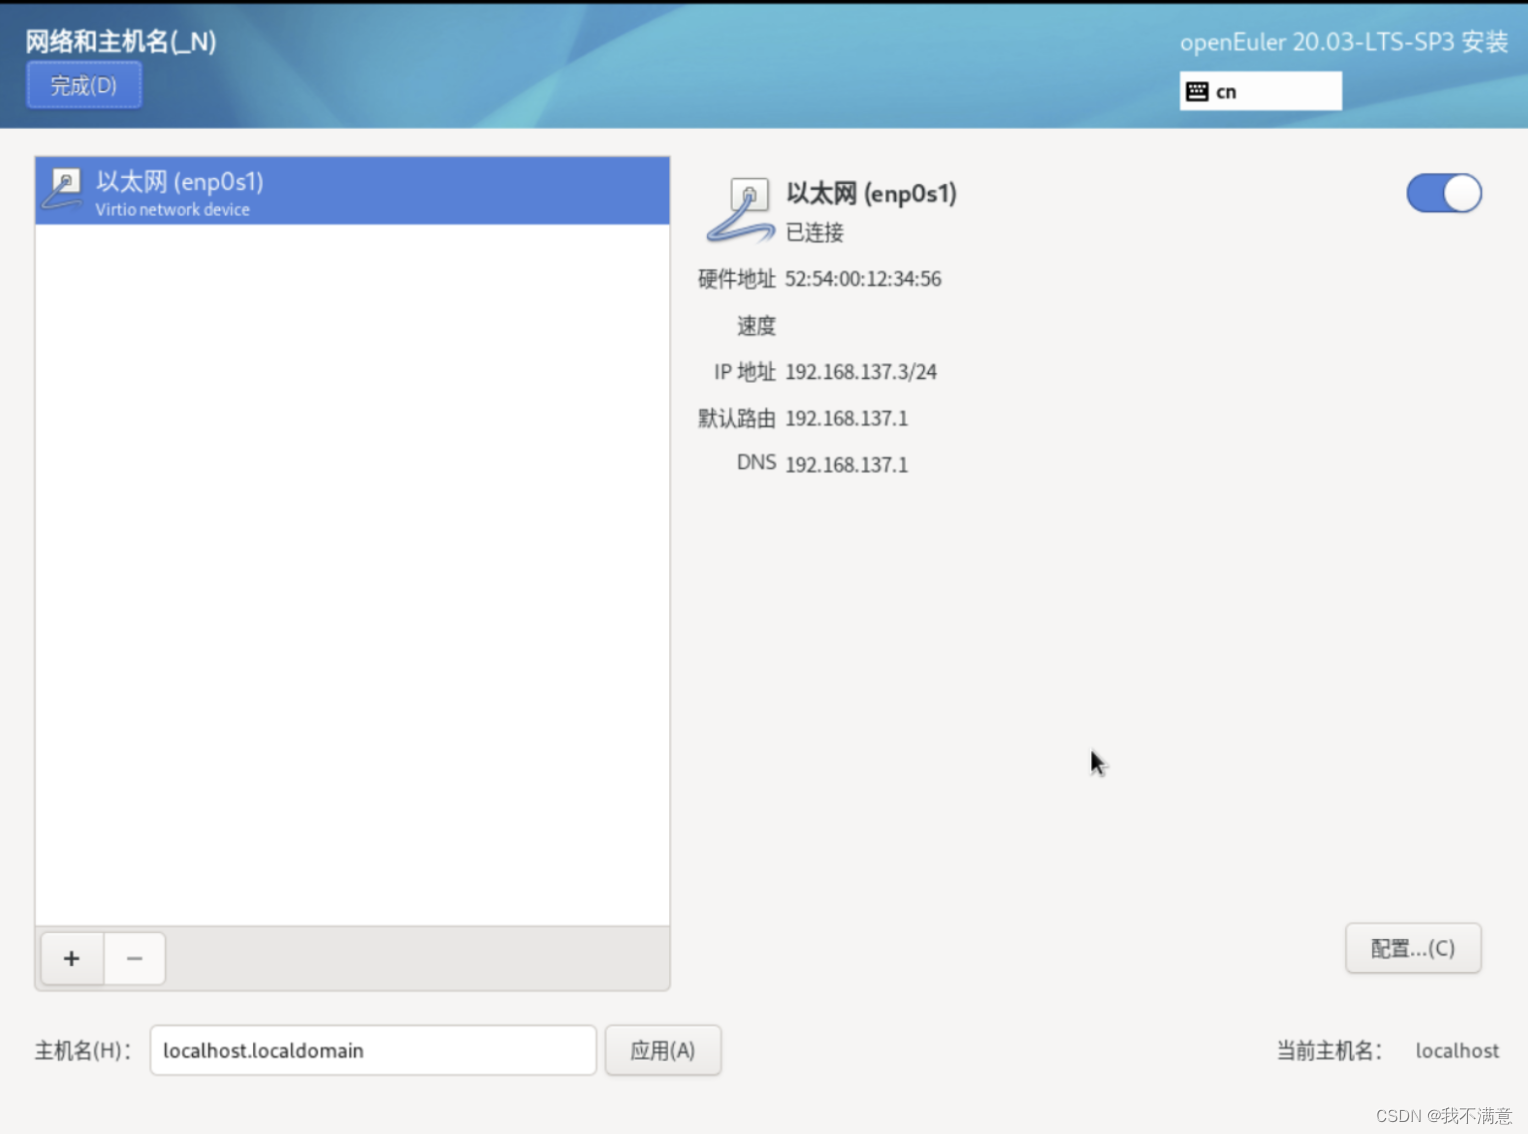
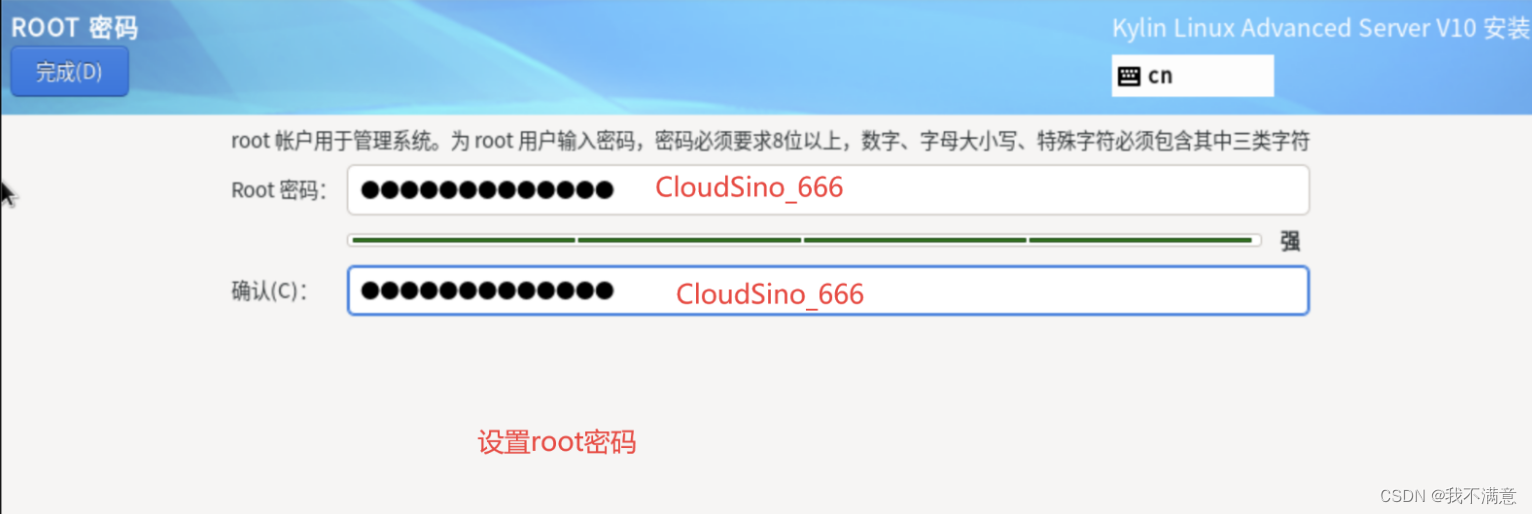

重启系统
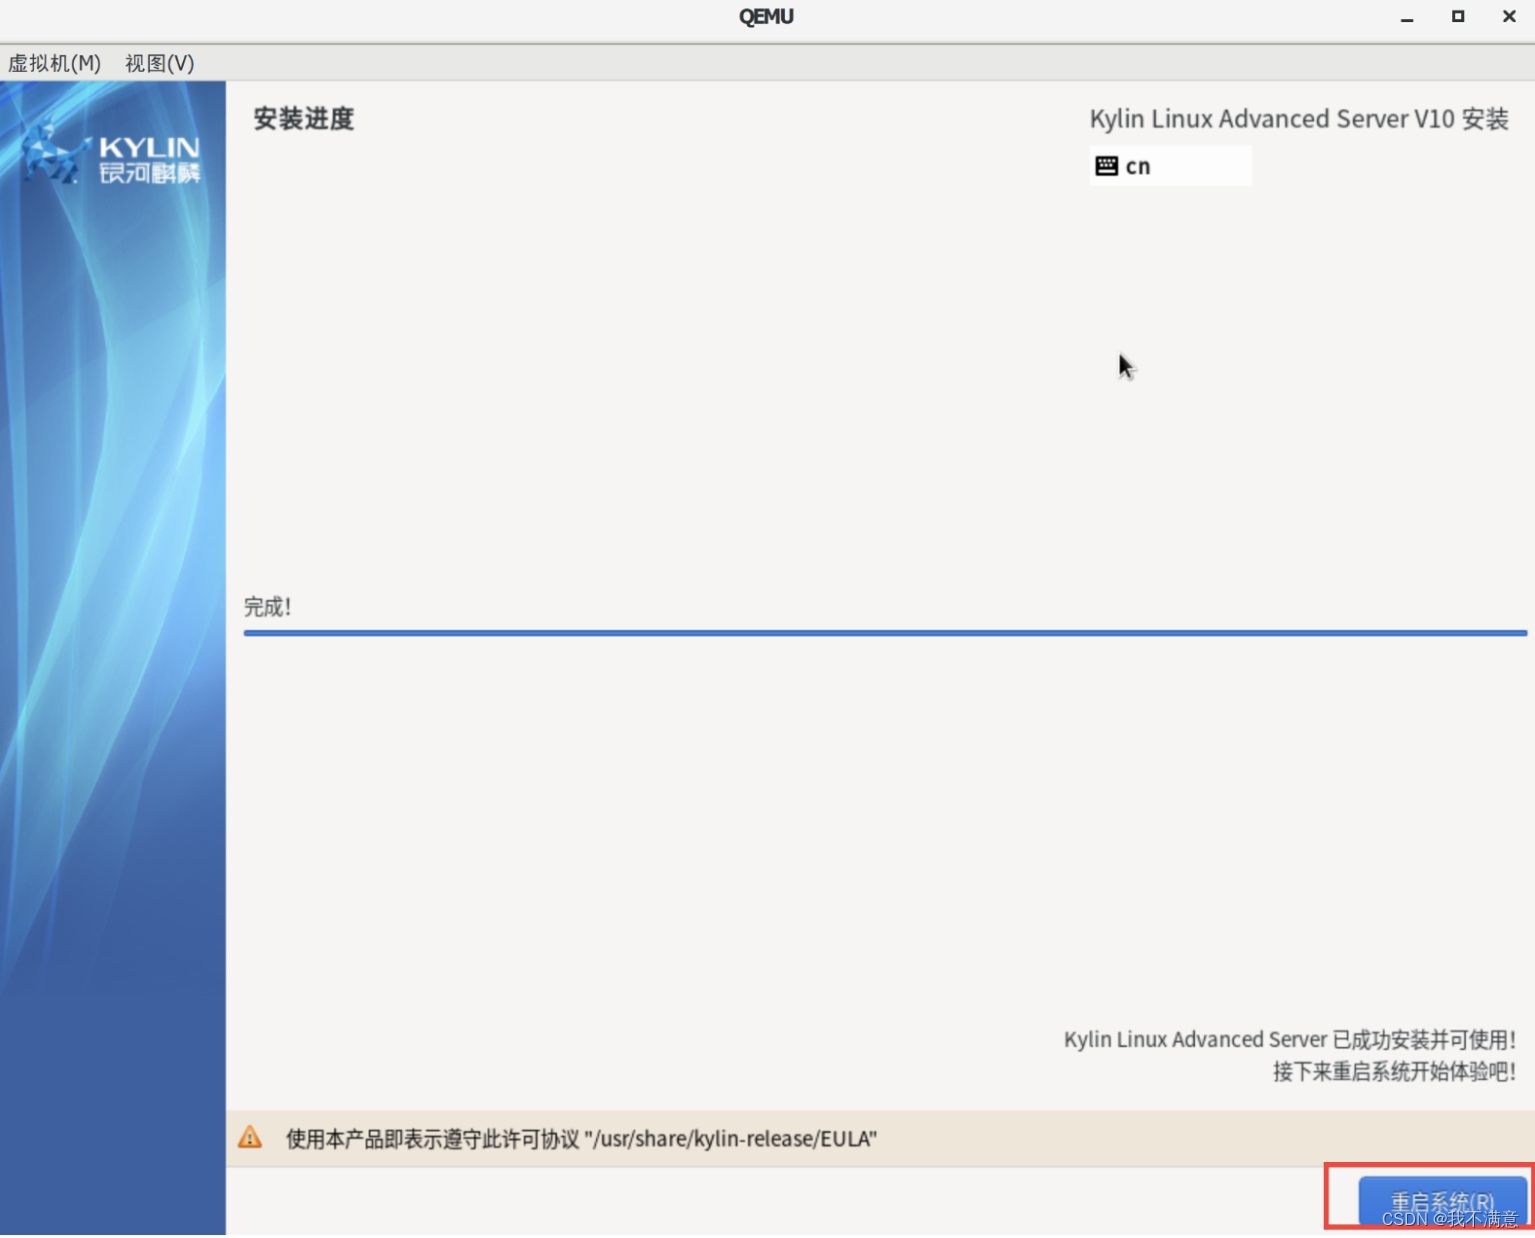
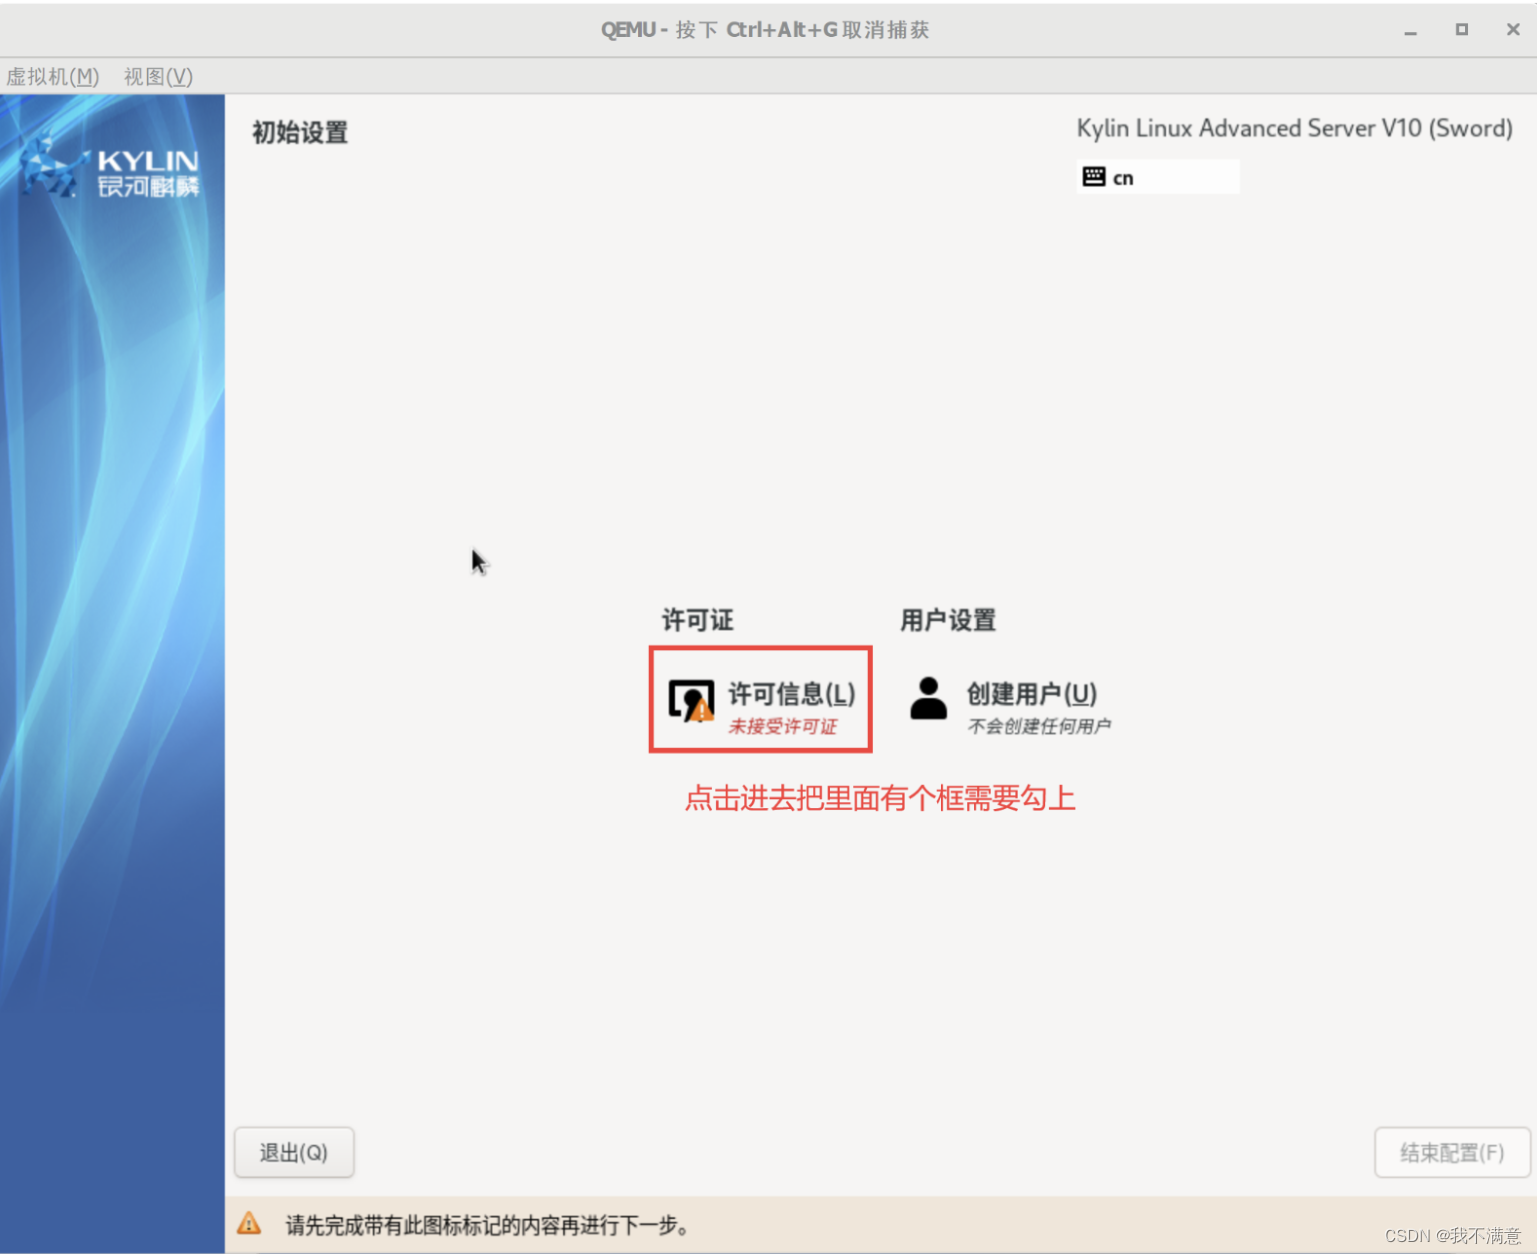
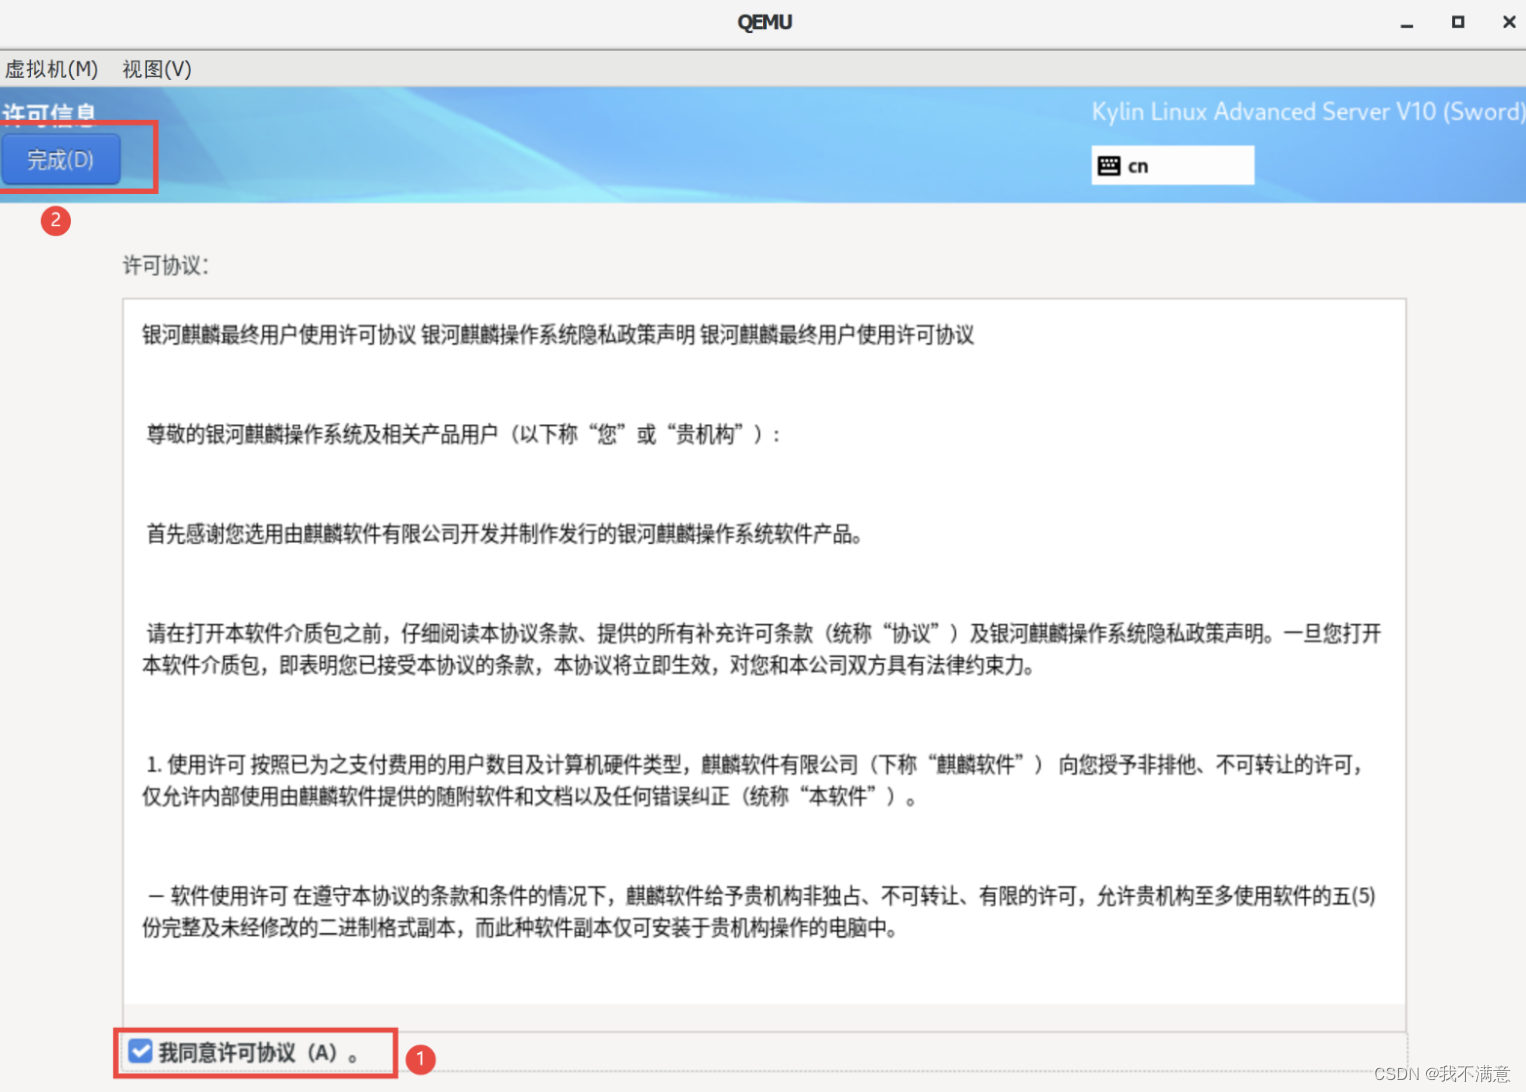
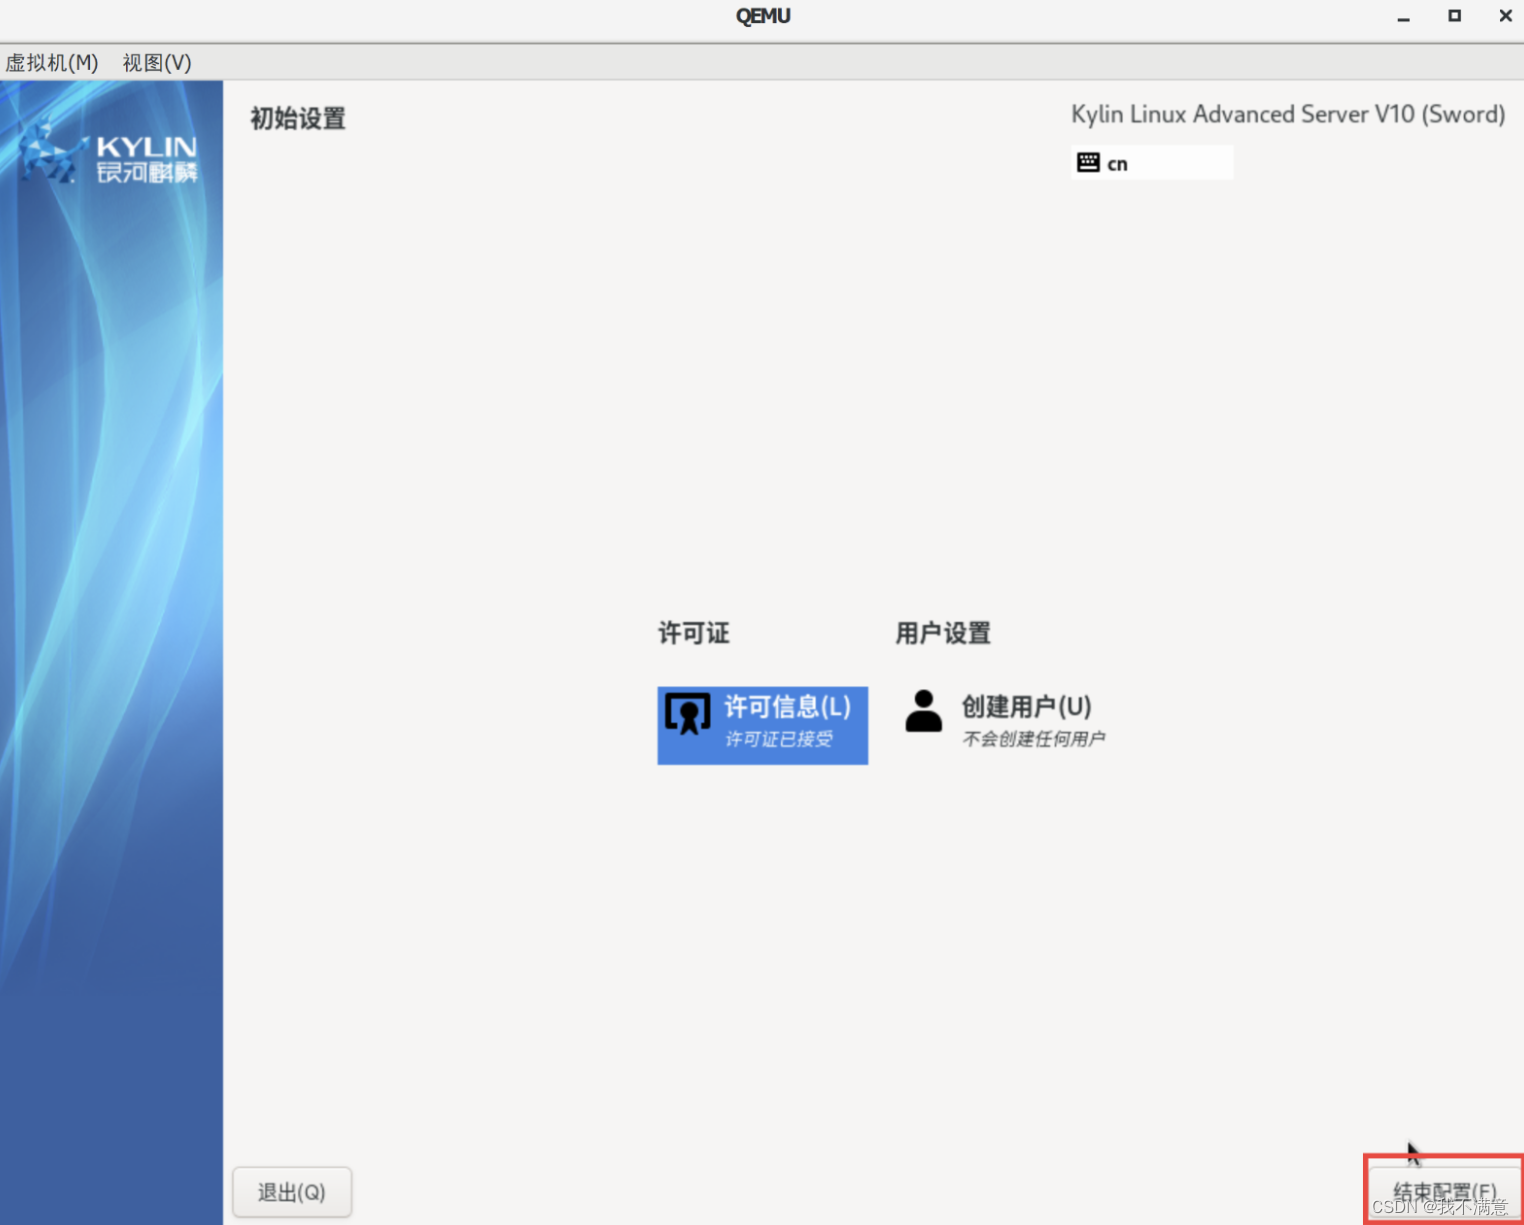

链接ssh:一开始我们已经做过端口映射了,直接通过宿主机ip:2222链接服务器远程
启动虚拟机
安装好后,我们需要再次启动(无需指定iso文件启动)
进入到qemu所在位置
进入到cmd命令行,执行以下命令
qemu-system-aarch64 -m 8192 -cpu cortex-a72 -smp 8,sockets=4,cores=2 -M virt -bios D:\VM\arm64\QEMU_EFI.fd -device VGA -device nec-usb-xhci -device usb-mouse -device usb-kbd -drive if=none,file=D:\vm\arm64\kylindisk.qcow2,id=hd0 -device virtio-blk-device,drive=hd0 -net nic -net user,hostfwd=tcp::2222-:22
推荐本站淘宝优惠价购买喜欢的宝贝:

本文链接:https://hqyman.cn/post/5735.html 非本站原创文章欢迎转载,原创文章需保留本站地址!
打赏

微信支付宝扫一扫,打赏作者吧~
休息一下~~
 HQY 一个和谐有爱的空间