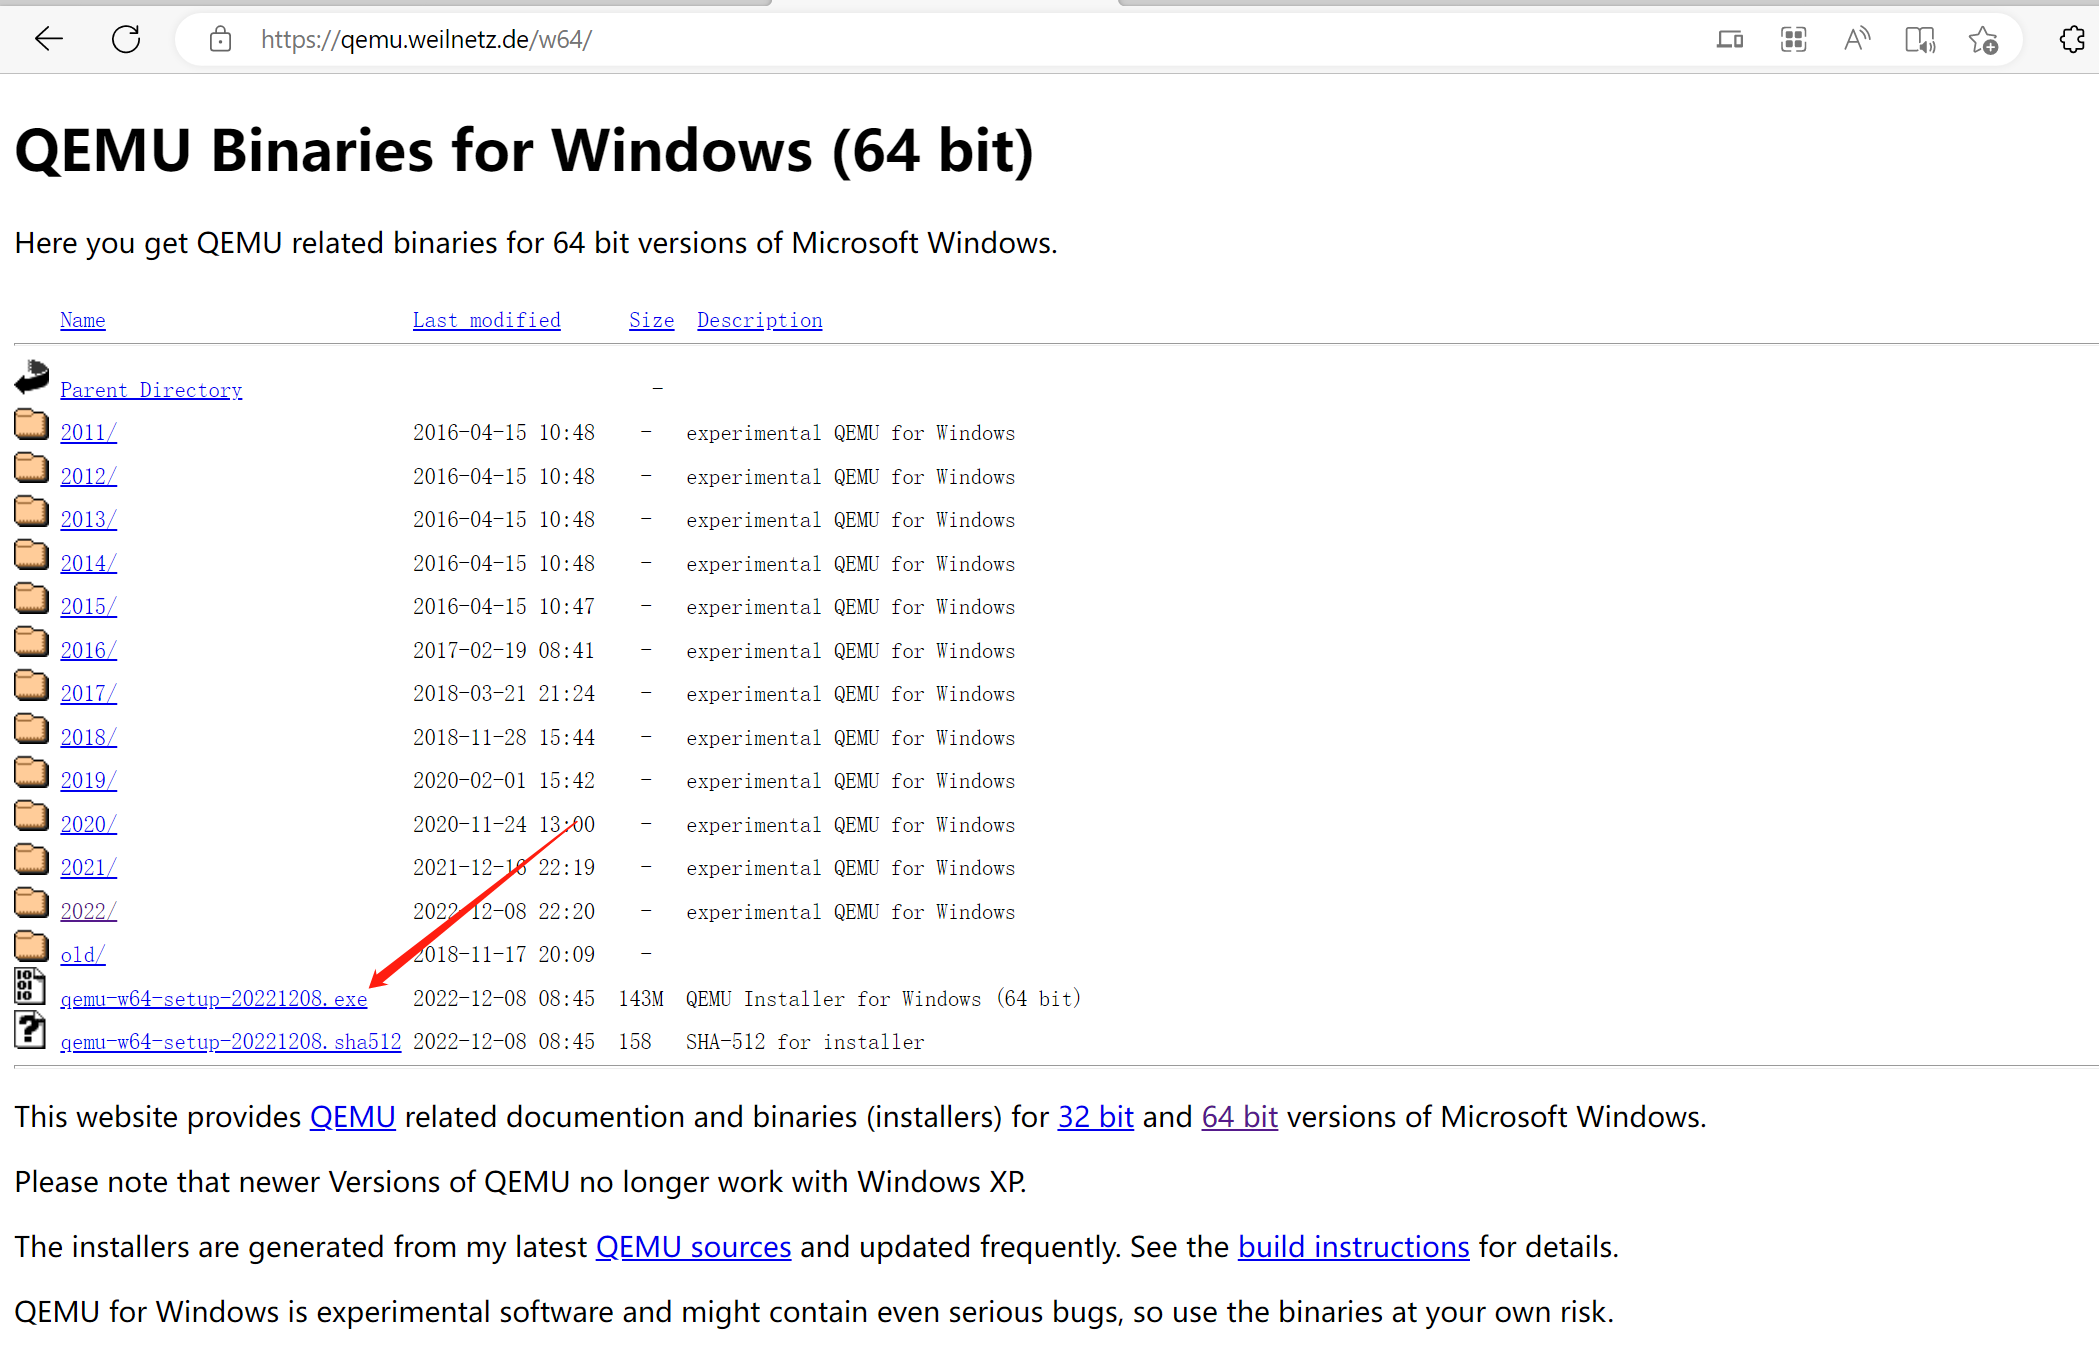
一、下载QEMU
qemu.weilnetz.de/w64/" rel="nofollow" style="box-sizing: border-box; outline: none; margin: 0px; padding: 0px; text-decoration-line: none; cursor: pointer; background-color: transparent; color: rgb(78, 161, 219); overflow-wrap: break-word;">https://qemu.weilnetz.de/w64/
二、下载 QEMU UEFI 固件文件
https://releases.linaro.org/components/kernel/uefi-linaro/latest/release/qemu64/QEMU_EFI.fd
这里下载的是16.02的版本,放在了 F:\QEMU 根目录。

网上还能找到一些其它版本,但是推荐使用这个,兼容性比较好。
三、aarch64 的光盘镜像文件
openEuer官网镜像下载:https://www.openeuler.org/zh/download/
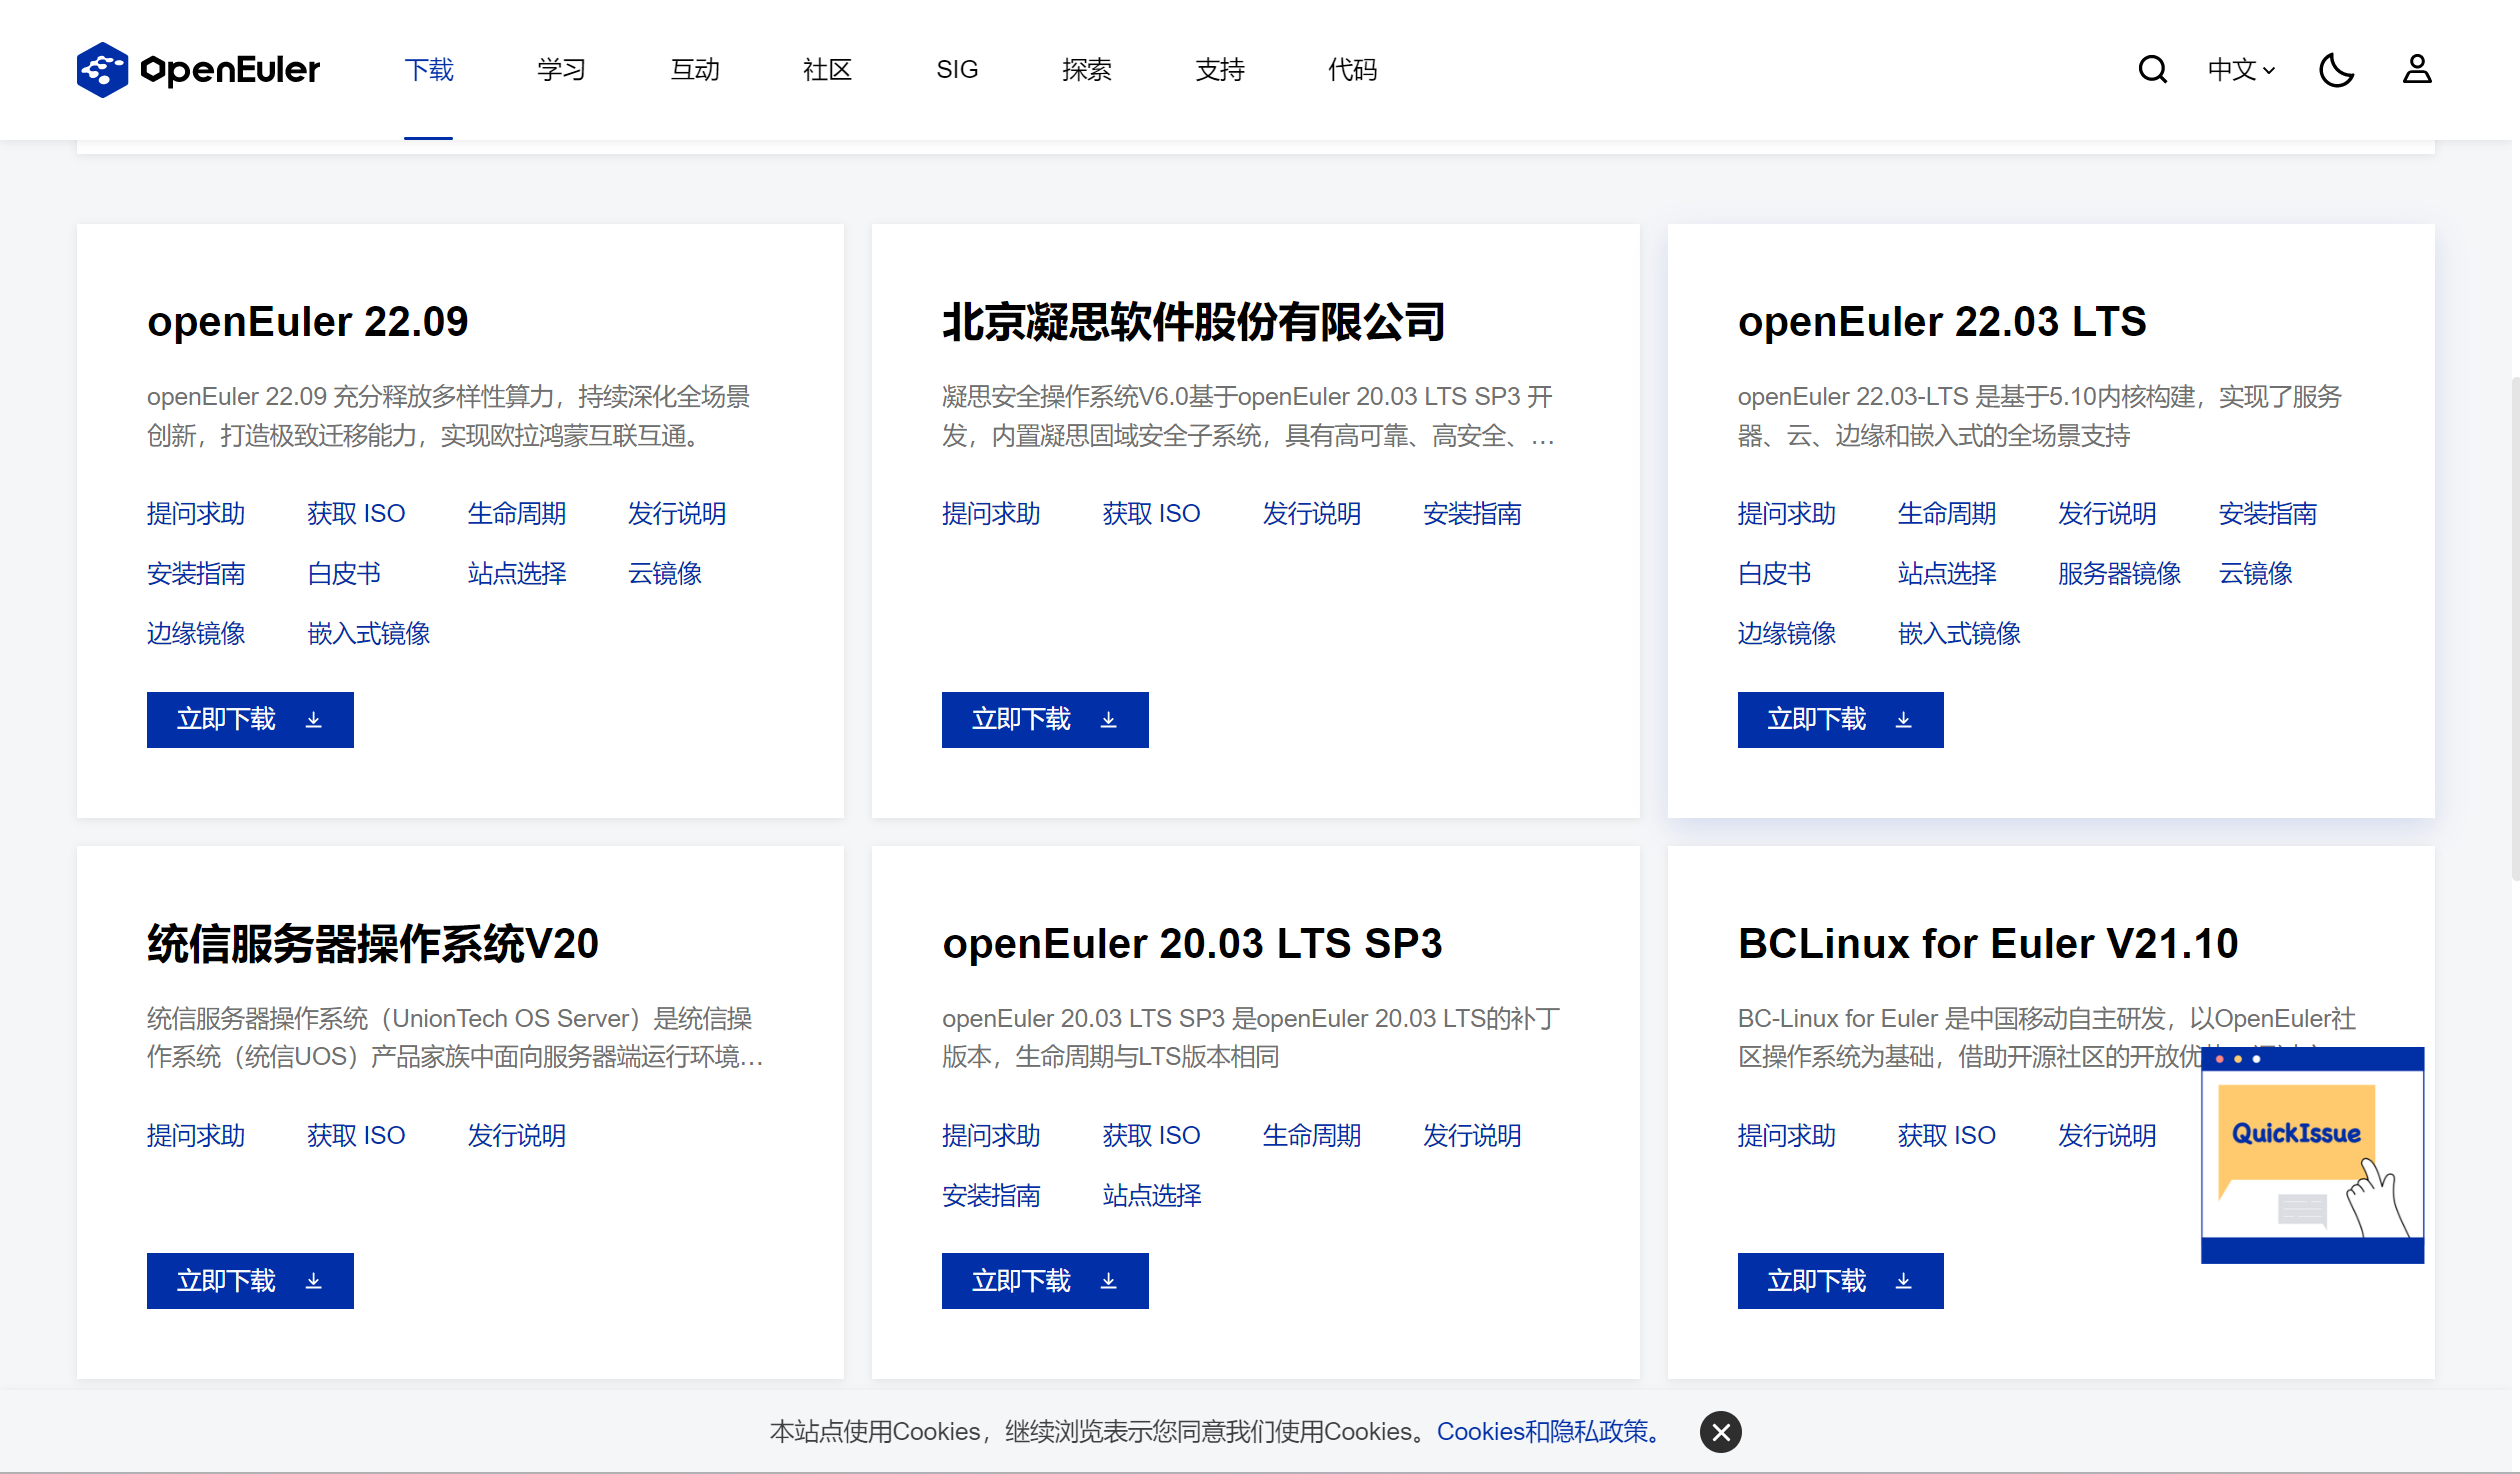
本文使用的是一个 openEuler-20.03-LTS-SP3 镜像文件。
https://mirrors.tuna.tsinghua.edu.cn/openeuler/openEuler-20.03-LTS-SP3/ISO/aarch64/openEuler-20.03-LTS-SP3-aarch64-dvd.iso
四、安装设置 QEMU
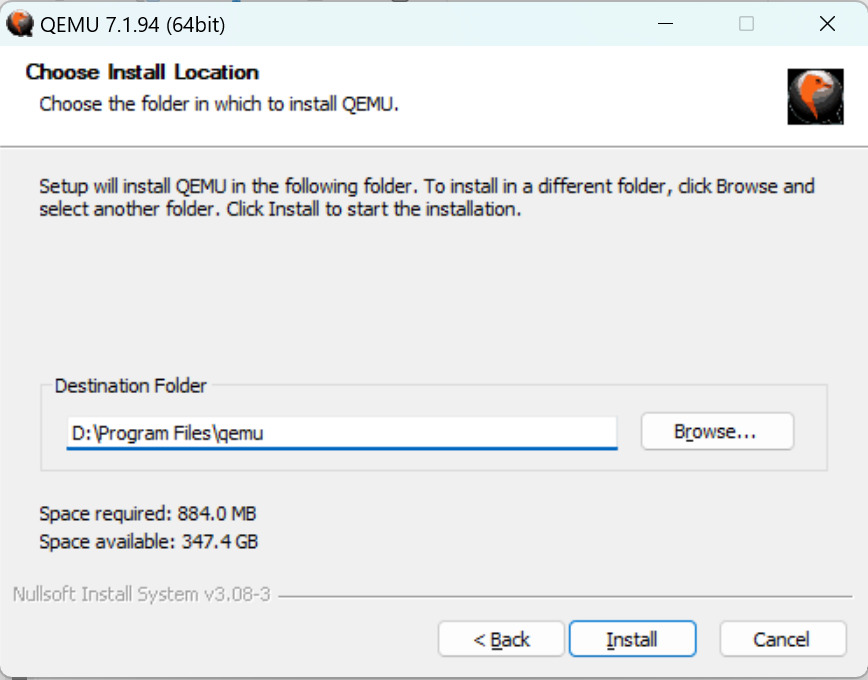
QEMU下载好后,直接双击安装,路径根据自身喜好选择即可。
这里是安装在默认路径:D:\Program Files\qemu
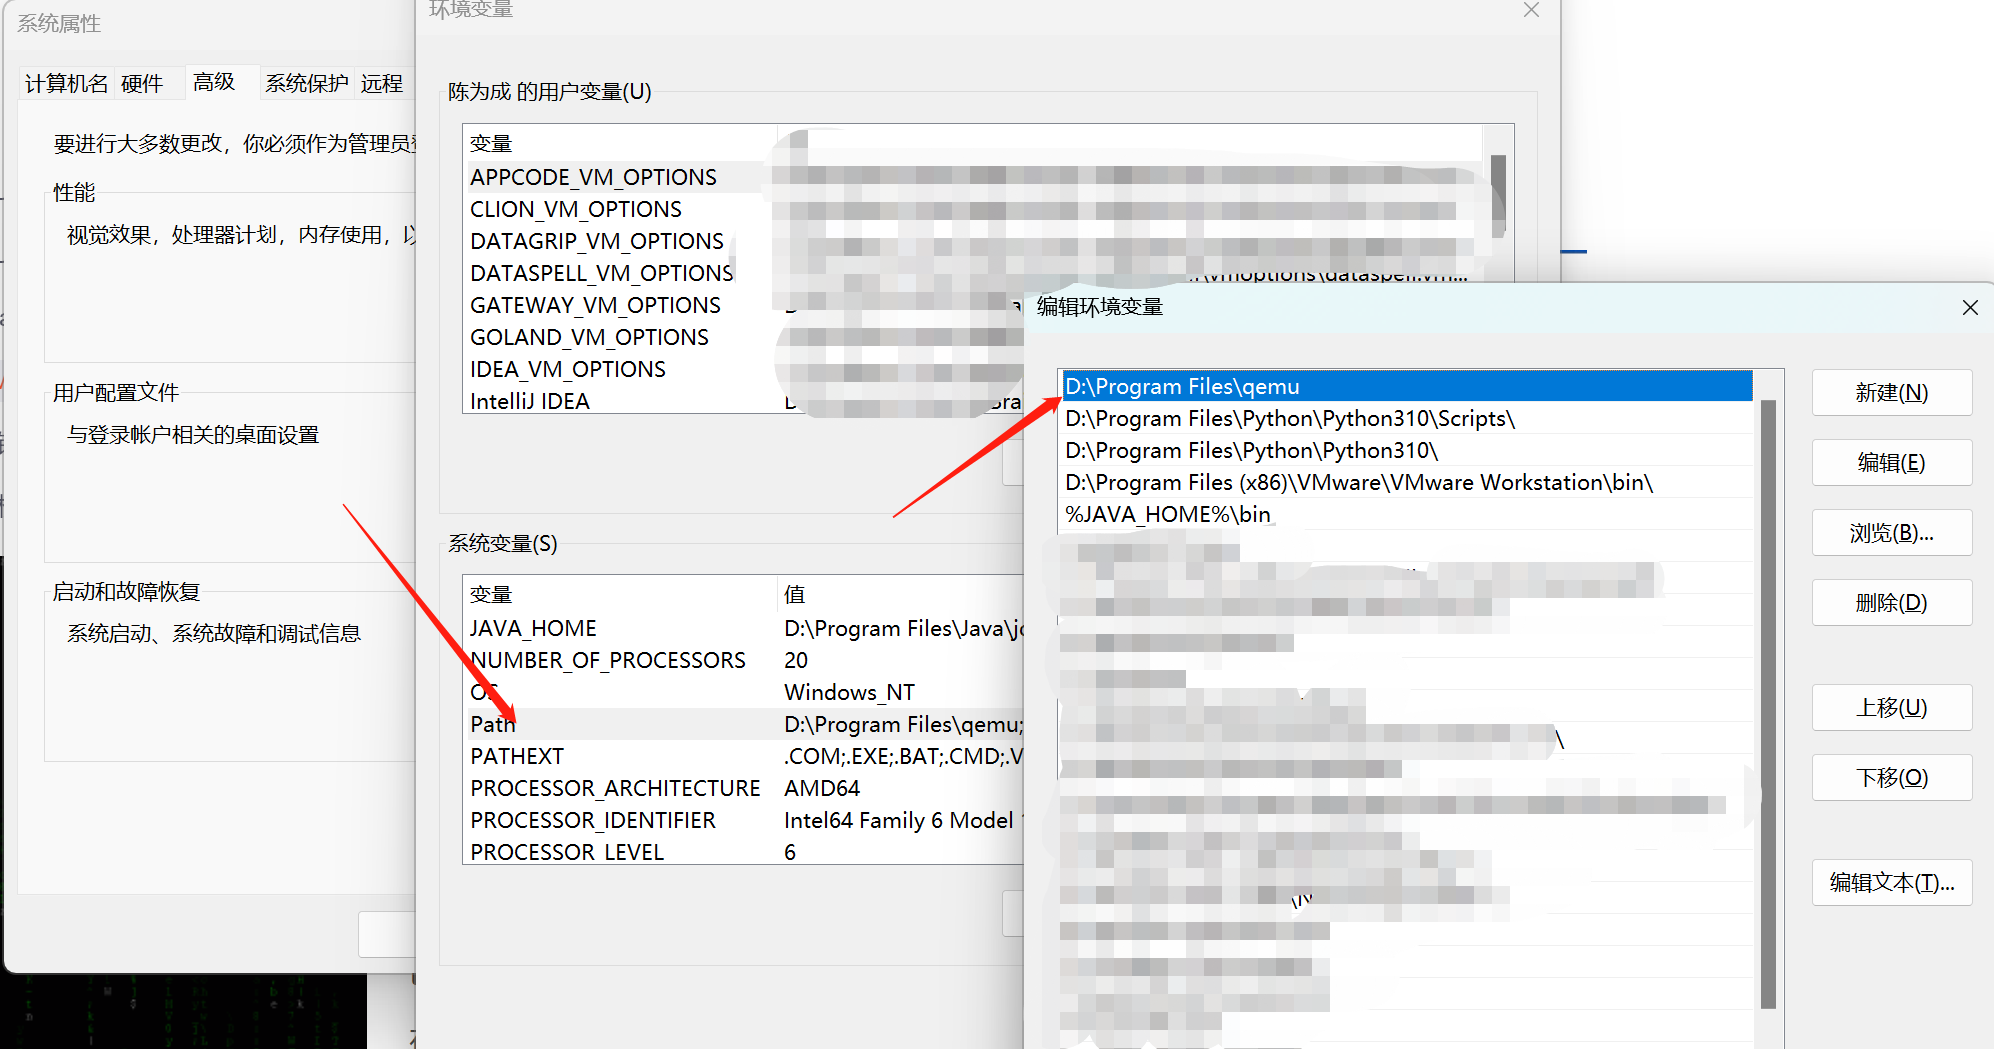
安装完成后,在Path环境变量中添加QEMU路径
五、创建虚拟网卡
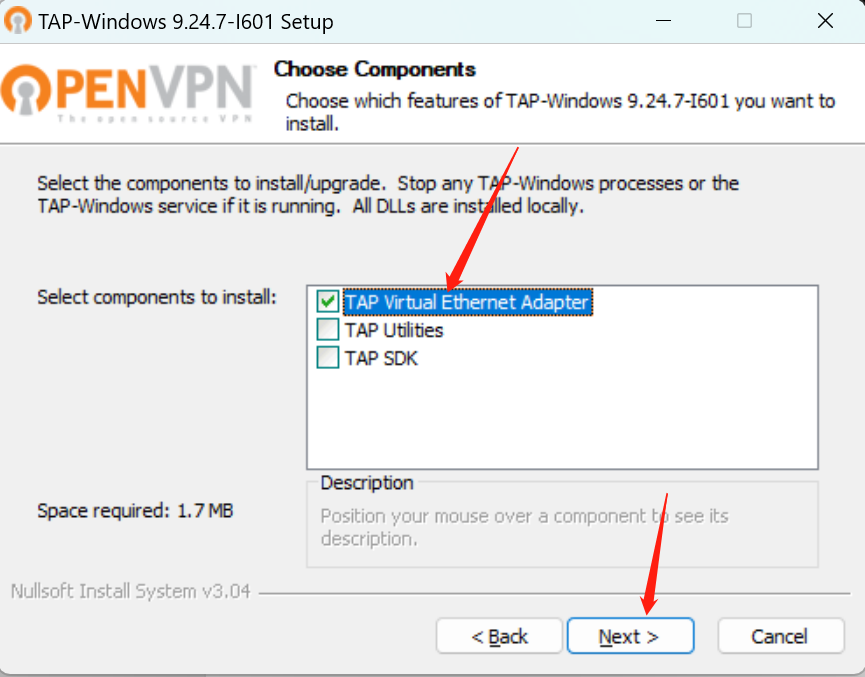
1、安装 tap-windows
下载地址:vpn.net/downloads/releases/" rel="nofollow" style="box-sizing: border-box; outline: none; margin: 0px; padding: 0px; text-decoration-line: none; cursor: pointer; background-color: transparent; color: rgb(78, 161, 219); overflow-wrap: break-word;">https://build.openvpn.net/downloads/releases/
Win10版本的:https://build.openvpn.net/downloads/releases/tap-windows-9.24.7-I601-Win10.exe
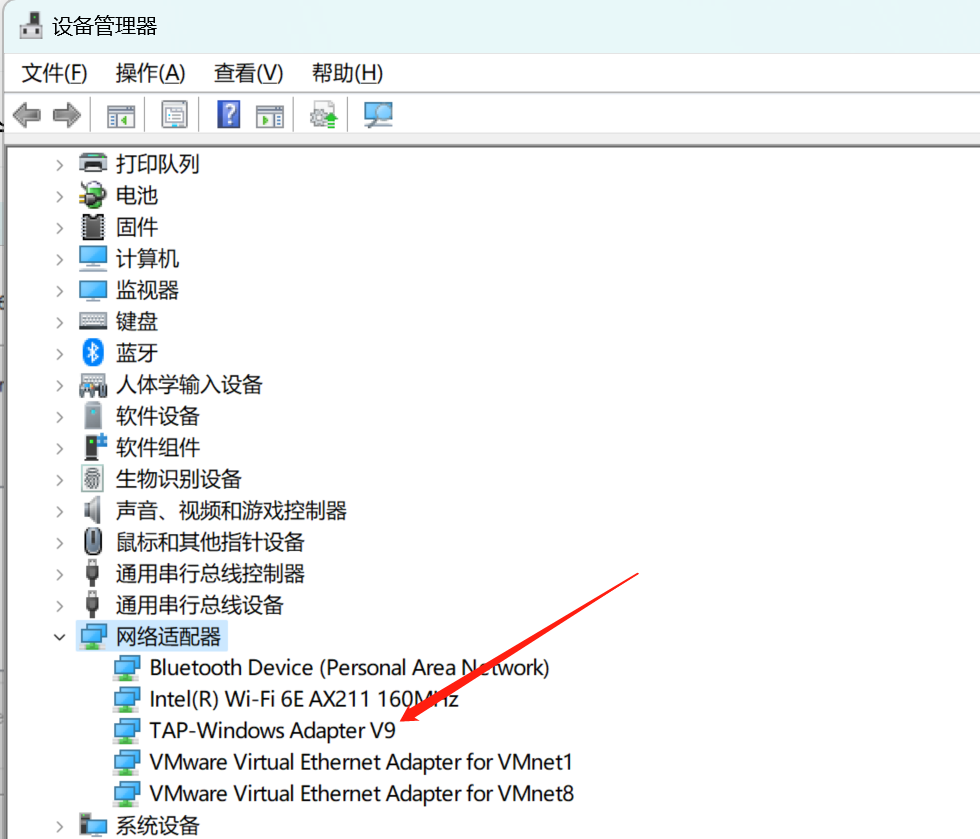
2、重命名新网卡

右键单击新增加的网卡,重命名该网卡

3、共享物理网卡的网络
右键单击本机物理网卡,点击“属性”按钮,在弹出的界面中选择“共享”选项
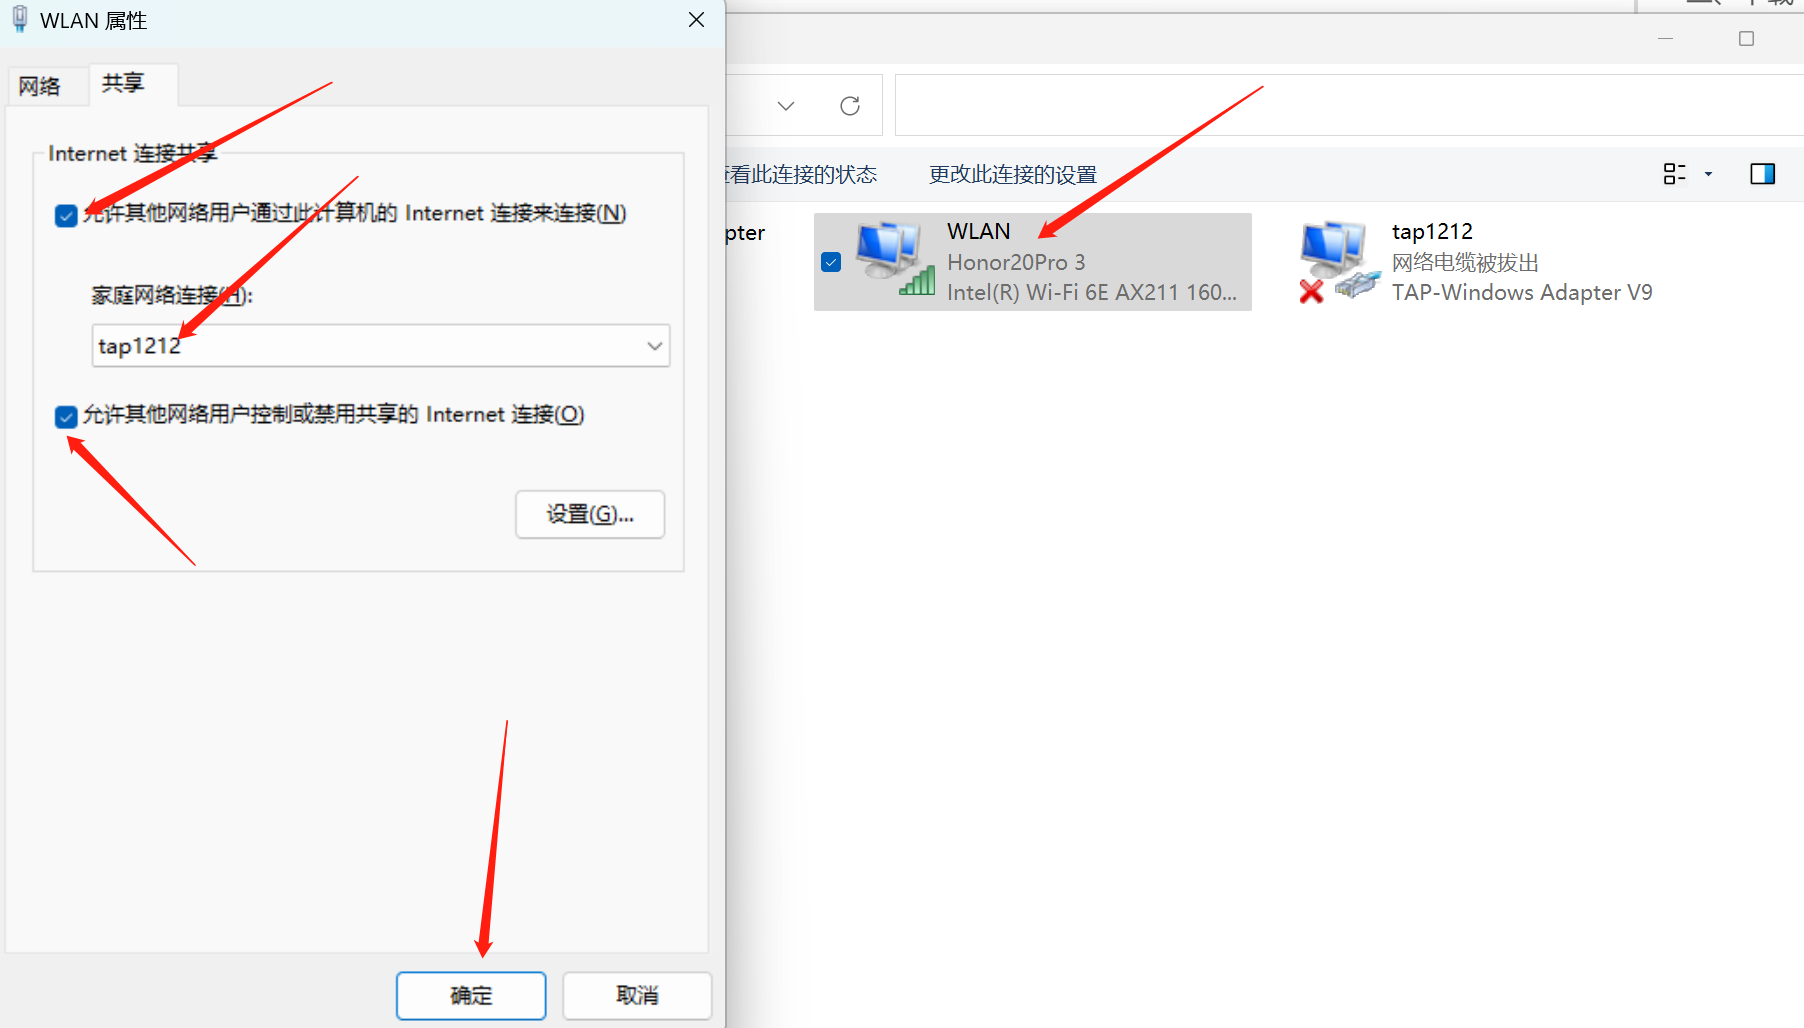
选中“允许其它网络通过此计算机的Internet连接来连接”复选框,“家庭网络连接”项选择刚才新增加的网卡(且是修改过名字后的名称),选中“允许其它网络用户控制或禁用共享的Internet连接”,确定即可。
六、创建硬盘镜像
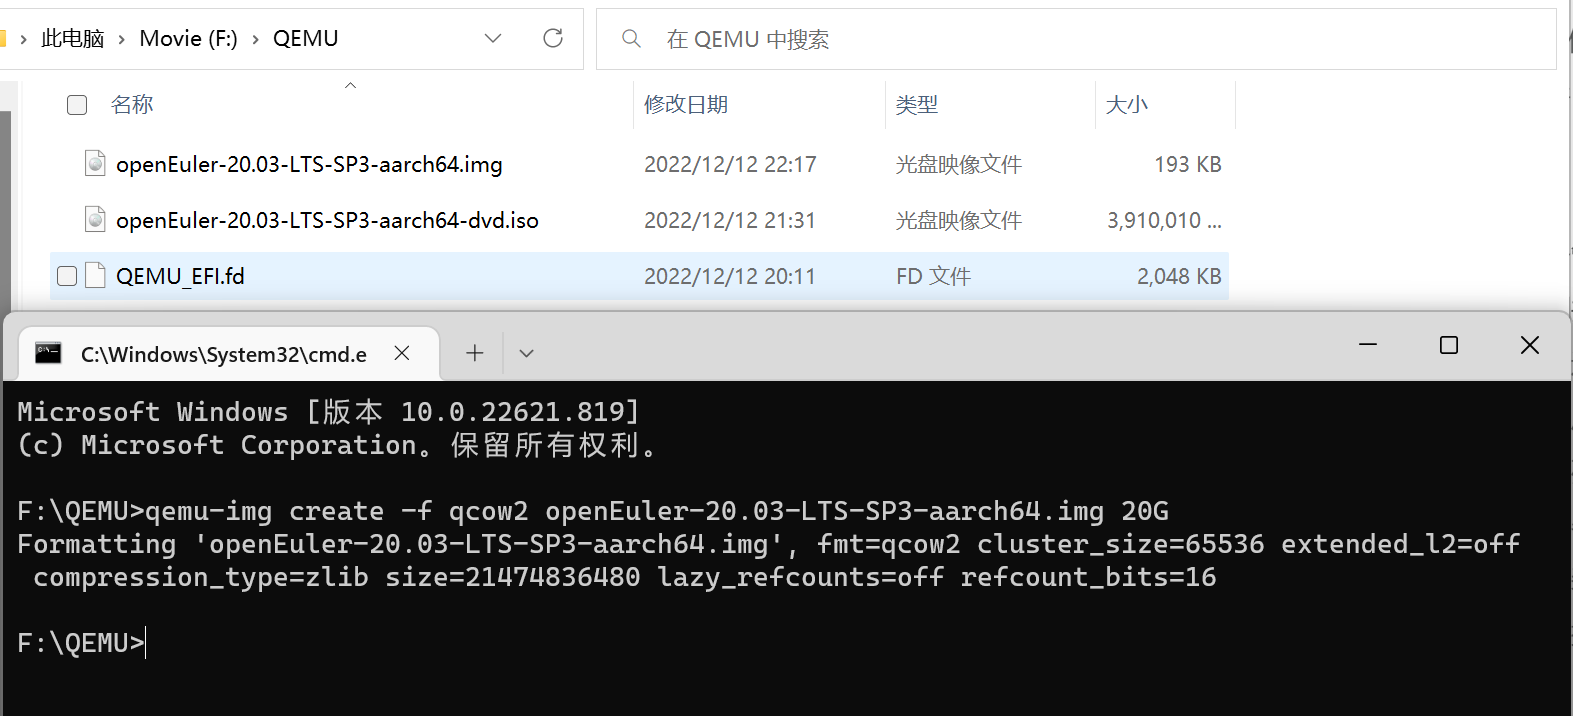
在 PowerShell 或者 CMD 中输入
qemu-img create -f qcow2 openEuler-20.03-LTS-SP3-aarch64.img 20G
指定硬盘镜像名,大小为 20G
七、安装镜像
qemu-system-aarch64 -m 4000 -cpu cortex-a72 -smp 4,cores=4,threads=1,sockets=1 -M virt -bios F:\QEMU\QEMU_EFI.fd -net nic -net tap,ifname=tap1212 -device nec-usb-xhci -device usb-kbd -device usb-mouse -device VGA -drive if=none,file=F:\QEMU\openEuler-20.03-LTS-SP3-aarch64-dvd.iso,id=cdrom,media=cdrom -device virtio-scsi-device -device scsi-cd,drive=cdrom -drive if=none,file=F:\QEMU\openEuler-20.03-LTS-SP3-aarch64.img,id=hd0 -device virtio-blk-device,drive=hd0
-m 4000 表示分配给虚拟机的内存最大4000MB,可以直接使用 -m 4G
-cpu cortex-a72 指定CPU类型,还可以选择cortex-a53、cortex-a57等
-smp 4,cores=4,threads=1,sockets=1 指定虚拟机最大使用的CPU核心数等
-M virt 指定虚拟机类型为virt,具体支持的类型可以使用 qemu-system-aarch64 -M help 查看
-bios F:\QEMU\QEMU_EFI.fd 指定UEFI固件文件
-net tap,ifname=tap1212 启用网络功能(ifname=tap1212中的tap1212请修改为前面步骤中自己修改后的网卡名称)
-device nec-usb-xhci -device usb-kbd -device usb-mouse 启用USB鼠标等设备
-device VGA 启用VGA视图,对于图形化的Linux这条很重要!
-drive if=none,file=F:\QEMU\openEuler-20.03-LTS-SP3-aarch64-dvd.iso,id=cdrom,media=cdrom 指定光驱使用镜像文件
-device virtio-scsi-device -device scsi-cd,drive=cdrom 指定光驱硬件类型
-drive if=none,file=F:\QEMU\openEuler-20.03-LTS-SP3-aarch64.img 指定硬盘镜像文件
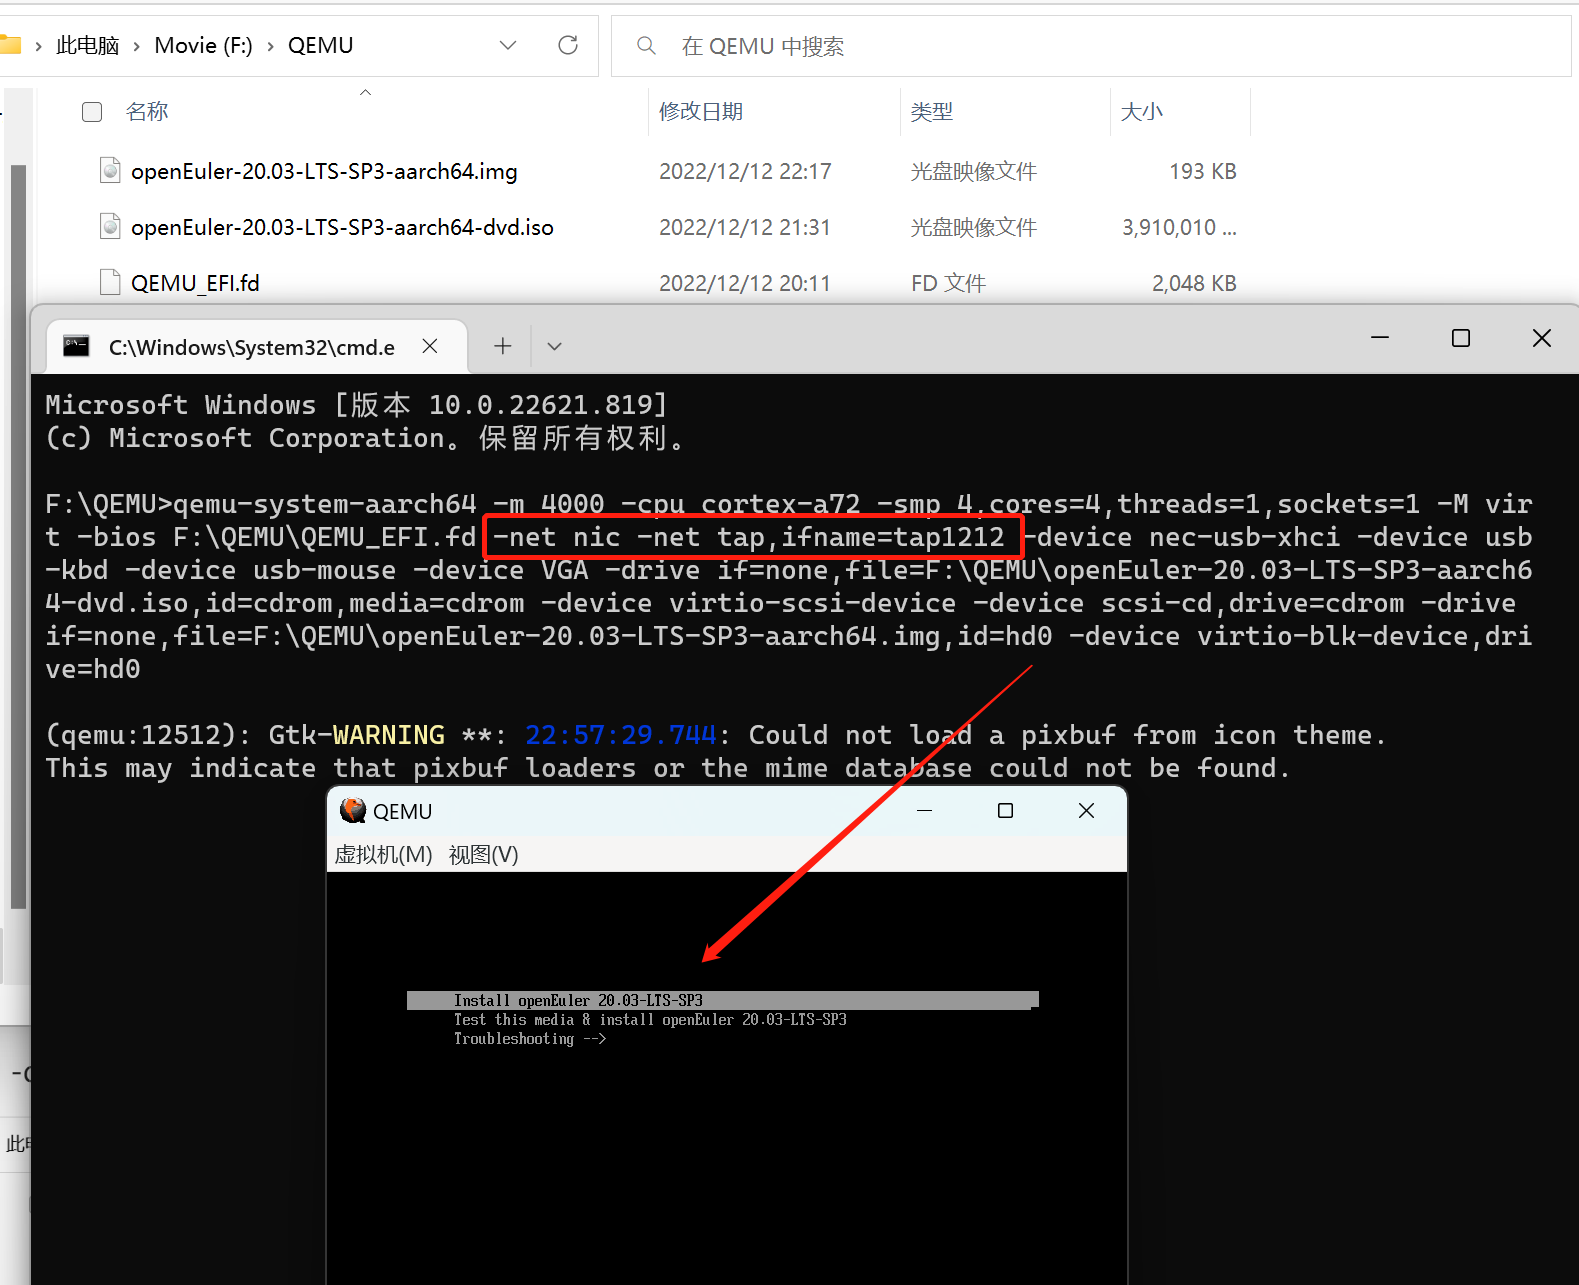
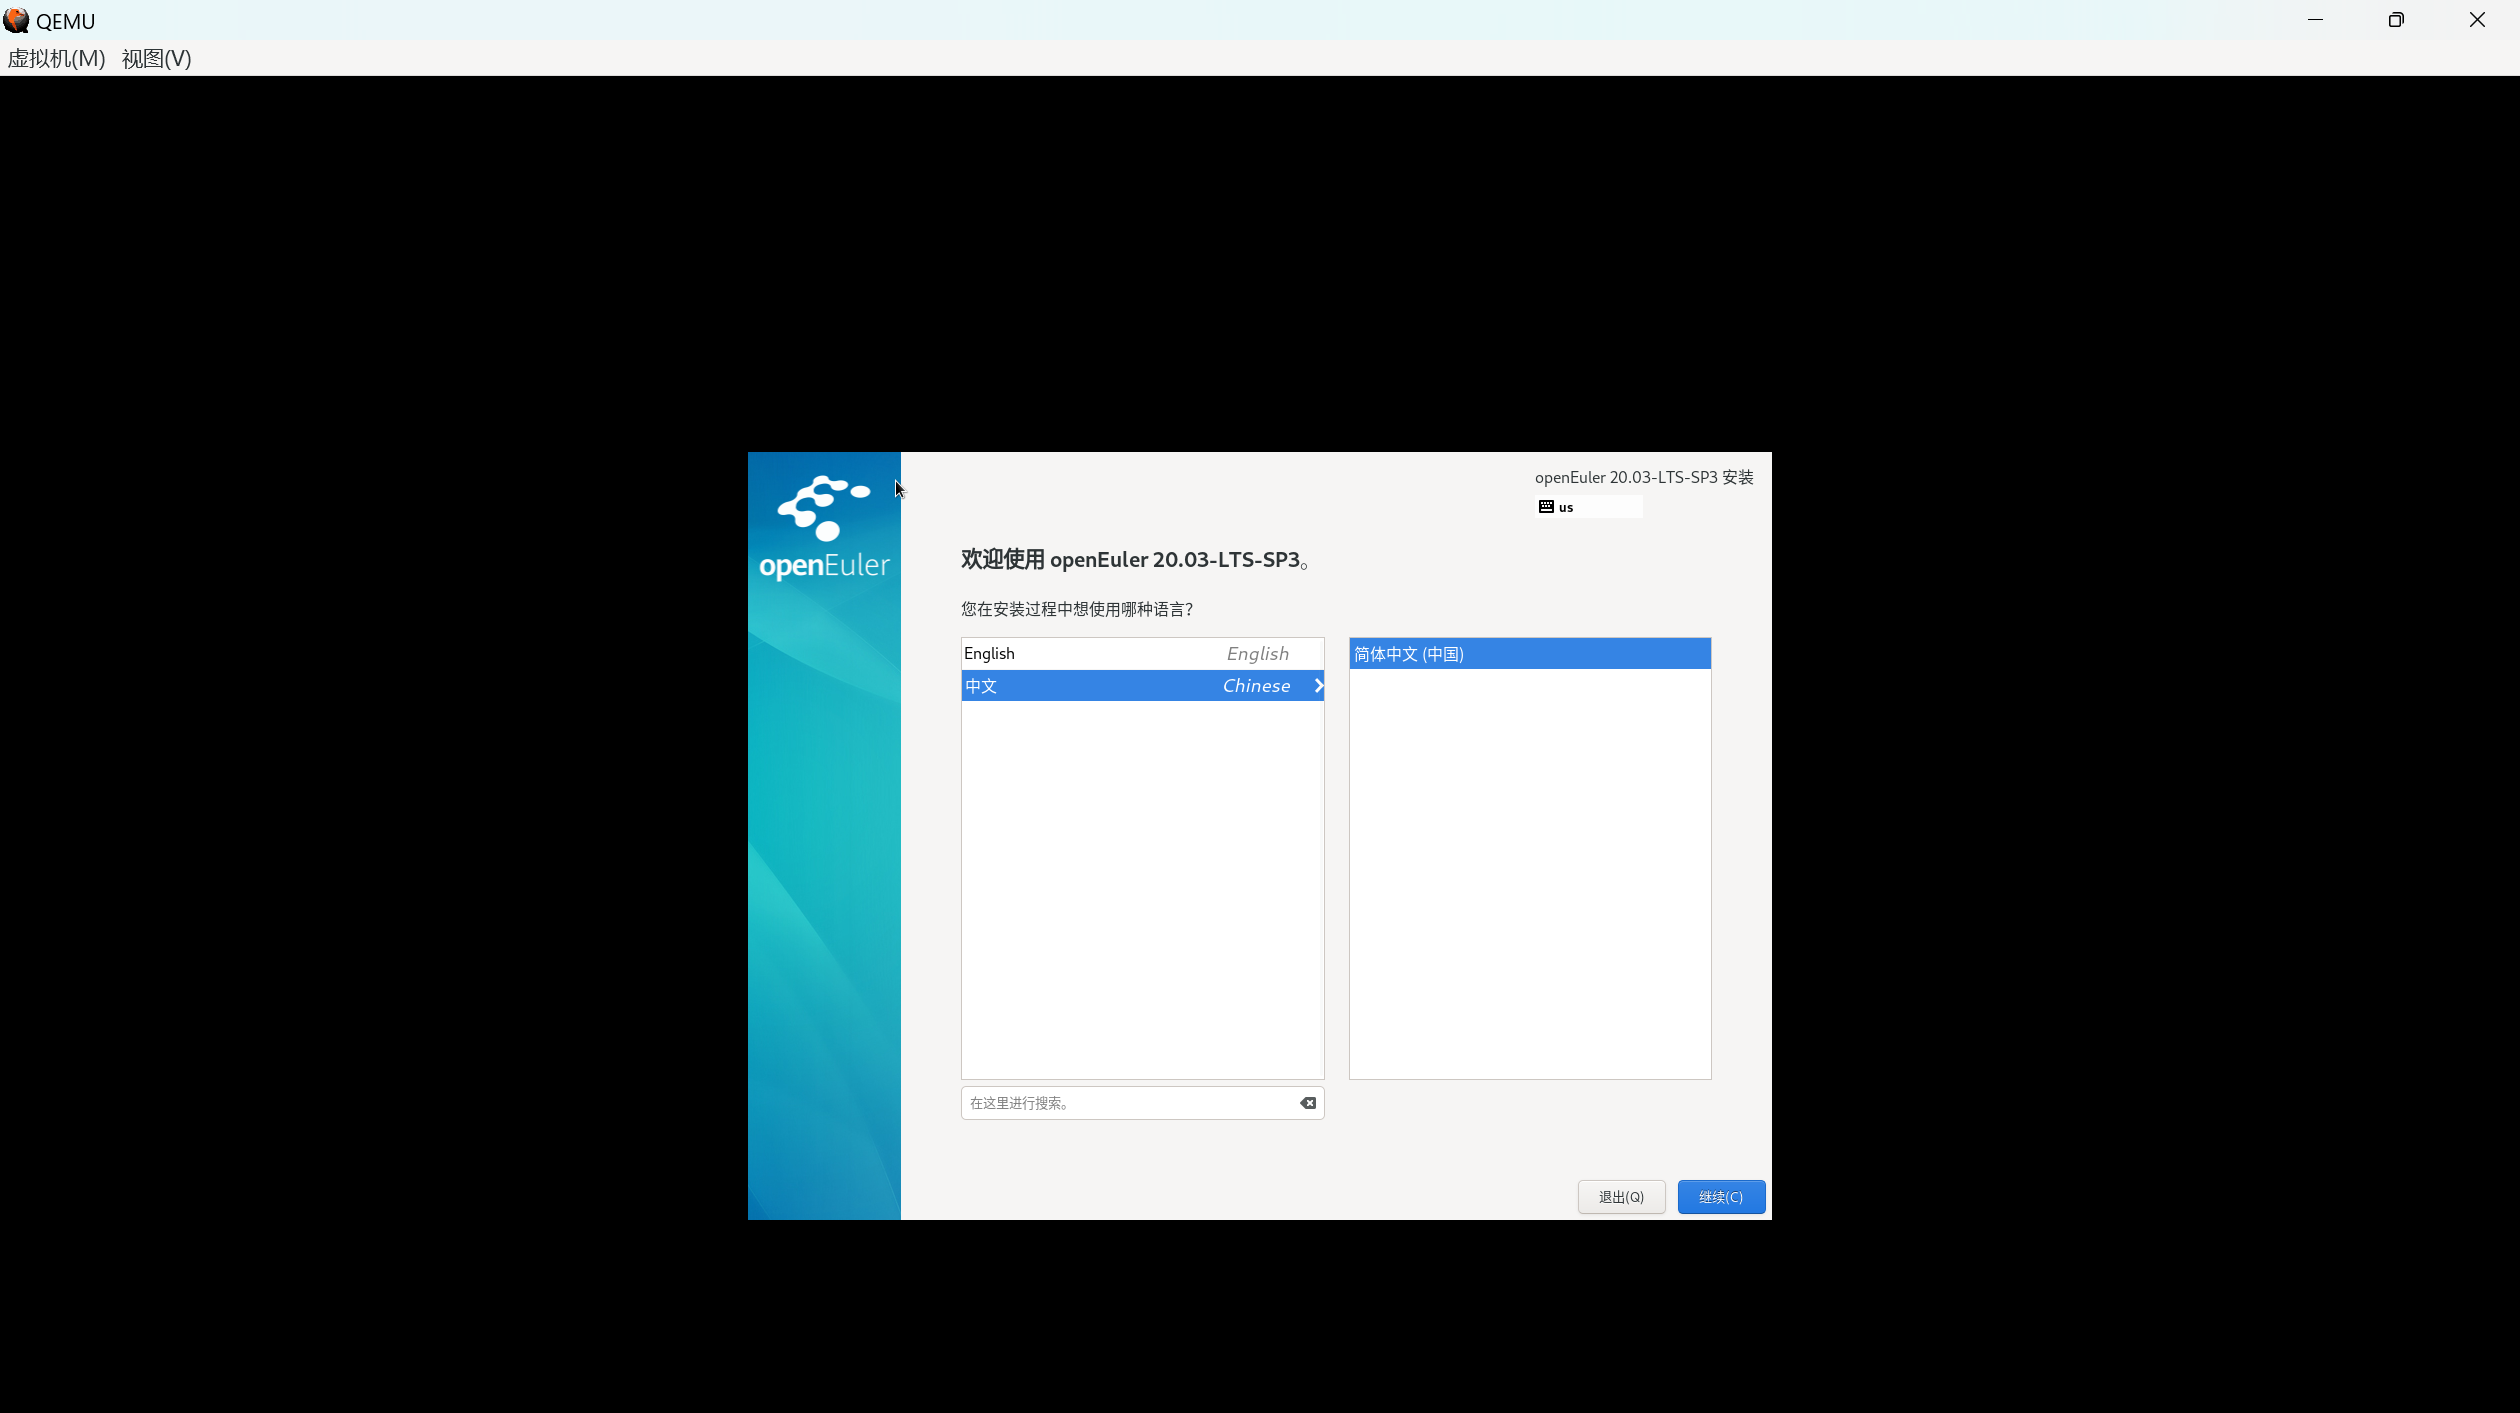
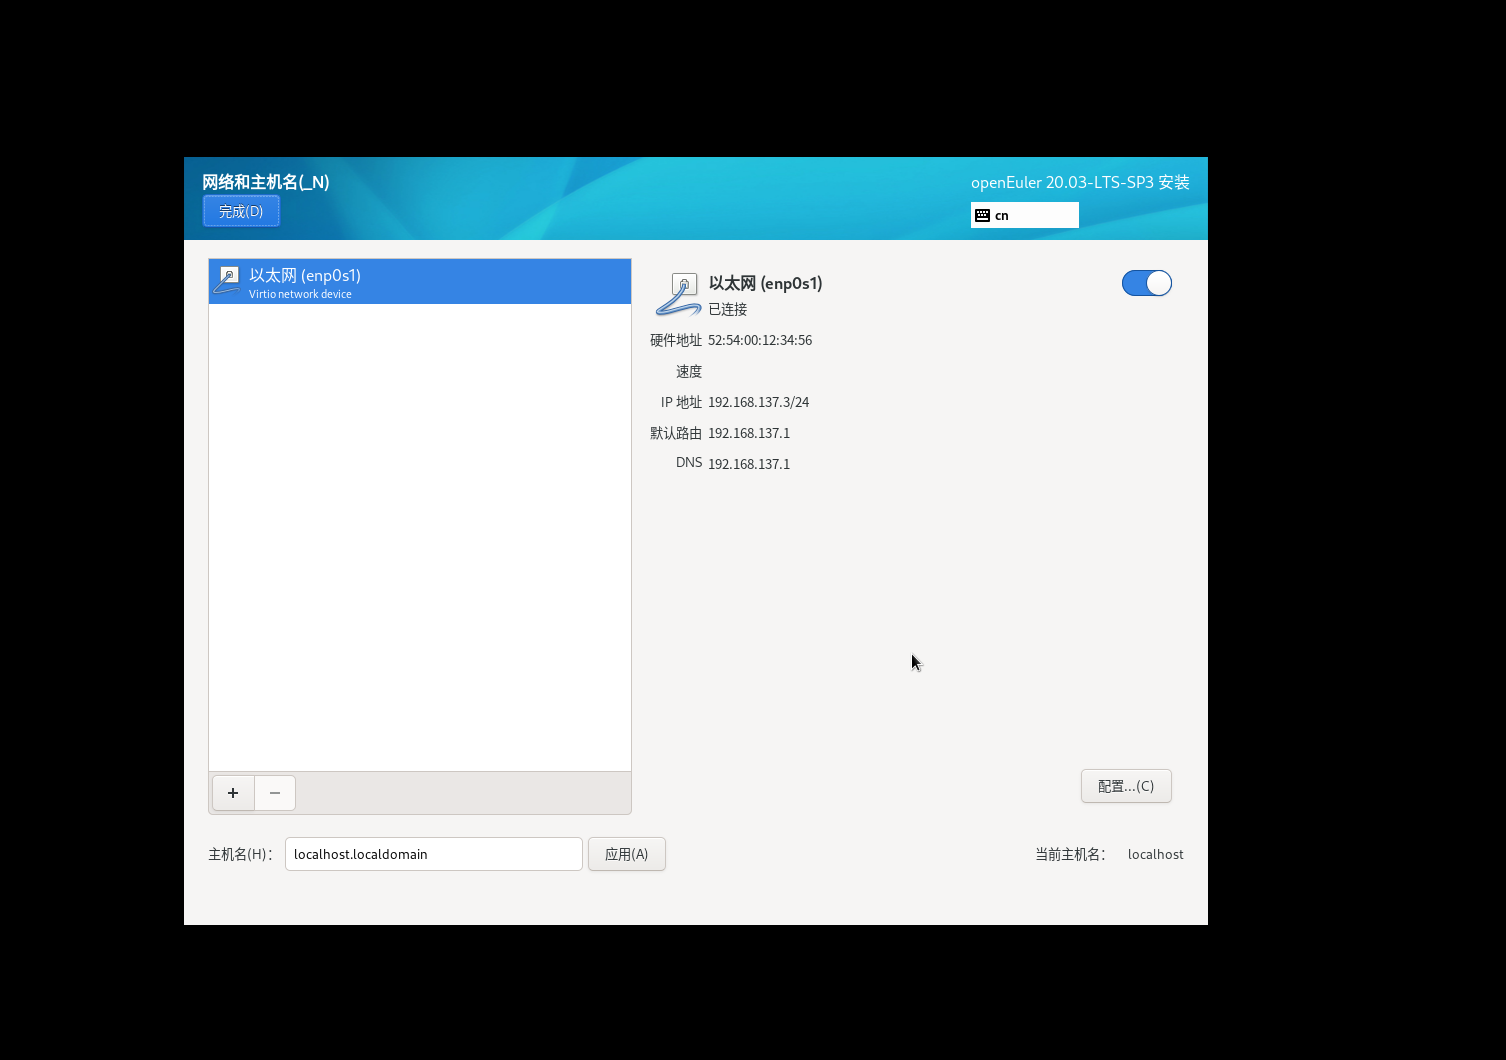
只有上面创建了虚拟网卡,这里才会有网卡显示(注意,手动配置网络的时候网关不能配置错误,否则虚拟机连不上外网)
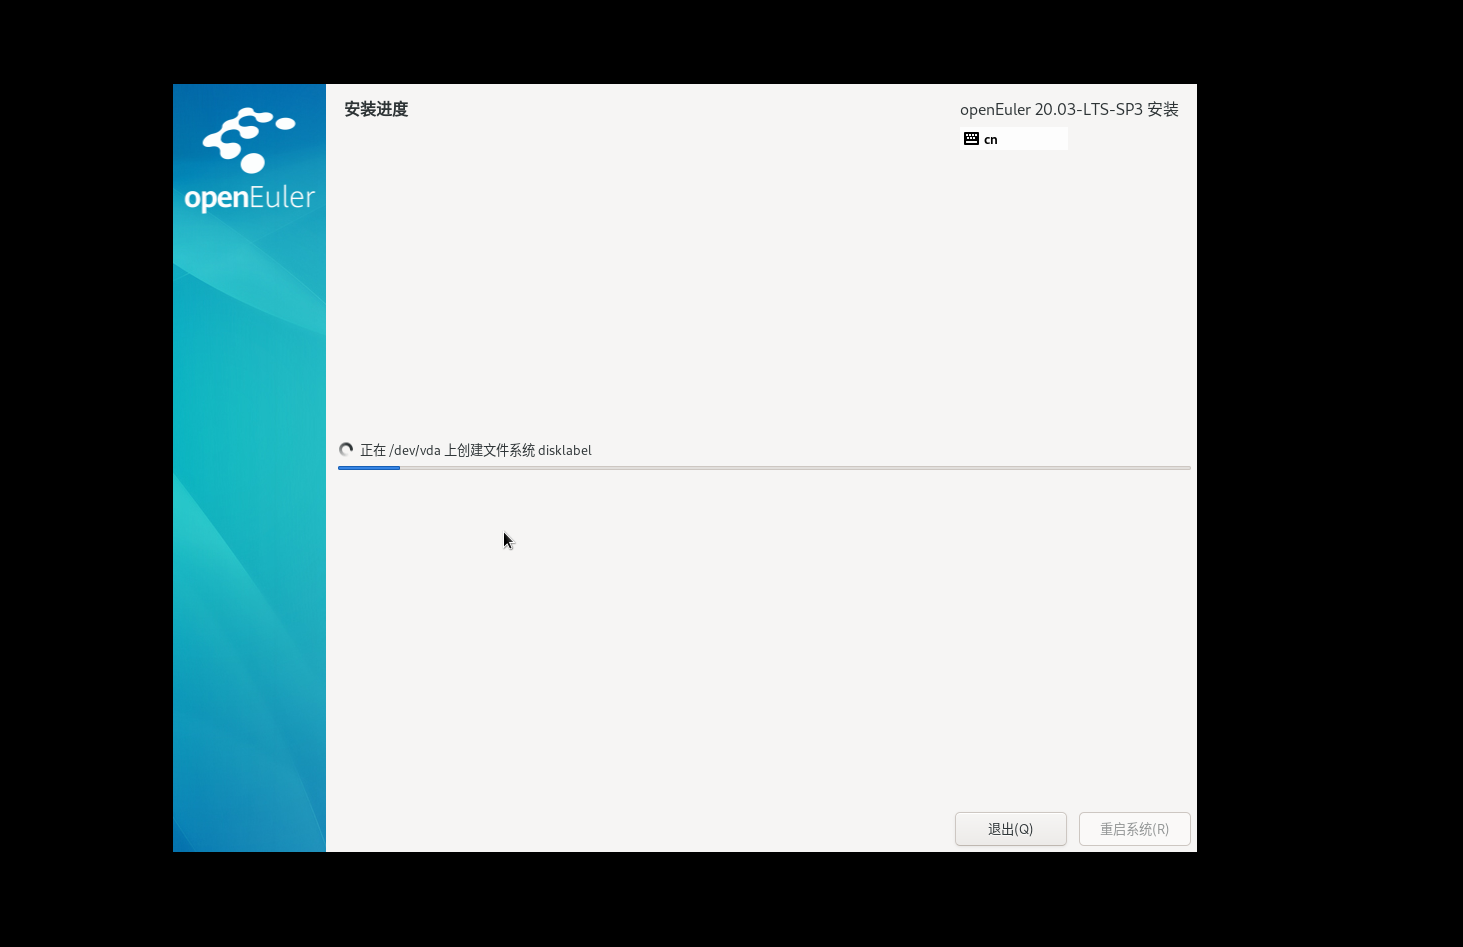
安装非常慢!!!!一般半小时起步!!!!!!!
八、启动镜像
qemu-system-aarch64 -m 4000 -cpu cortex-a72 -smp 4,cores=4,threads=1,sockets=1 -M virt -bios F:\QEMU\QEMU_EFI.fd -net nic -net tap,ifname=tap1212 -device nec-usb-xhci -device usb-kbd -device usb-mouse -device VGA -drive if=none,file=F:\QEMU\openEuler-20.03-LTS-SP3-aarch64.img,id=hd0 -device virtio-blk-device,drive=hd0
九、连接 ssh
登录后启用网卡
cd /etc/sysconfig/network-scripts/vi ifcfg-enp0s1

ONBOOT改为yes,保存退出
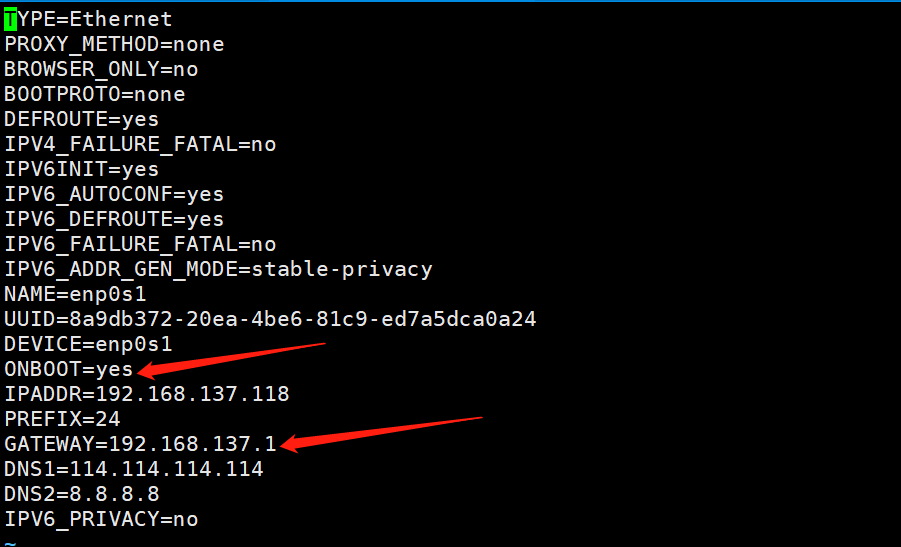
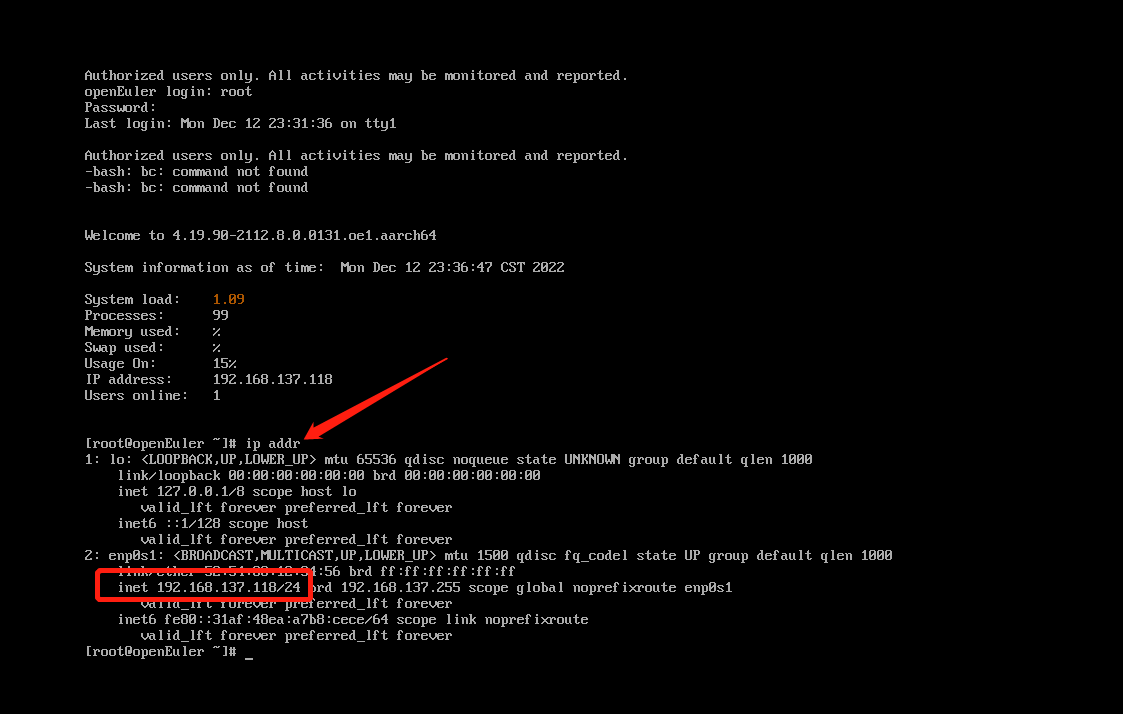
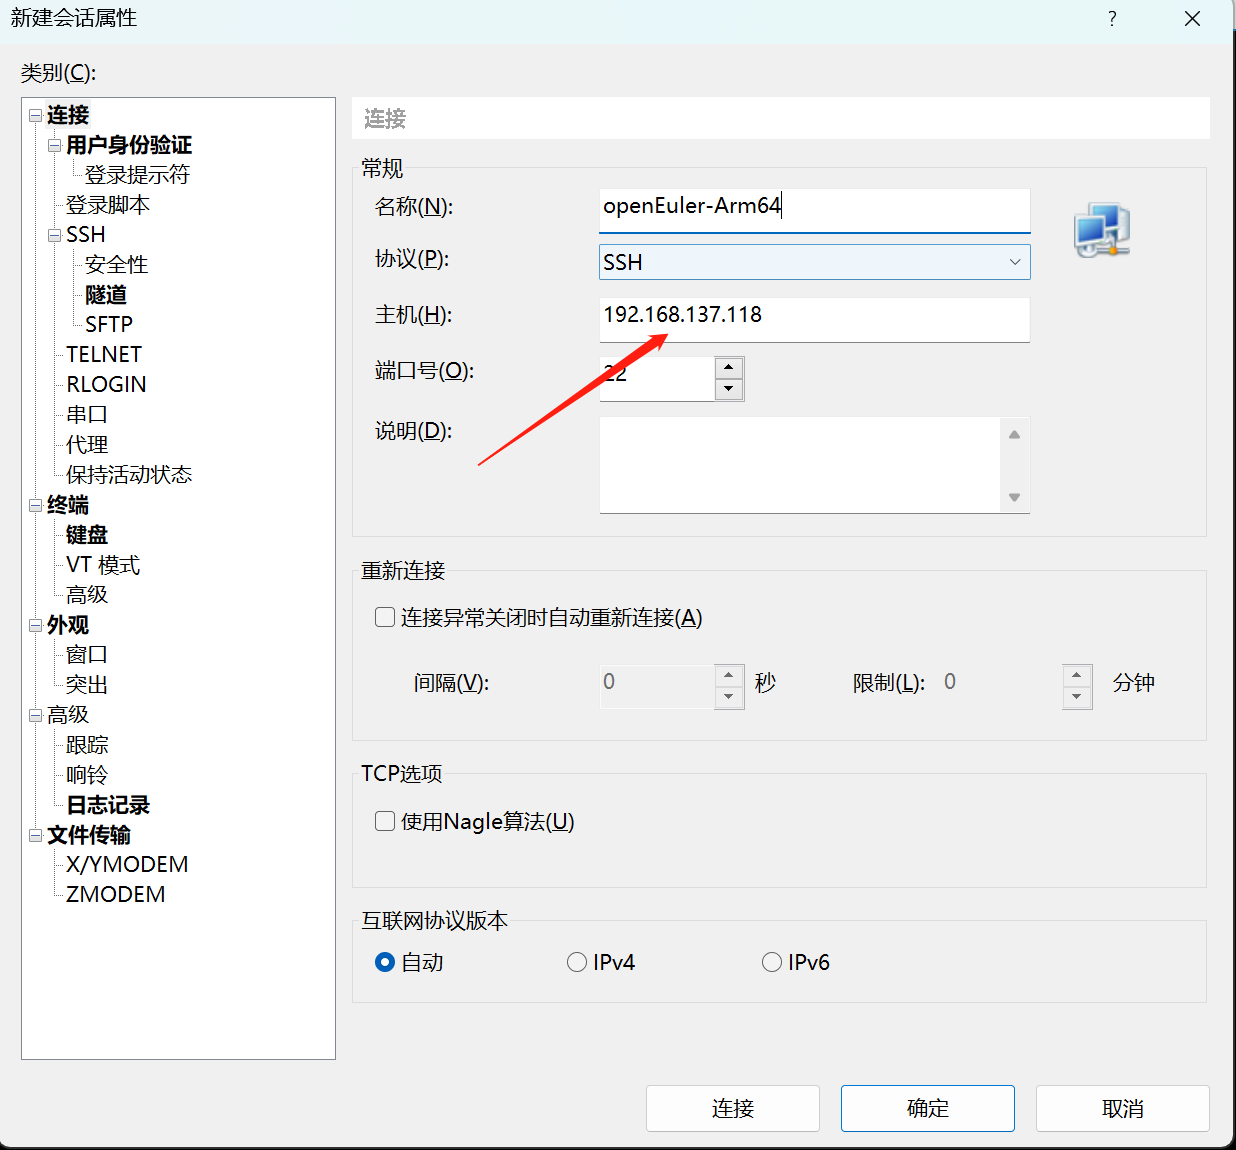
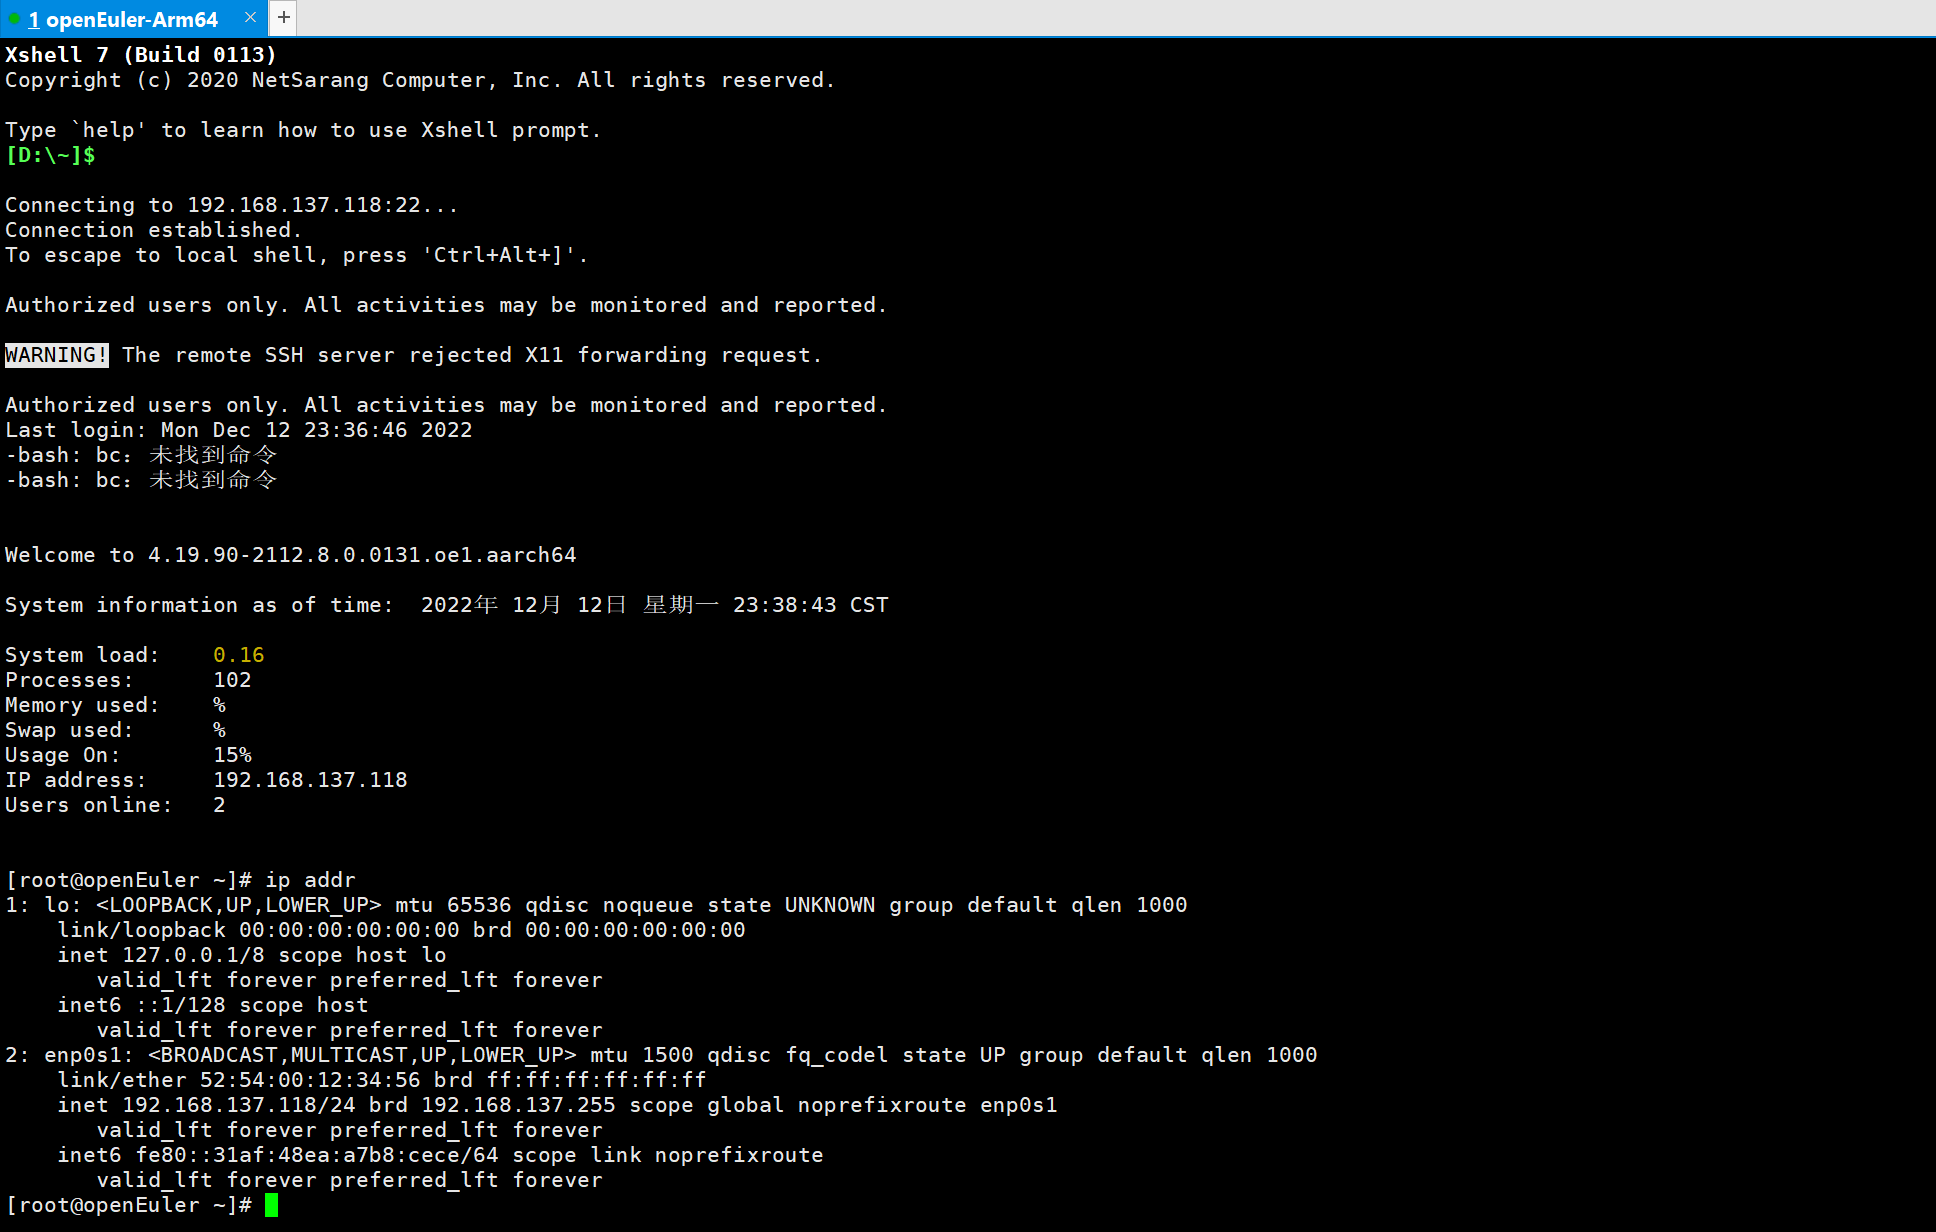
然后重启系统,查看 ip 地址后使用 Xshell 登录系统

 HQY 一个和谐有爱的空间