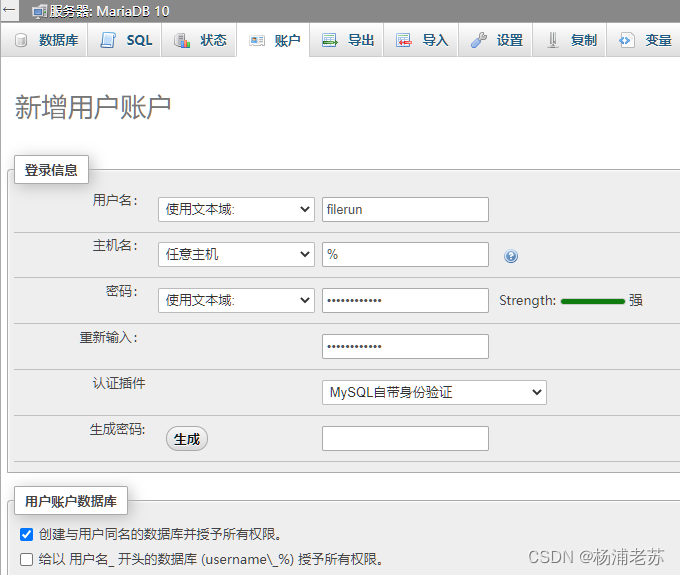
在 phpMyAdmin 中创建名为 filerun 的空数据库。
为便于说明,假设数据库密码为 123456
端口
本地端口不冲突就行,不确定的话可以用命令查一下
# 查看端口占用netstat -tunlp | grep 端口号

环境
| 可变 | 值 |
|---|
FR_DB_HOST | 数据库主机地址,默认为 db,改为数据库的主机 IP |
FR_DB_PORT | 数据库端口,默认为 3306,改为 3307 |
FR_DB_NAME | 数据库库名,默认为 filerun,保存不变 |
FR_DB_USER | 数据库用户,默认为 filerun,保存不变 |
FR_DB_PASS | 数据库密码,默认为 filerun,改为你自己的数据库密码 |
APACHE_RUN_USER | 容器用户,默认 user,改为 www-data |
APACHE_RUN_USER_ID | 容器用户 ID,默认 1000,改为 33 |
APACHE_RUN_GROUP | 容器用户组,默认 www-data |
APACHE_RUN_GROUP_ID | 容器用户组 ID,默认 1000,改为 33 |

命令行安装
如果你熟悉命令行,可能用 docker cli 更快捷
# 新建文件夹 filerun 和 子目录mkdir -p /volume2/docker/filerun/{html,user-files}# 进入 filerun 目录cd /volume2/docker/filerun# 运行容器docker run -d \
   --restart unless-stopped \
   --name filerun \
   -p 7280:80 \
   -v $(pwd)/html:/var/www/html \
   -v $(pwd)/user-files:/user-files \
   -e FR_DB_HOST=192.168.0.197 \
   -e FR_DB_PORT=3307 \
   -e FR_DB_NAME=filerun \
   -e FR_DB_USER=filerun \
   -e FR_DB_PASS=123456 \
   -e APACHE_RUN_USER=www-data \
   -e APACHE_RUN_USER_ID=33 \
   -e APACHE_RUN_GROUP=www-data \
   -e APACHE_RUN_GROUP_ID=33 \
   filerun/filerun
也可以用 docker-compose 安装,将下面的内容保存为 docker-compose.yml 文件
version: '2'services:
  web:
    image: filerun/filerun    container_name: filerun    restart: unless-stopped    environment:
      FR_DB_HOST: 192.168.0.197      FR_DB_PORT: 3307
      FR_DB_NAME: filerun      FR_DB_USER: filerun      FR_DB_PASS: 123456
      APACHE_RUN_USER: www-data      APACHE_RUN_USER_ID: 33
      APACHE_RUN_GROUP: www-data      APACHE_RUN_GROUP_ID: 33
    ports:
      - "7280:80"
    volumes:
      - ./html:/var/www/html      - ./user-files:/user-files
然后执行下面的命令
# 新建文件夹 filerun 和 子目录mkdir -p /volume2/docker/filerun/{html,user-files}# 进入 filerun 目录cd /volume2/docker/filerun# 将 docker-compose.yml 放入当前目录# 一键启动docker-compose up -d运行
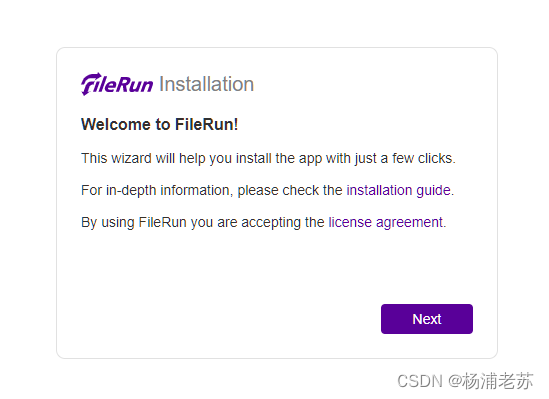
在浏览器中输入 http://群晖IP:7280 就能看到设置界面
中文
官方提供的语言包地址是:https://github.com/filerun/translations,但是现在这里什么都没有
 https://raw.githubusercontent.com/wbsu2003/synology/main/FileRun/chinese.php
你可以复制粘贴或者直接另存为 chinese.php,接下来有两种方法设置将 FileRun 设置为中文
方式一
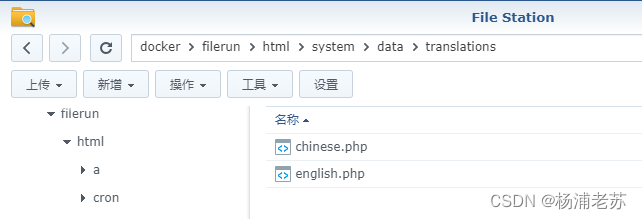
将 chinese.php 放入 /docker/filerun/html/system/data/translations 目录
不管哪种方式, Save changes 之后,需要刷新一下页面,但是在 Chrome 中似乎并没有完全汉化,删了 cookie 也一样,不清楚原因

但是老苏换了 Edge 浏览器就好了
主界面也是中文的
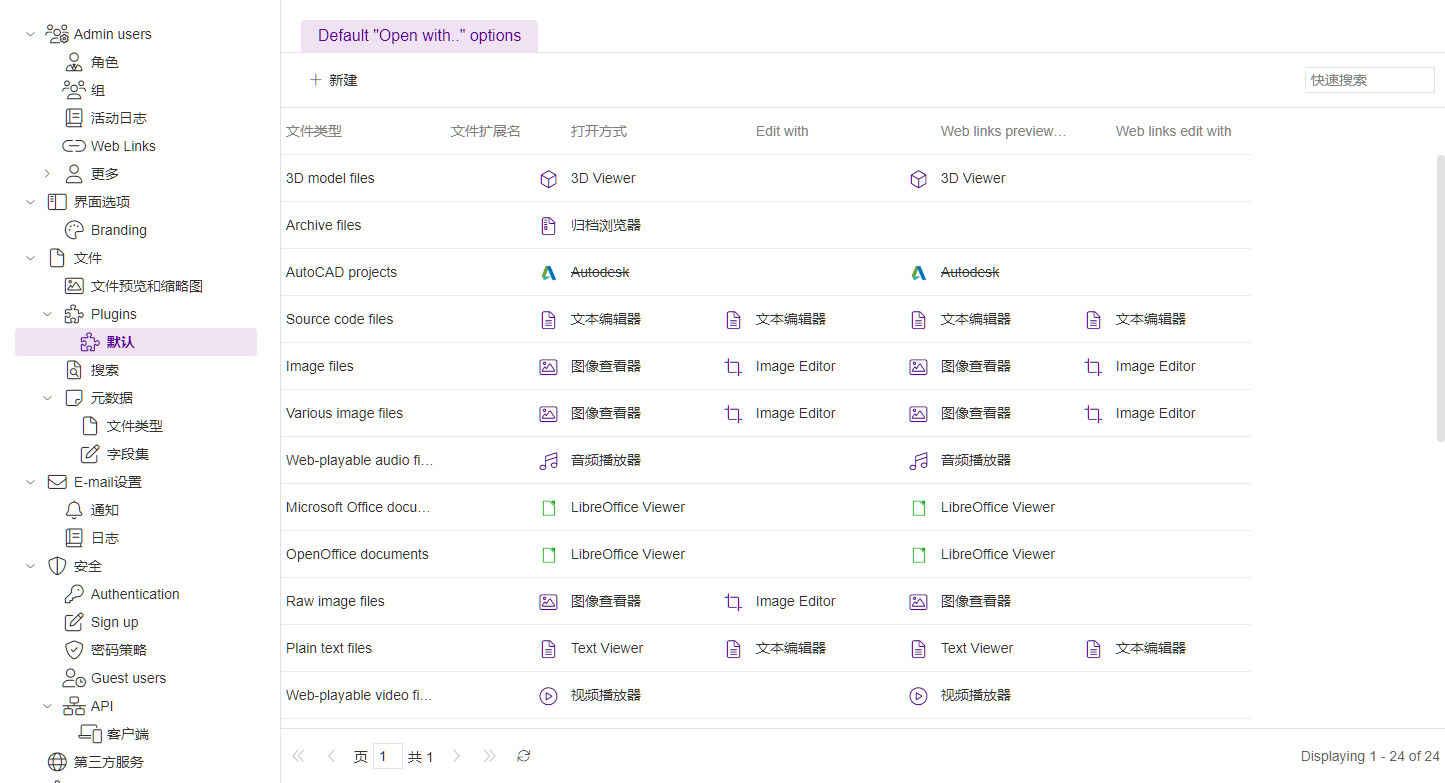
功能就不介绍了,反正中文的,一看就懂
反向代理
实际访问地址为: https://filerun.laosu.ml:444
| 域名 | 局域网地址 | 备注 |
|---|
filerun.laosu.ml | http://192.168.0.197:7280 | FileRun 的访问地址 |
在 npm 中的设置

SSL 都勾选了

官方给的代码,没有考虑到截端口的情况
proxy_set_header Host $host;
proxy_set_header X-Forwarded-For $proxy_add_x_forwarded_for;
proxy_set_header X-Forwarded-Proto $scheme;
proxy_set_header X-Forwarded-Protocol $scheme;
所以老苏做了修改,将下面的代码填入到 npm 的 Advanced 中
   location / {
       proxy_set_header Host $host:444;
       proxy_set_header X-Forwarded-For   $proxy_add_x_forwarded_for;
       proxy_set_header X-Forwarded-Proto $scheme;
       proxy_set_header X-Forwarded-Protocol $scheme;
       proxy_pass  http://192.168.0.197:7280;
       proxy_redirect http:// https://;
   }
只要输入邮件地址

但局域网方式访问时,是不能申请注册的

域名访问就没问题,应该会自动绑定邮件和域名

不过一直就没收到邮件,不知道是啥情况,说是可以通过 FileRun client account 找回来,老苏只是写个教程,懒得弄了。
参考文档
filerun/docker: FileRun Docker Image
地址:https://github.com/filerun/docker
docker :: FileRun Documentation
地址:https://docs.filerun.com/docker
filerun网盘 中文语言包 汉化包 chinese.php at 麻茄 | MAQIE 草原的博客 -YuLiang’S blog
地址:https://www.maqie.com/2022/05/31/filerun%E7%BD%91%E7%9B%98-%E4%B8%AD%E6%96%87%E8%AF%AD%E8%A8%80%E5%8C%85-%E6%B1%89%E5%8C%96%E5%8C%85-chinese-php/
推荐本站淘宝优惠价购买喜欢的宝贝:

本文链接:https://hqyman.cn/post/5915.html 非本站原创文章欢迎转载,原创文章需保留本站地址!
打赏

微信支付宝扫一扫,打赏作者吧~
休息一下~~
