Windows下使用xming将Ubuntu服务器端的图形界面转发到windows下, 本文使用vscode连接ubuntu服务器
前言
远程连接ubuntu服务器时,有时程序需要生成图形界面(如python中的plt.show(),甚至打开浏览器等),这时就需要使用转发技术实现转发功能。本文使用使用vscode连接服务器来得到Ubuntu端的窗口
1、基本环境
1.1本地配置
Windows 10 (ip 10.200.2.235)
Vscode 1.69.2
Xming-6-9-0-31
1.2服器端配置
ubuntu18.04 (ip 172.16.94.32)
2、步骤
2.1 下载Xming
下载地址:百度网盘
链接:https://pan.baidu.com/s/1btoVS7xLAD5UOX2vR_j1ZA?pwd=69md
提取码:69md
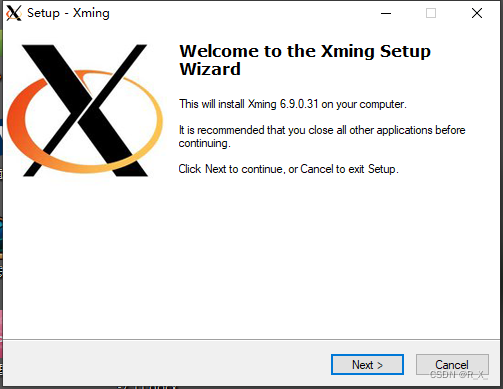
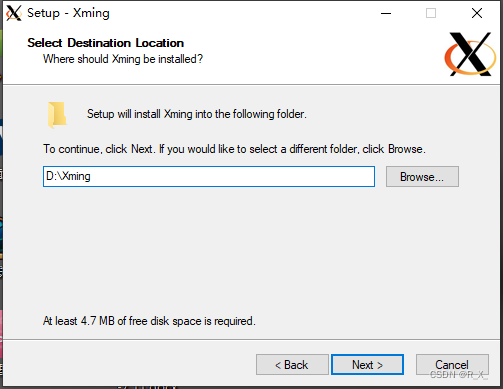
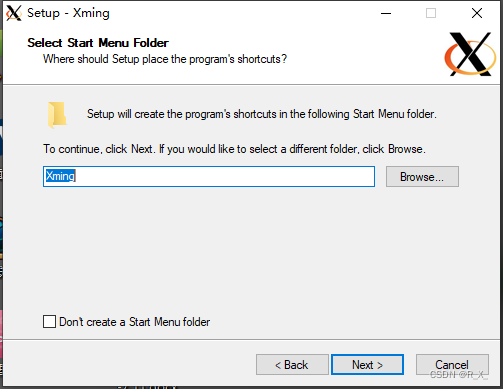
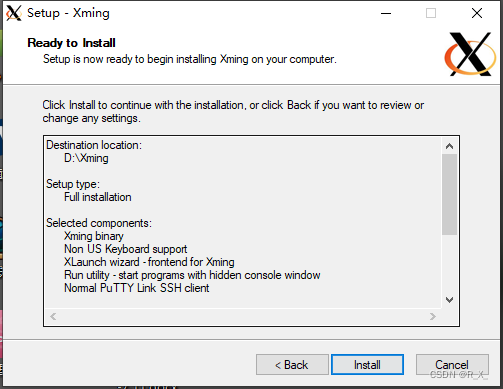
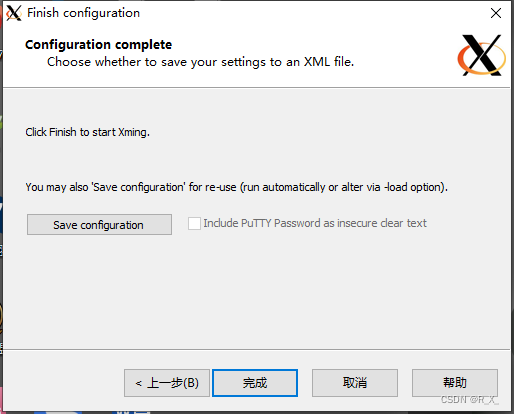
2.2 本地(win10)安装xming
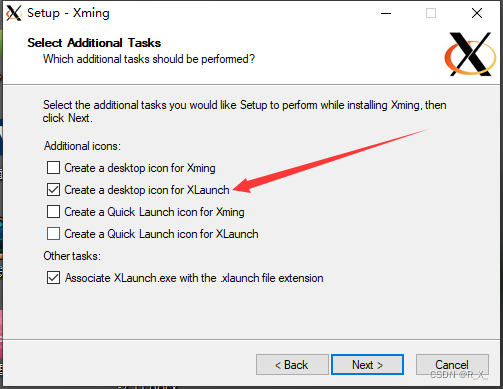
注:图五建议选择Xlaunch图标
1.
2.
3.

4.
5.
6.
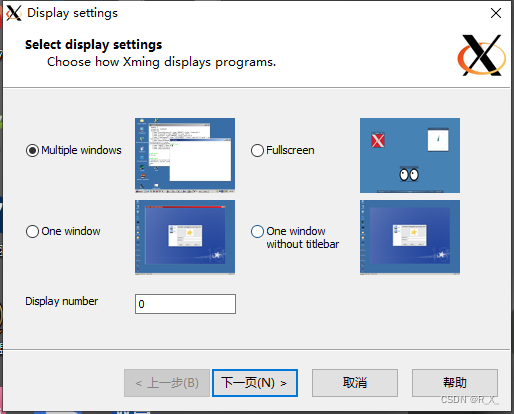
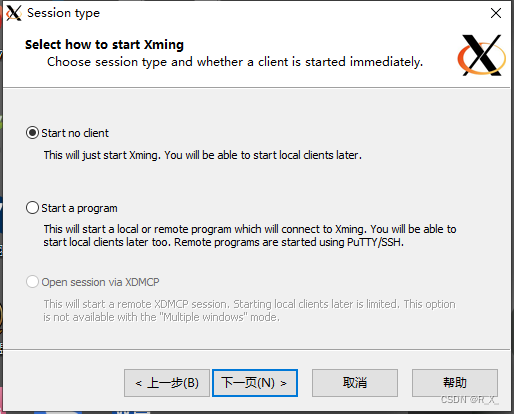
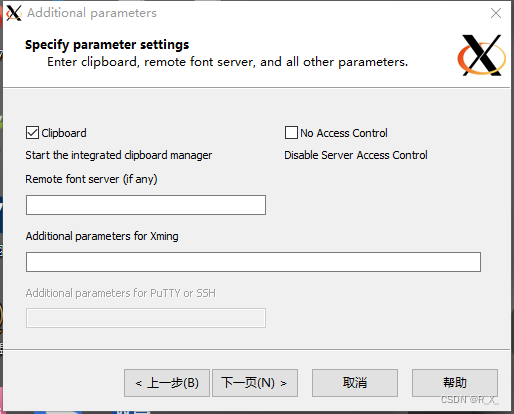
2.2 本地(win10)运行XLaunch
打开本地快捷方式XLaunch(如果没有去安装目录里找)
全波默认设置即可,不需要改变设置

2.
3.
4.
2.3 修改Xming配置文件
打开xming安装目录
在这里插入图片描述
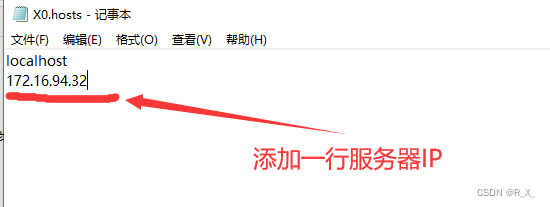
找到X0.hosts文件
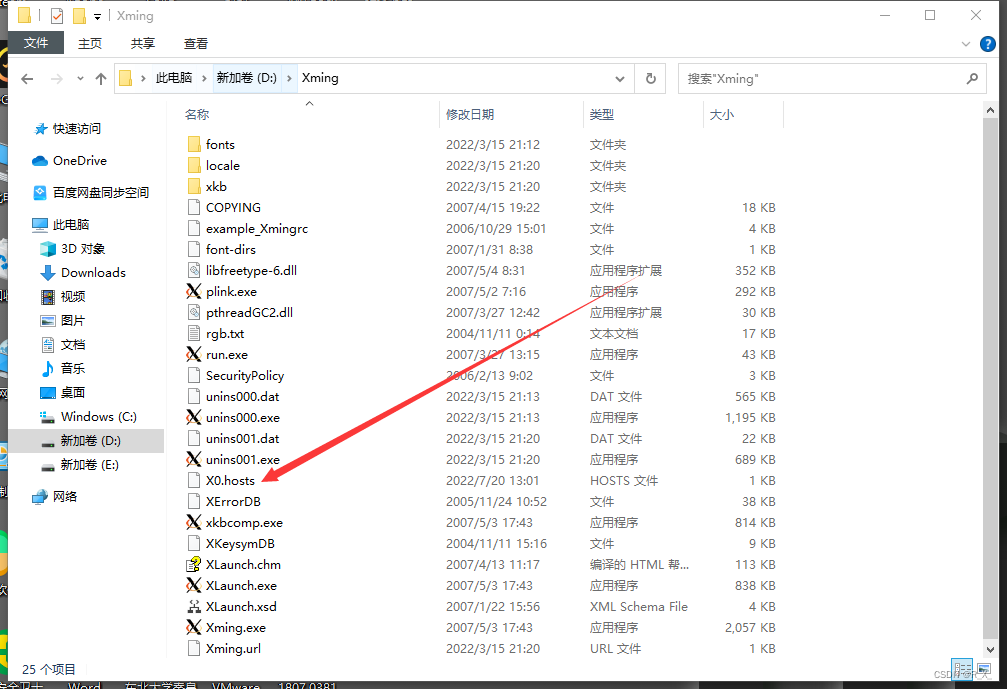
以记事本方式打开,添加一行服务器的IP地址,保存退出。
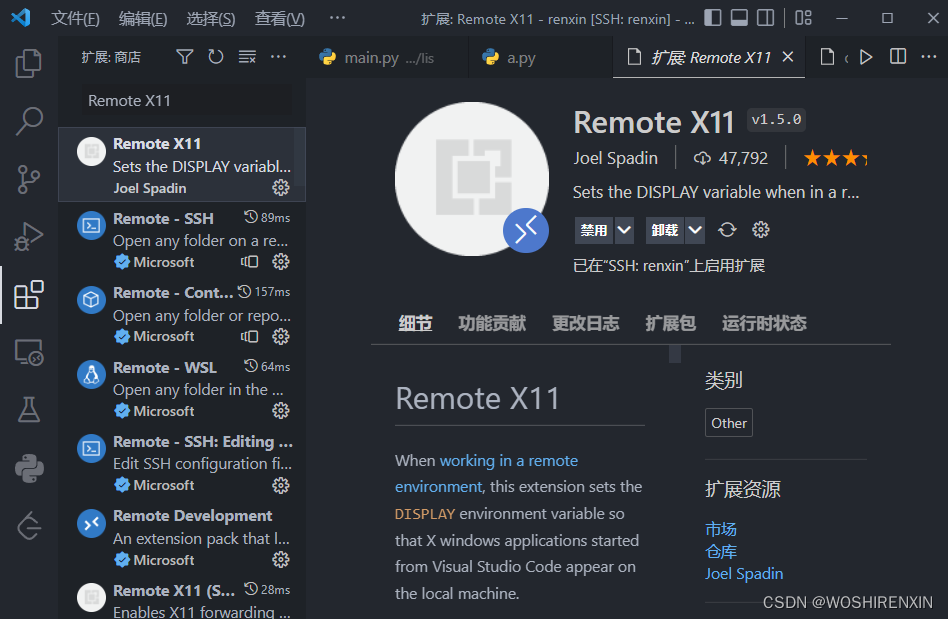
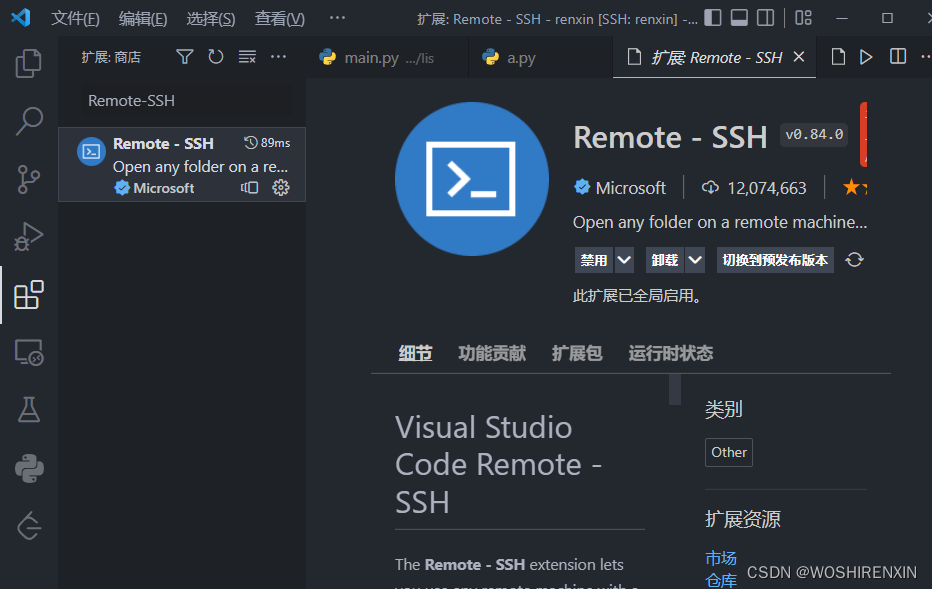
2.4 VScode安装Remote-SSH 和Remote X11插件
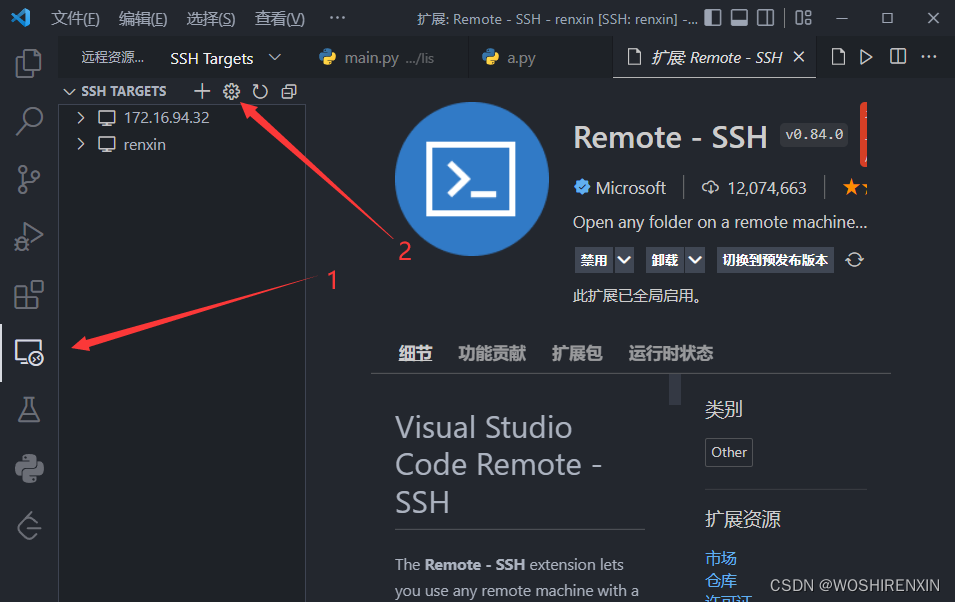
2.5 配置Remote-SSH
点击远程资源服务器,鼠标放到SSH TARGETS,点击设置图标
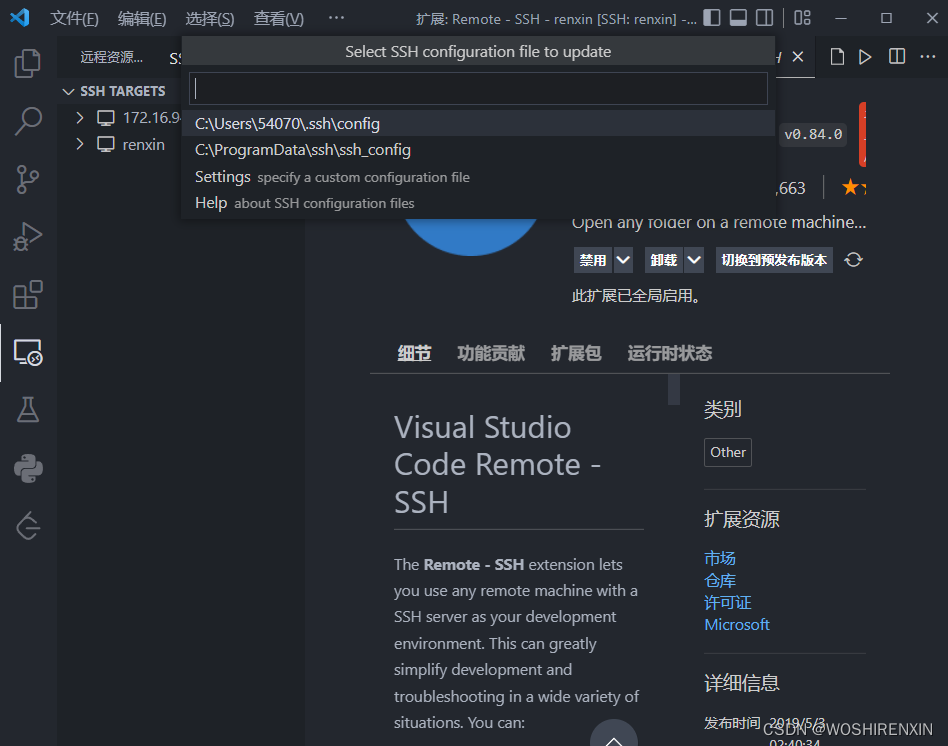
默认第一个即可
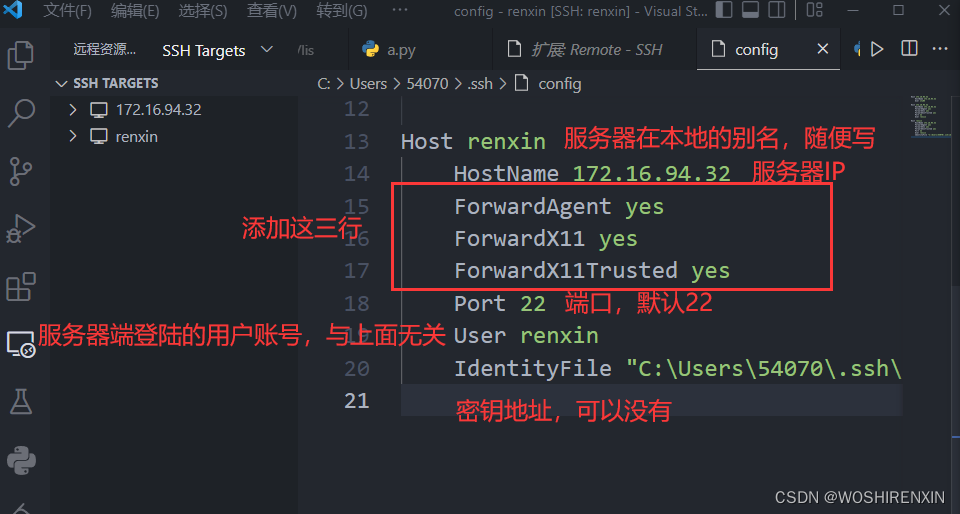
添加如下内容
Host renxin
    HostName 172.16.94.32
    ForwardAgent yes
    ForwardX11 yes
    ForwardX11Trusted yes
    Port 22
    User renxin
2.6 配置VScode工程的配置文件
VScode随便打开一个工程
选择运行和调试栏
点击设置图标,打开launch.json
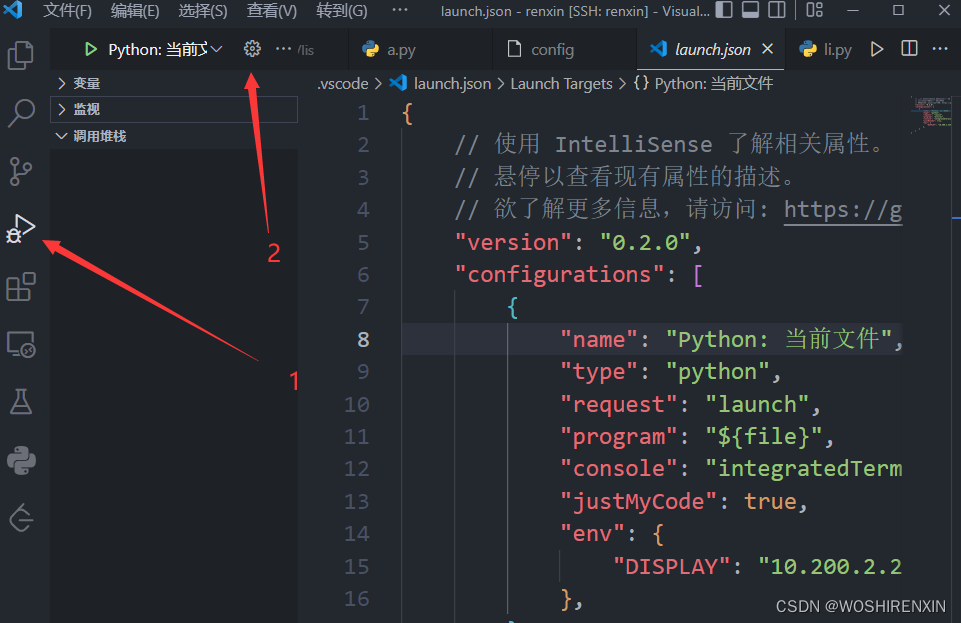
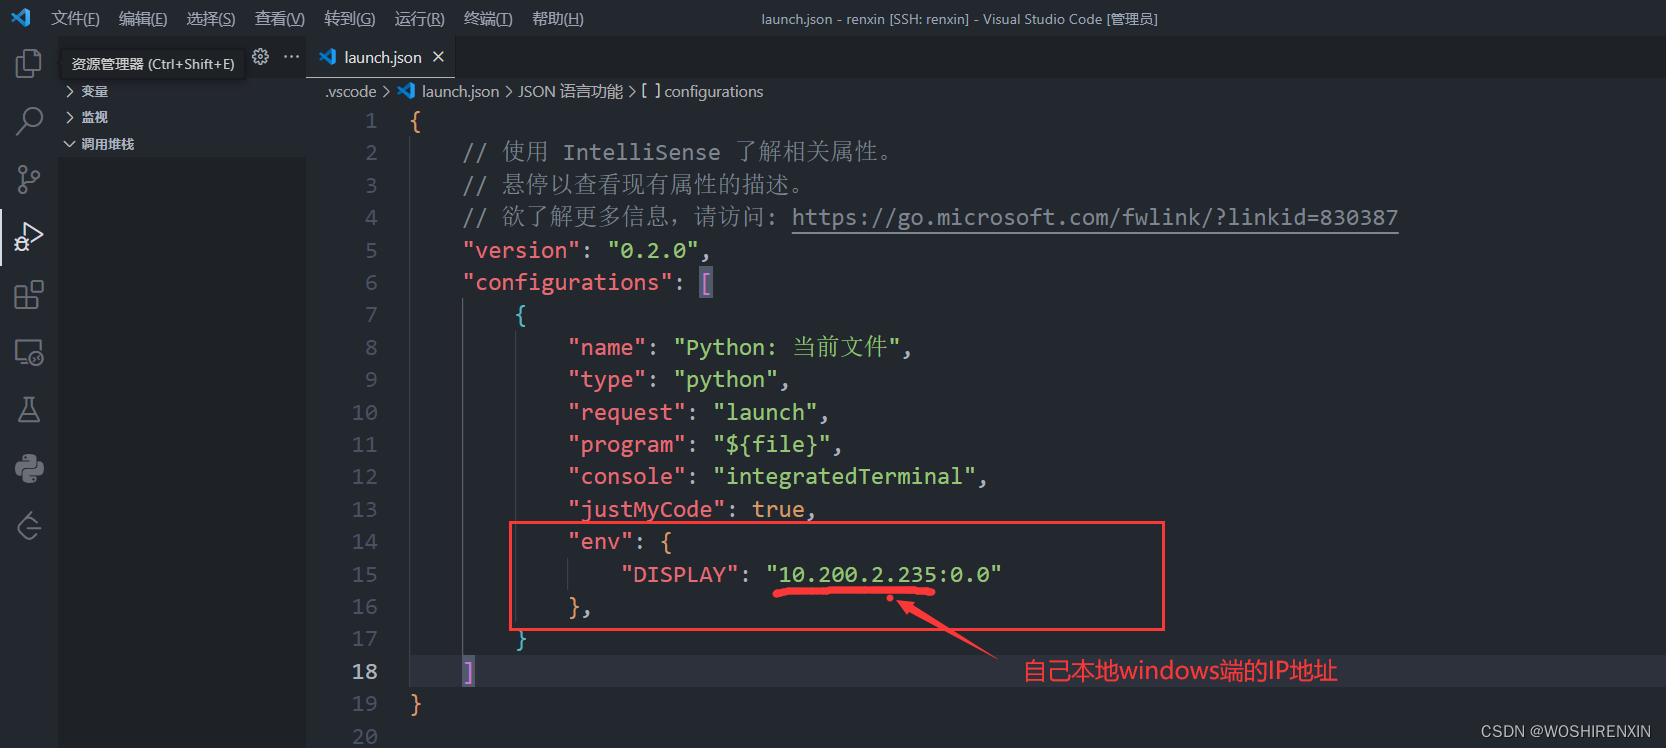
添加如下内容,其中IP地址改成自己本地windows端的IP
            "env": {
                "DISPLAY": "10.200.2.235:0.0"
            },
2.7 服务器端配置display环境变量
连接到自己的服务器端,终端中执行
vim ~/.bashrc

在.bashrc文件的最后添加或修改DISPLAY的值
其中IP地址为本地windows端的ip地址
export DISPLAY="10.200.2.235:0.0"

esc :wq保存退出
执行
source ~/.bashrc
3、验证
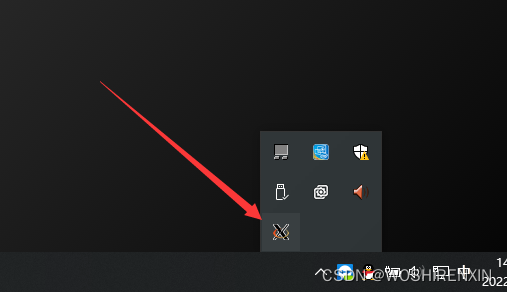
(Xlaunch保持打开,在右下角可以看到图标)
首先重启vscode,连接服务器后终端中执行
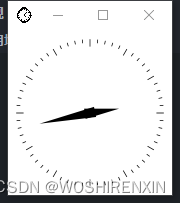
xclock

弹出时钟
关闭时钟后,VScode中新建python文件并执行
from matplotlib import pyplot as plt

x = [1, 2, 3, 4, 5, 6]y = [10, 20, 30, 40, 50, 60]plt.plot(x, y)
    plt.show()
弹出窗口
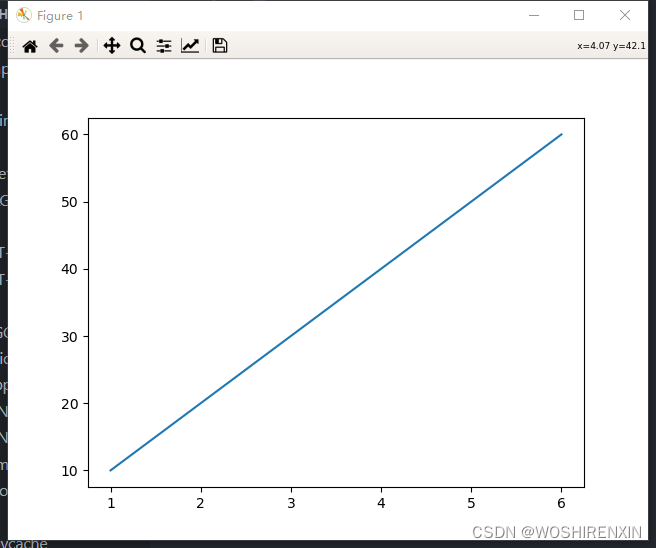
成功!
推荐本站淘宝优惠价购买喜欢的宝贝:

本文链接:https://hqyman.cn/post/6120.html 非本站原创文章欢迎转载,原创文章需保留本站地址!
打赏

微信支付宝扫一扫,打赏作者吧~
休息一下~~
