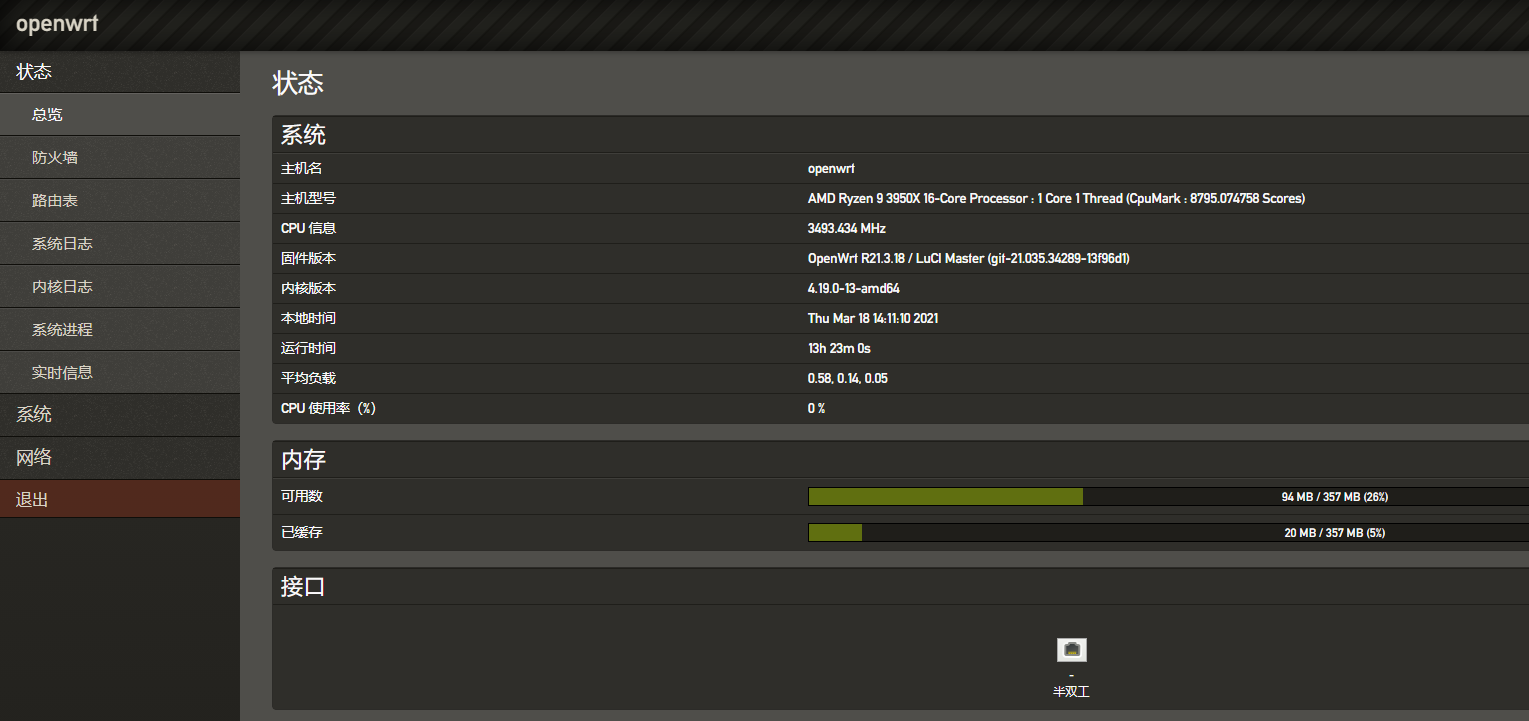
本文主要介绍openwrt打包成lxc模板,并启动。
1、LXC是什么
LXC介绍开合
2、openwrt介绍
openwrt介绍开合
3、LXC安装 安装非常简单,apt即可。
apt-get  install bridge-utils
apt-get install lxc
lxc-checkconfig
apt-get install apparmor-profiles
4、配置 首先桥接网卡
# /etc/network/interfacesauto br0
iface br0 inet static
      address ipv4地址
      netmask ipv4子网掩码
      bridge_ports 桥接网卡名
      bridge_stp off
      bridge_fd 2
      bridge_maxwait 20
iface br0 inet6 static
    address ipv6地址/120
    gateway ipv6网关
    dns-nameservers ipv6dns
配置lxc默认文件
#/etc/lxc/default.conf lxc.apparmor.profile = generated
lxc.apparmor.allow_nesting = 1
lxc.net.0.type=veth
lxc.net.0.link = br0
lxc.net.0.flags = up
lxc.net.0.hwaddr = 00:11:22:xx:xx:xx
5、使用 创建镜像模板
lxc-create -t download -n openwrt -- --no-validate --server mirrors.tuna.tsinghua.edu.cn/lxc-images 启动容器
lxc-start -n ubuntu1 -d 停止容器
lxc-stop --name ubuntu1 销毁容器
lxc-destroy --name ubuntu1 6、openwrt镜像制作 首先下载你心仪的openwrt系统
在linux下解压,使用如下命令
gzip -d openwrt-x86-64-generic-squashfs-rootfs.img.gz 解压之后出现openwrt-x86-64-generic-squashfs-rootfs.img文件
安装squashfs-tools
apt install squashfs-tools 解包
unsquashfs openwrt-x86-64-generic-squashfs-rootfs.img
mv squashfs-root rootfs
解包后如图所示:
制作openwrt模板
mkdir /var/lib/lxc/openwrt
touch /var/lib/lxc/openwrt/config
2、把以下内容写入到config中
# Template used to create this container: /usr/share/lxc/templates/lxc-download# Parameters passed to the template: --server mirrors.tuna.tsinghua.edu.cn/lxc-images# Template script checksum (SHA-1): 273c51343604eb85f7e294c8da0a5eb769d648f3# For additional config options, please look at lxc.container.conf(5)# Uncomment the following line to support nesting containers:#lxc.include = /usr/share/lxc/config/nesting.conf# (Be aware this has security implications)# Distribution configurationlxc.include = /usr/share/lxc/config/common.conf
lxc.arch = x86_64# Container specific configurationlxc.apparmor.profile = generated
lxc.apparmor.allow_nesting = 1
lxc.rootfs.path = dir:/var/lib/lxc/openwrt/rootfs
lxc.uts.name = openwrt# Network configurationlxc.net.0.type=veth
lxc.net.0.link = br0
lxc.net.0.flags = up
lxc.net.0.hwaddr = 00:16:3e:35:10:cd
接下来可以启动openwrt
启动openwrt
lxc-start -n openwrt -d 配置openwrt系统
vim /etc/config/network 按照以下内容更改即可,这里做一个范例:
config interface 'loopback'
    option ifname 'lo'
    option proto 'static'
    option ipaddr '127.0.0.1'
    option netmask '255.0.0.0'config globals 'globals'
    option ula_prefix 'fd8c:255f:3d91::/48'
    option packet_steering '1'config interface 'lan'
    option ifname 'eth0'
    option proto 'static'
    option ipaddr 'ipv4地址'
    option netmask 'ipv4掩码'
    option gateway 'ipv4网关'
    option dns 'DNS'config interface 'lan6'
    option proto 'static'
    option ifname '@lan'
    option ip6addr 'ipv6地址/120'
    option ip6gw 'ipv6网关'
option delegate '0' 【注】其他的配置参数,可以参考openwrt ipv6配置
报错以及解决
lxc-start: mylxc: conf.c: lxc_setup_ttydir_console: 1831 Read-only file system - Failed to set mode "0110" to "/dev/pts/3" 解决方法:
mount -o remount,rw /dev/pts lxc常用使用命令
6.1 lxc开机启动命令
### 修改容器配置文件,添加如下内容### lxc.start.auto = 1### lxc.start.delay = 15### lxc.group = onboot### 第一项表示开启自启动,第二项表示启动延迟,第三项表示自启动顺序# vim /var/lib/var/lib/lxc/<container-name>/config### 自启动onboot组的容器# lxc-autostart -g onboot 6.2 lxc开启tun设备
在/var/lib/lxc/你的容器下/目录下创建如下脚本:
#!/bin/bashcd ${LXC_ROOTFS_MOUNT}/dev
mkdir net
mknod net/tun c 10 200
chmod 0666 net/tun
赋予可执行权限
chmod +x autodev 最后,在容量的config文件最后,添加以下内容:
lxc.hook.autodev=/var/lib/lxc/yourcontainer/autodev
# /dev/net/tunlxc.cgroup.devices.allow = c 10:200 rwm
重启动容器后,出现/dev/net/tun设备文件,需要tun设备的程序就可以执行了。
最后放一张截图
推荐本站淘宝优惠价购买喜欢的宝贝:
本文链接:https://hqyman.cn/post/8518.html 非本站原创文章欢迎转载,原创文章需保留本站地址!
打赏 微信支付宝扫一扫,打赏作者吧~
休息一下~~


 微信支付宝扫一扫,打赏作者吧~